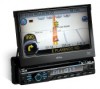
Boss Audio BV9980NV User Manual - Page 8
GPS Operation, Basic operation setup menu - product detail
 |
View all Boss Audio BV9980NV manuals
Add to My Manuals
Save this manual to your list of manuals |
Page 8 highlights
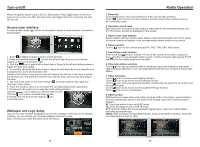
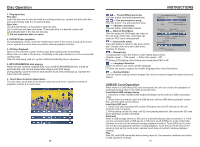
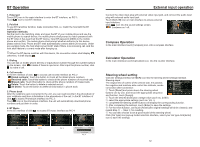
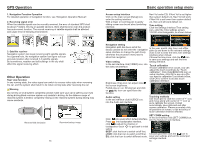
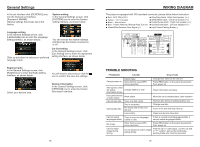
GPS Operation 1. Navigation Function Operation For detailed operation of navigation function, see "Navigation Operation Manual". 2. Receiving signal error When the satellite signals can be normally received, the error of standard GPS shall be about 7 meters. Driving on parallel sections, there shall be error even the product has auto-correct function. The normal receiving of satellite signals shall be affected and cause error in following environment: In tune Among tall buildings At the boulevard The antenna is sheltered Underground parking Overpass or viaduct 3. Satellite receiver Navigation system can keep receiving eight satellite signals. As a general rule, the navigation system can figure out your accurate location after received 3-4 satellite signals. But sometimes, weather and tall buildings in the city shall affect the signal receiving effect. Scope for receiving satellite signals Angle of elvevation Angle of elvevation Other Operation Rear view function In any running state, the video signal can switch to reverse video state when reversing the car, and the system shall return to its initial running state after reversing the car. Warning Do not rely on CCD system completely, please make sure your car is safe by your eyes during driving.Back rearview system only assists in driving. As the distance range of rearview system is limited, completely relying on the rearview system during driving may cause accidents. Reverse field simulation Rearview backup image 13 Basic operation setup menu Access setup interface Click on the main screen [Setup] icon, enter the setting interface. With a finger or touching pen to gently sliding screen can be set about switching interface. Navi Vol under EQ: if Navi Vol is set higher than system default vol, Navi Vol will work; if Navi Vol is set lower than system default vol, then unit will work default vol. Time setting Click the Settings interface Time setting icon, enter the Time settings screen, 12h/24h interchangeable, as shown below: Navigation setting Navigation path has been set at the In the year, month, day, hour, sub-office factory, please do not enter the navigation slide up and down to the relevant settings. setup interface to change the path freely, Zone is set to enter the time zone settings otherwise the procedure many lead to interface when clicked. abnormal navigation. Choose the time zone, click the icon to save your settings and exit the time Video setting setting interface. In the set interface click [VIDEO] icon, into the video set interface. Touch calibration If touch calibration error occurs, you can adjust the touch coordinate by "Touch calibration". Click [CALIBRATION] icon on setup interface, click OK to pop up a [Do you want to calibration?] as shown below, click OK to confirm to access touch calibration interface: Brightness: Drag icon can adjust video the screen brightness. Forbid play on run: Driving ban and click on play icon can open/close the function. Audio setting In the set interface click [AUDIO] icon, into the Audio set interface. Touching methods Use touch pen to click the center of"+" icon, and move along with center of "+" icon so as to calibrate the screen, It shall automatically save data and exit after screen calibration. Please accurately click all positions on screen, or the accuracy of touch calibration shall be affected. SET COMM setting In the set interface click [SET COMM] icon, Click into sound effect default interface. into the Serial port set interface. Press into loudspeaker interface, click to adjust the channel of loudspeaker, touch to get back to initial setting. BEEP: click that icon to switch on/off that. LOUD: click that icon to switch on/off that. Choose good then click the icon to EQ: click that icon to switch different mode. save your settings and exit the serial port settings interface. 14
-
 1
1 -
2
-
 3
3 -
 4
4 -
 5
5 -
 6
6 -
 7
7 -
 8
8 -
 9
9 -
 10
10
 |
 |
