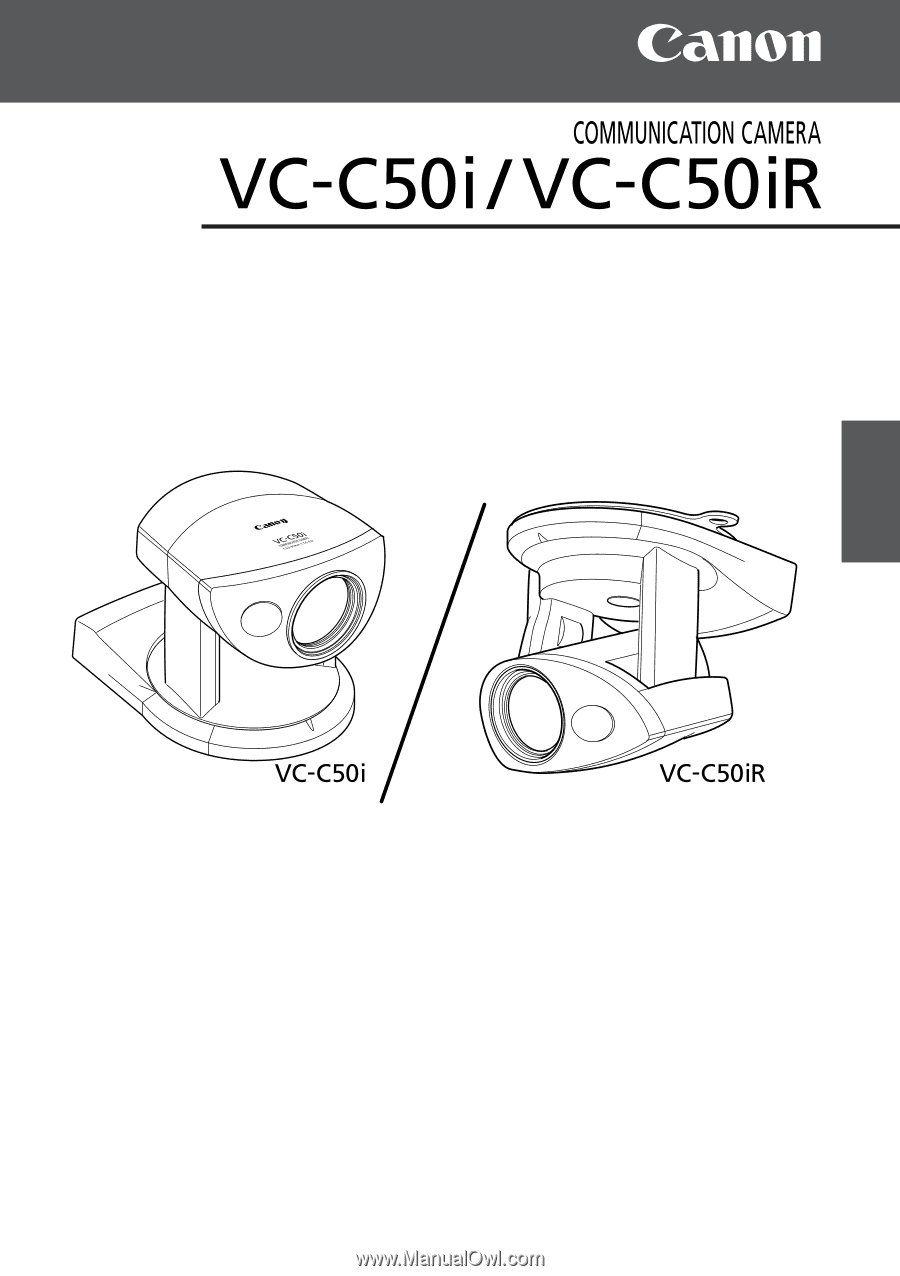
Canon C50i Instruction Manual
Canon C50i - VC CCTV Camera Manual
 |
UPC - 013803054415
View all Canon C50i manuals
Add to My Manuals
Save this manual to your list of manuals |
Canon C50i manual content summary:
- Canon C50i | Instruction Manual - Page 1
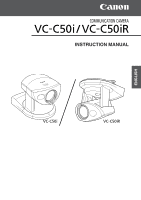
INSTRUCTION MANUAL ENGLISH - Canon C50i | Instruction Manual - Page 2
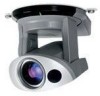
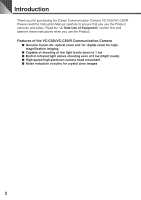
read this Instruction Manual carefully to ensure that you use the Product correctly and safely. Read the "a Safe Use of Equipment" section first and observe these instructions when you use the Product. Features of the VC-C50i/VC-C50iR Communication Camera ■ Genuine Canon 26× optical zoom and 12 - Canon C50i | Instruction Manual - Page 3
using your VC-C50i/VC-C50iR cannot be used in ways that infringe copyright laws or without the consent of the owner, unless intended for personal use only. Note The contents of this Manual are subject to change without notice. CANON and the CANON logo are registered trademarks of Canon Inc. Other - Canon C50i | Instruction Manual - Page 4
SERVICEABLE PARTS INSIDE. REFER SERVICING TO QUALIFIED SERVICE PERSONNEL. The serial number of this equipment may be found on the back of the camera to the VC-C50i/VC-C50iR from a standard AC power outlet. Please check your instruction manual to make sure that your VC-C50i/VC-C50iR is compatible - Canon C50i | Instruction Manual - Page 5
ENGLISH a Safe Use of Equipment a Important Operational Instructions a WARNING: TO REDUCE THE RISK OF ELECTRIC SHOCK, DO NOT EXPOSE THIS EQUIPMENT TO RAIN OR MOISTURE. a CAUTION: TO REDUCE THE RISK OF ELECTRIC SHOCK - Canon C50i | Instruction Manual - Page 6
FCC NOTICE COMMUNICATION CAMERA, Model: used in accordance with the instructions, may cause harmful interference to radio communications. However, there is no manual. If such changes or modifications should be made, you could be required to stop operation of the equipment. Canon U.S.A. Inc. One Canon - Canon C50i | Instruction Manual - Page 7
INSTRUCTIONS In these safety instructions, the word "equipment" refers to the Canon communication camera VC-C50i/VC-C50iR and all its accessories. 1. Read Instructions - All the safety and operating instructions recommended in this manual as they mast and supporting structure, grounding of the lead - Canon C50i | Instruction Manual - Page 8
if you follow the operating instructions. Adjust only those controls that are covered by the operation instructions. Improper adjustment of other service. 19. Replacement Parts - When replacement parts are required, be sure the service technician has used replacement parts that are specified by Canon - Canon C50i | Instruction Manual - Page 9
Safety Check - Upon completion of any service or repairs to this equipment, ask the service technician to perform safety checks to determine OFF the equipment, unplug it from the main power supply and contact your nearest Canon supplier. Do not continue to use the equipment as this can cause a fire - Canon C50i | Instruction Manual - Page 10
correctly if the surface of the lens is dirty. ■ Scratches on the surface of the lens will cause image defects. Icons Used in This Instruction Manual aWARNING Represents instructions that, if ignored, could result in death or serious personal injury caused by incorrect operation of equipment - Canon C50i | Instruction Manual - Page 11
Pan Operation 30 Setting the Range of Camera Head Movement 31 Setting the AE 32 Night Mode Settings 33 VC-C4 Mode Setting Menu 33 RS-232C Settings 34 ID Mode ...35 Setting the ID Number 35 Selecting the Camera to be Controlled 36 Cancelling ID Mode 37 Troubleshooting ...38 Factory Default - Canon C50i | Instruction Manual - Page 12
product package. If any of these items is missing, contact your Canon dealer. or VC-C50i camera VC-C50iR camera Multiconnector Plug AC adapter PA-V16 (NTSC model only) AC cable (NTSC model only) ● Instruction Manual ● Warranty Card (NTSC model only) ■ Optional Product ● Wireless Controller WL - Canon C50i | Instruction Manual - Page 13
plate Screw VC-C50iR Screw (Installation) • Distance between tapped holes: 114 mm (4.49 in.) • Tapped hole diameter: 6 mm (0.24 in.) • Mounting plate thickness: 1 mm (0.04 in.) aWARNING Install the camera securely. ● When installing the camera on the ceiling, contact your Canon dealer. ● When - Canon C50i | Instruction Manual - Page 14
cannot be used in night mode. (→ P.33) Connecting the Components 14 AC cable B1 DC IN 13V VIDEO OUT A1 (Rear of camera) B10 A10 Multiconnector plug • PC • Another VC-C50i/ VC-C50iR • Network camera server • Sensor • Alarm • Monitor AC Adapter BNC connector To VIDEO IN terminal Monitor - Canon C50i | Instruction Manual - Page 15
The lead is secured inside the lead fastening hole. Use the same procedure to connect all the required leads. Attaching the Multiconnector to the Camera 1. Raise the levers on each side of the multiconnector plug. Lead B1 B10 A10 2. Push the multiconnector plug into the multiconnector socket. B1 - Canon C50i | Instruction Manual - Page 16
luminance output Output ⇒ MONITOR S-video chroma output GND Output ⇒ MONITOR S-video chroma output Output Input Output Input - ⇒ NEXT CAMERA NEXT CAMERA ⇒ ⇒ NEXT CAMERA NEXT CAMERA ⇒ - RS-232C cascade output send request RS-232C cascade output send enabled RS-232C cascade output send data - Canon C50i | Instruction Manual - Page 17
the internal controller. In addition, an optical connector is used in the output terminal and is separate from the internal circuits in the camera. The load connected to the output terminal should be within the following ratings: Rated values between output terminals Max. DC voltage: 50V Continuous - Canon C50i | Instruction Manual - Page 18
VC-C50i/VC-C50iR camera does not have a power switch. You can switch the camera on by plugging the AC adapter into a wall outlet. When power to the camera is switched on, the LED on the camera INSTRUCTIONS" (→ P.7-9). LED Displays and the Camera Status LED Display Camera Status Green Camera is - Canon C50i | Instruction Manual - Page 19
hides the date, time and text. Fn button Not used. BRIGHT ZOOM T W SET/OK HOME CANCEL AF 1 MF 4 ∞ 7 ON SCREEN Fn 23 56 89 0 ID MENU WL-V5 WIRELESS CONTROLLER Camera ON/OFF button (→ P.26) Switches the camera on and off. ZOOM button (→ P.22) Increases or decreases the size of the subject on - Canon C50i | Instruction Manual - Page 20
Controlling the Camera from the Wireless Controller Loading the Batteries into the Wireless Controller The wireless controller requires two AA-type of charge remaining in the batteries and interference from other objects. (This applies equally to the VC-C50iR.) 5 m (16.4 ft.) 90° 30° 90° 30° 20 - Canon C50i | Instruction Manual - Page 21
back in order. Range of Camera Head Movement The figures below show the range of camera head movement from a horizontal position. The default range of upward movement for the VC-C50i is 30°, but the range can be set to 90° (→ P.31). 30° 100° 100° 10° 170° 30° 170° VC-C50i 90° VC-C50iR 21 - Canon C50i | Instruction Manual - Page 22
Holding down the button changes the rate of zoom as shown below. Slow Fast To zoom out (WIDE): Press the w side of the button. ■ Holding down the button changes the rate of zoom as shown below. Slow Fast MEMO Focusing Range At some zoom settings, the camera may not be able to focus on the - Canon C50i | Instruction Manual - Page 23
how to focus on the subject. The VC-C50i/VC-C50iR has an auto-focus mode, in which the camera automatically focuses on the subject, and a manual focus mode, in which the operator can adjust the focus by hand. (The default setting is auto-focus.) BRIGHT ZOOM T W To use autofocus mode Press the - Canon C50i | Instruction Manual - Page 24
subjects Press the e button. ■ This enables switching the camera to manual focus mode while moving the focal point further from the camera. ■ Holding the button down moves the focal point further away from the camera. ■ At some zoom settings, the camera may not be able to focus on the subject - Canon C50i | Instruction Manual - Page 25
VC-C50i/VC-C50iR returns to the stored camera head angle, zoom position and brightness level. ENGLISH MEMO ● During preset operations, the camera pans and tilts at the speeds set for pan/ tilt is changed (→ P.33). ● If the camera is in manual focus mode, the focus may be incorrect when a preset - Canon C50i | Instruction Manual - Page 26
, the stored preset positions, the date, the time and the ID number are not cleared. BRIGHT ZOOM T W SET/OK HOME CANCEL AF 1 MF 4 ∞ 7 ON SCREEN Fn 23 56 89 0 ID MENU To switch the camera off In the status of camera ON, press the p button. ■ The image disappears and the LED on the - Canon C50i | Instruction Manual - Page 27
specify camera operation settings. Buttons Used to Specify the Settings The wireless controller buttons shown below are used for the setting. BRIGHT ZOOM T 29). CAMERA MENU : Use this menu to change the settings for camera head pan and tilt speed, the range of camera head movement, the camera head - Canon C50i | Instruction Manual - Page 28
You can also select your preferred TIME STYLE and DATE STYLE settings. MA I N MENU SET MENU D I SPLAY MENU CAMERA MENU NEXT SET BACK CANCEL / D I SPLAY MENU DATE&T I ME SETT I NGS DATE D I SPLAY T I the factory default settings (→ P.40). However, these settings are not cleared if you switch the - Canon C50i | Instruction Manual - Page 29
If you select ON, you can display and hide the date, time and text by pressing theo button. MA I N MENU SET MENU D I SPLAY MENU CAMERA MENU NEXT SET BACK CANCEL / D I SPLAY MENU D I SPLAY MENU DATE D I SPLAY OFF T I ME D I SPLAY OFF / DATE D I SPLAY ON OFF DATE&T IME SETT I NGS . . TXT - Canon C50i | Instruction Manual - Page 30
NEXT SET BACK CANCEL CAMERA MENU PAN SPEED AUTO MANUAL SET SET CANCEL CANCEL CAMERA MENU PAN SPEED AUTO T I LT SPEED AUTO MOVABLE RANGE . . DEFAULT AE SET I NGS to ON, the camera head pans in the direction indicated on the 4 or 6 button (→ P.21). NOTE ● The pan and tilt speeds set here - Canon C50i | Instruction Manual - Page 31
DOWN L I M I T SET +000DEG SET SET CANCEL CANCEL Watch the monitor image to move to the desired limit. MEMO The limits for the range of camera head movement are as follows: VC-C50i: ±100° left and right, 90° upward and 30° downward VC-C50iR: ±170° left and right, 10° upward and 90° downward 31 - Canon C50i | Instruction Manual - Page 32
FL I CKERLESS AE OFF NEXT SET BACK CANCEL CAMERA MENU PAN SPEED AUTO T I LT SPEED AUTO MOVABLE RANGE . . DEFAULT AE SETT I NGS . . D I RECT I ON M I RROR OFF N I GHT MODE OFF NEXT SET BACK CANCEL AE SETT I NG AE REFERENCE DEFAULT MANUAL SET SET CANCEL CANCEL / AE SETT I NG AE - Canon C50i | Instruction Manual - Page 33
manual focus to obtain a sharp focus ● If you switch the camera off while it is in night mode, the built-in infrared lighting also switches off. When you switch the camera back on, night mode is cancelled and the camera VC - C3 MODE RESTORE DEFAULT NEXT SET BACK CANCEL CAMERA MENU CAMERA MENU PAN - Canon C50i | Instruction Manual - Page 34
item on the SET MENU, see below. (1) See page 35 for information on the REMOTE CONTROLLER ID setting. (2) COMMAND is set when using the VC-C50i/VC-C50iR in Canon Communication Camera VC-C3 mode (→ P.33). (3) To restore the default values for the settings (→ P.40), select [SET] in the RESTORE - Canon C50i | Instruction Manual - Page 35
to assign an ID number (1 to 9) to each camera (VC-C50i/ VC-C50iR). If you do not want to assign an ID number to a camera, select [0] for that camera. Assigning the same ID number to multiple cameras allows you to control those cameras simultaneously. BRIGHT ZOOM T W SET/OK HOME CANCEL AF 1 MF - Canon C50i | Instruction Manual - Page 36
blink orange and you can begin ID mode operation. However, when a number button was pressed in step 2, the cameras with ID numbers that do not match are switched off. BRIGHT ZOOM T W SET/OK HOME CANCEL AF 1 MF 4 ∞ 7 ON SCREEN Fn 23 56 89 0 ID MENU 1. Press the i button. The LEDs on all - Canon C50i | Instruction Manual - Page 37
. ID1 ID2 ID2 ID3 Orange Green Green Orange Check the LEDs on all the adjacent connected cameras to ensure that all the cameras are receiving the signals from the wireless controller. NOTE BRIGHT ZOOM T W SET/OK HOME CANCEL AF 1 MF 4 ∞ 7 ON SCREEN Fn 23 56 89 0 ID MENU 1. Press the - Canon C50i | Instruction Manual - Page 38
Troubleshooting Check the following before contacting your Canon supplier. The wireless controller does not work. → P.18 Check 2: The LED is red. Response: The camera is switched off. Press the p button on the wireless controller to switch the camera on. → P.26 Check 3: The LED is orange. Response: - Canon C50i | Instruction Manual - Page 39
ENGLISH Troubleshooting The camera will not move to a preset position. Check 1: The camera head will not move to the limit of its range of movement. Response: Something has directly moved the camera head. Press the h button on the wireless controller. → P.21 Check 2: The range of pan/tilt movement - Canon C50i | Instruction Manual - Page 40
Specified text PAN SPEED TILT SPEED MOVABLE RANGE DIRECTION MIRROR NIGHT MODE AE REFERENCE FLICKERLESS AE 9600 1 Read only Read only 0 VC-C4 MODE OFF OFF OFF * 01.JAN.'00 * 00:00:00AM * AM/PM * DD/MM/YY * None AUTO (10 for MANUAL) AUTO (10 for MANUAL) DEFAULT OFF OFF DEFAULT (5 for MANUAL) OFF - Canon C50i | Instruction Manual - Page 41
.) /Night mode: 0 lux Normal mode, Night mode VC-C50i Pan Mechanism: Rotation angle Left 100°, Right 100°; Rotation speed: 1°-90° per sec.* Tilt Mechanism: Tilt angle Up 90° (factory default 30°), Down 30°; Tilt speed: 1°-70° per sec.* VC-C50iR Pan Mechanism: Rotation angle Left 170°, Right 170 - Canon C50i | Instruction Manual - Page 42
dedicated unit. Also, do not use the PA-V16 AC adapter with any other product. The CE Mark is a Directive conformity mark of the European Community (EC). 42
-
 1
1 -
 2
2 -
 3
3 -
 4
4 -
 5
5 -
 6
6 -
 7
7 -
8
-
9
-
10
-
11
-
12
-
13
-
14
-
15
-
16
-
17
-
18
-
19
-
20
-
21
-
22
-
23
-
24
-
25
-
26
-
27
-
28
-
29
-
30
-
31
-
32
-
33
-
34
-
35
-
36
-
37
-
38
-
39
-
40
-
41
-
42
 |
 |
INSTRUCTION MANUAL
ENGLISH
ENGLISH