Canon CanoScan N670U CanoScan N670U/N676U/N1240U Quick Start Guide - Page 4
Connect the Scanner - n676u n1240u
 |
View all Canon CanoScan N670U manuals
Add to My Manuals
Save this manual to your list of manuals |
Page 4 highlights
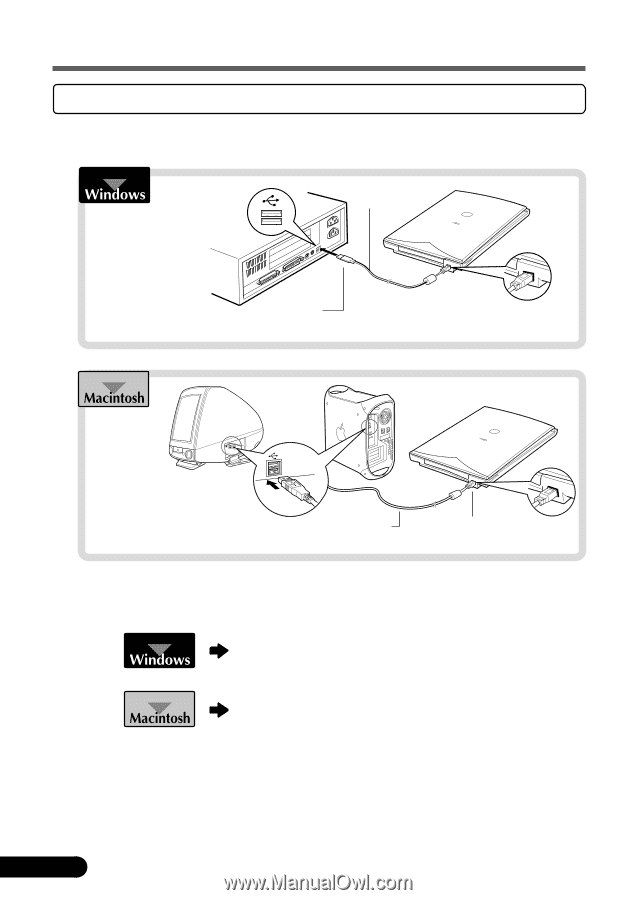
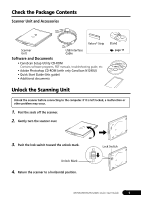
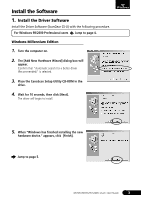
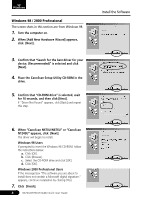
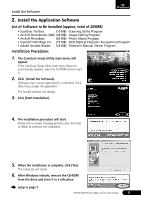
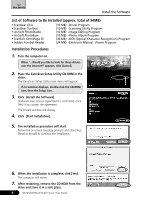
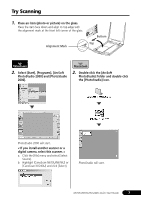
Connect the Scanner Confirm that the power switches for the computer and other connected devices are off. Connect the scanner to the computer with the supplied USB interface cable. USB Interface Cable Wide Flat Connector Small Square Connector Wide Flat Connector USB Interface Cable • The scanner does not have a power switch. The power is activated as soon as the computer is turned on. Proceed to the next page. Small Square Connector Jump to page 6. • The screen shots common to both Windows and Macintosh used in this manual are from the Windows platform, unless otherwise noted. • The scanner used for the screen shot in this manual is N1240U. Scanner name shown in screen shots will vary depending on the model purchased. 2 N670U/N676U/N1240U Quick Start Guide
-
 1
1 -
 2
2 -
 3
3 -
 4
4 -
 5
5 -
 6
6 -
 7
7 -
 8
8 -
 9
9 -
 10
10 -
11
-
12
-
13
-
14
 |
 |