Canon HF100 VIXIA HF10/VIXIA HF100 Instruction Manual - Page 70
Notes, Important, Points To Check
 |
UPC - 013803092004
View all Canon HF100 manuals
Add to My Manuals
Save this manual to your list of manuals |
Page 70 highlights
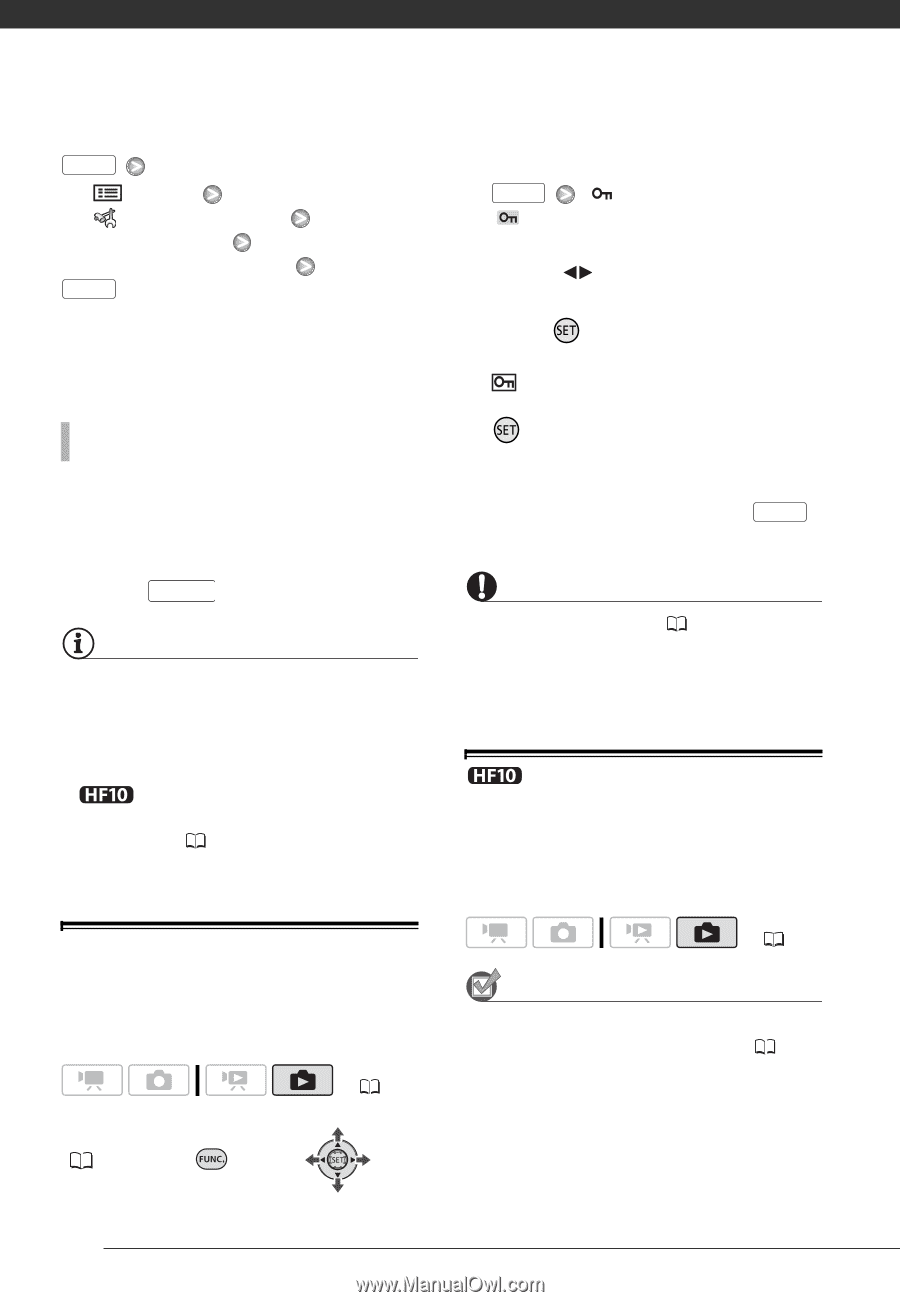
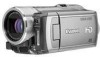
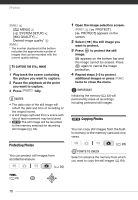
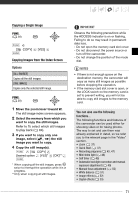
Photos FUNC. [ MENU] [ SYSTEM SETUP] [IMG QUALITY] Desired image quality* FUNC. * The number displayed at the bottom indicates the approximate number of images that can be recorded with the current quality setting. TO CAPTURE THE STILL IMAGE 1 Play back the scene containing the picture you want to capture. 2 Pause the playback at the point you want to capture. 3 Press PHOTO fully. NOTES • The data code of the still image will reflect the date and time of recording of the original scene. • A still image captured from a scene with lots of fast movement may be blurred. • The still image will be recorded to the memory selected for recording still images ( 33). Protecting Photos You can protect still images from accidental erasure. ( 26) FUNC. ( 28) 1 Open the image selection screen. FUNC. [ PROTECT] [ PROTECT] appears on the screen. 2 Select ( ) the still image you want to protect. 3 Press to protect the still image. appears on the bottom bar and the image cannot be erased. Press again to cancel the image protection. 4 Repeat steps 2-3 to protect additional images or press FUNC. twice to close the menu. IMPORTANT Initializing the memory ( 33) will permanently erase all recordings, including protected still images. Copying Photos You can copy still images from the builtin memory to the memory card and vice versa. ( 26) POINTS TO CHECK Select in advance the memory from which you want to copy the still images ( 64). 70
-
 1
1 -
2
-
3
-
4
-
5
-
6
-
7
-
8
-
9
-
10
-
11
-
12
-
13
-
14
-
15
-
16
-
17
-
18
-
19
-
20
-
21
-
22
-
23
-
24
-
25
-
26
-
27
-
28
-
29
-
30
-
31
-
32
-
33
-
34
-
35
-
36
-
37
-
38
-
39
-
40
-
41
-
42
-
43
-
44
-
45
-
46
-
47
-
48
-
49
-
50
-
51
-
52
-
53
-
54
-
55
-
56
-
57
-
58
-
59
-
60
-
61
-
62
-
63
-
64
-
 65
65 -
 66
66 -
 67
67 -
 68
68 -
 69
69 -
 70
70 -
 71
71 -
 72
72 -
 73
73 -
 74
74 -
 75
75 -
76
-
77
-
78
-
79
-
80
-
81
-
82
-
83
-
84
-
85
-
86
-
87
-
88
-
89
-
90
-
91
-
92
-
93
-
94
-
95
-
96
-
97
-
98
-
99
-
100
-
101
-
102
-
103
-
104
-
105
-
106
-
107
-
108
-
109
-
110
-
111
-
112
-
113
-
114
-
115
-
116
-
117
-
118
-
119
-
120
-
121
-
122
-
123
-
124
-
125
-
126
-
127
-
128
-
129
 |
 |