Canon S800 Setup instructions for the S800 printer - Page 2
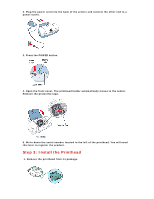
Step 3: Install the Printhead - printer
 |
View all Canon S800 manuals
Add to My Manuals
Save this manual to your list of manuals |
Page 2 highlights
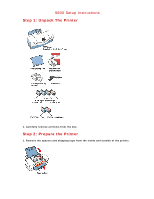
2. Plug the power cord into the back of the printer and connect the other end to a power outlet. 3. Press the POWER button. 4. Open the front cover. The printhead holder automatically moves to the center. Remove the protective tape. 5. Write down the serial number located to the left of the printhead. You will need this later to register the product. Step 3: Install the Printhead 1. Remove the printhead from its package.
-
 1
1 -
 2
2 -
 3
3 -
 4
4 -
 5
5 -
 6
6 -
 7
7 -
 8
8 -
9
-
10
 |
 |
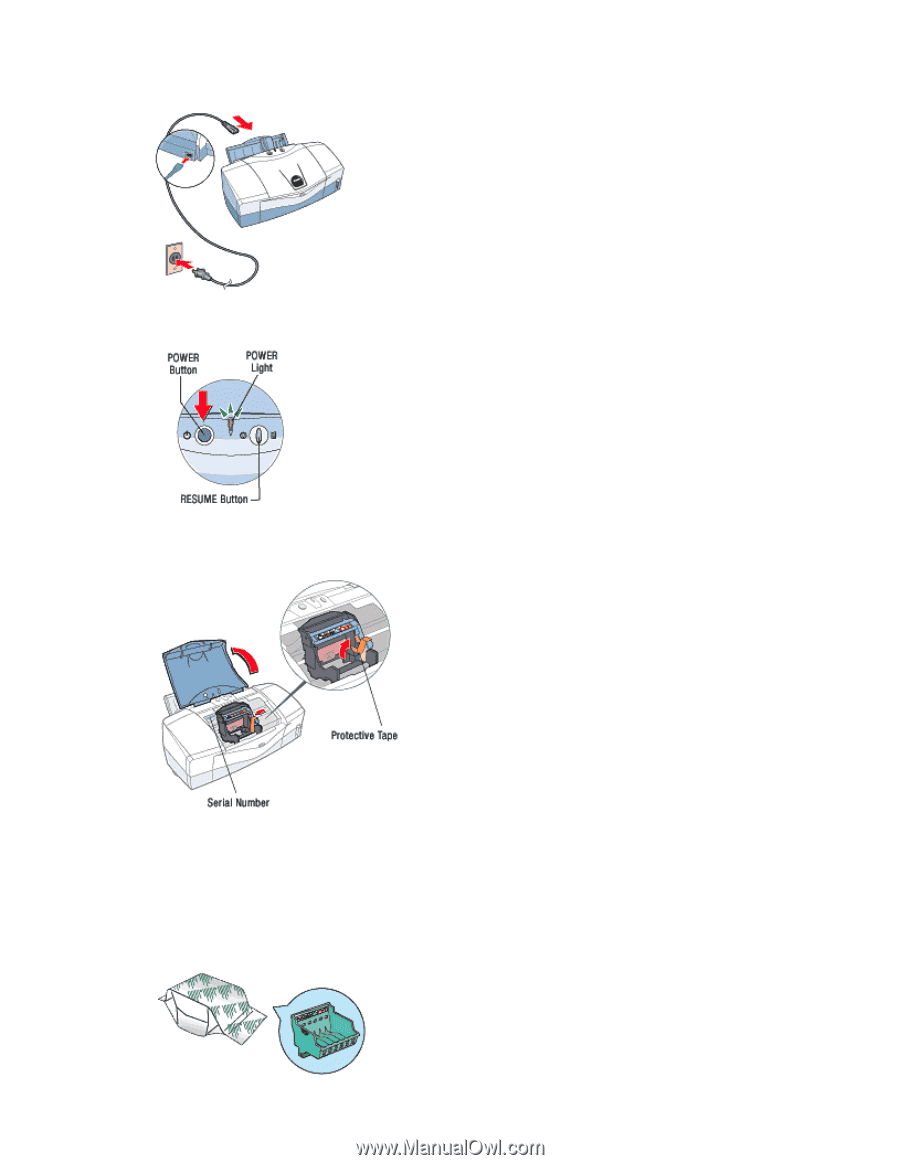
2. Plug the power cord into the back of the printer and connect the other end to a
power outlet.
3. Press the POWER button.
4. Open the front cover. The printhead holder automatically moves to the center.
Remove the protective tape.
5. Write down the serial number located to the left of the printhead. You will need
this later to register the product.
Step 3: Install the Printhead
1. Remove the printhead from its package.