Canon S800 Setup instructions for the S800 printer - Page 9
Step 7: Align the Printhead - software
 |
View all Canon S800 manuals
Add to My Manuals
Save this manual to your list of manuals |
Page 9 highlights
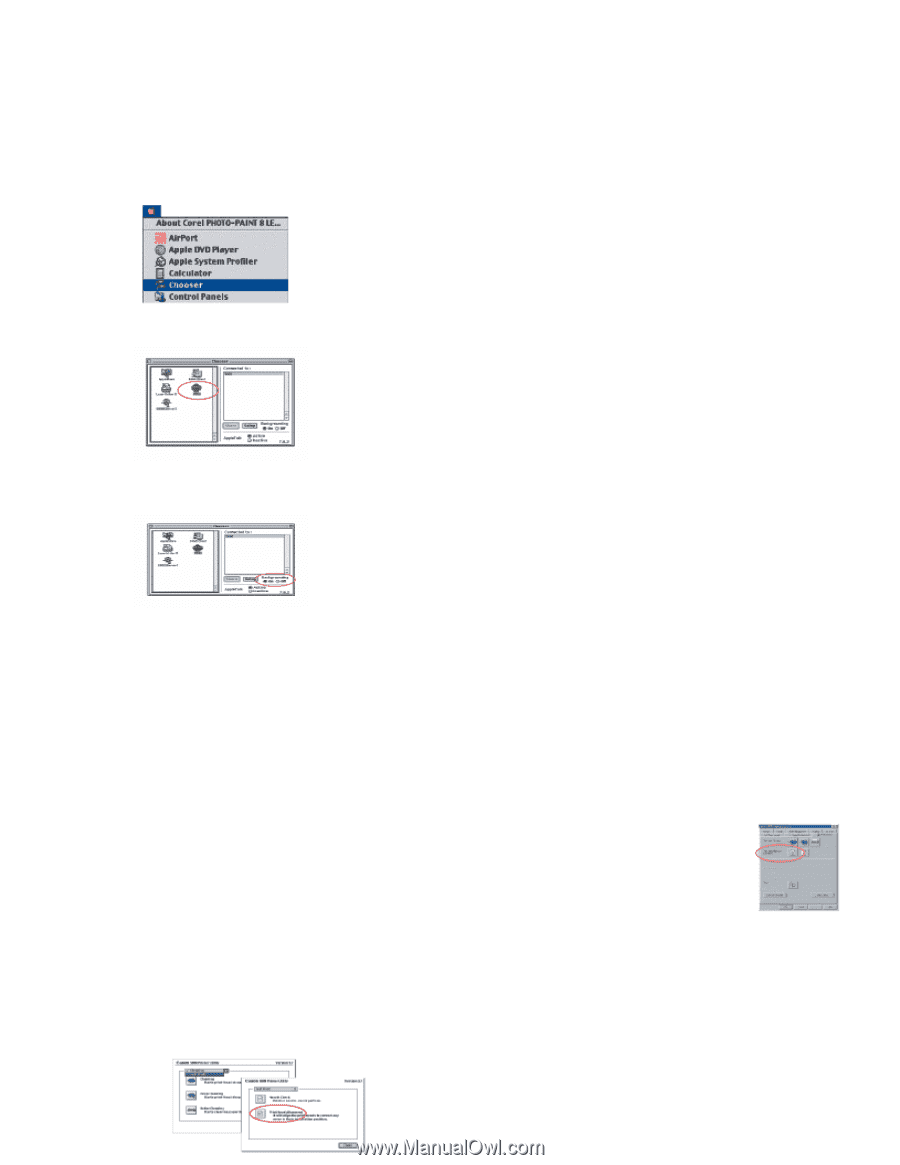
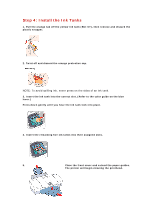
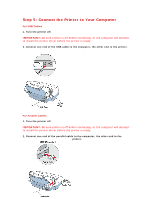
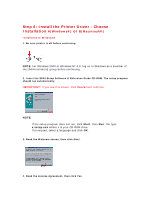
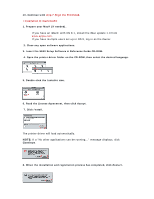
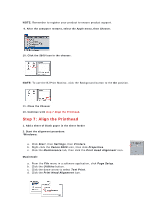
NOTE: Remember to register your product to ensure product support. 9. After the computer restarts, select the Apple menu, then Chooser. 10. Click the S800 icon in the chooser. NOTE: To use the BJ Print Monitor, click the Background button to the On position. 11. Close the Chooser 10. Continue with step 7 Align the Printhead. Step 7: Align the Printhead 1. Add a sheet of blank paper in the sheet feeder 2. Start the alignment procedure. Windows: a. Click Start, then Settings, then Printers. b. Right-click the Canon S800 icon, then click Properties. c. Click the Maintenance tab, then click the Print Head Alignment icon. Macintosh: a. From the File menu in a software application, click Page Setup. b. Click the Utilities button. c. Click the down-arrow to select Test Print. d. Click the Print Head Alignment icon.
-
 1
1 -
2
-
3
-
 4
4 -
 5
5 -
 6
6 -
 7
7 -
 8
8 -
 9
9 -
 10
10
 |
 |