Canon imageCLASS MF5850dn imageCLASS MF5880dn/5850dn Starter Guide - Page 23
Check Installation, Verify that the driver has been, installed successfully and that
 |
View all Canon imageCLASS MF5850dn manuals
Add to My Manuals
Save this manual to your list of manuals |
Page 23 highlights
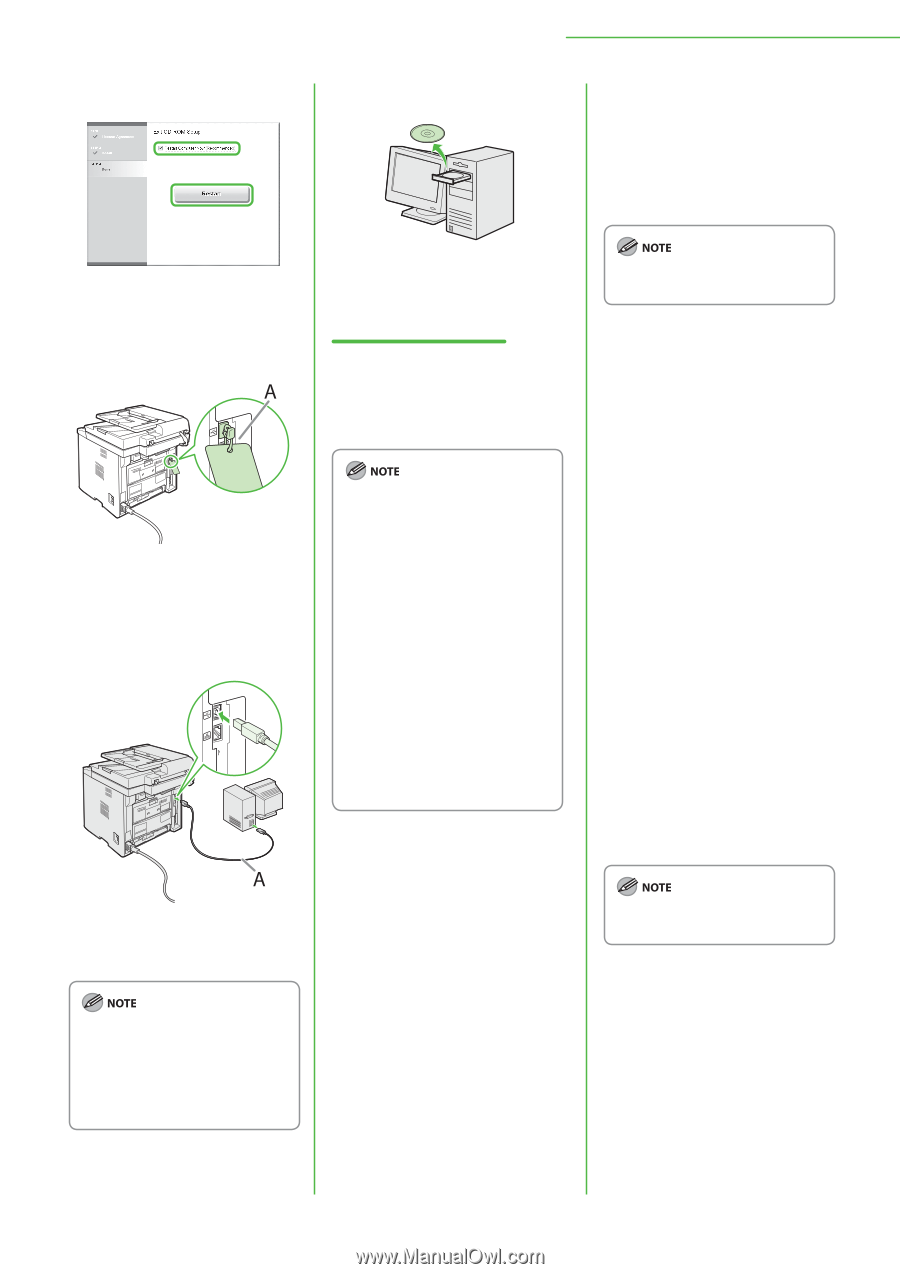
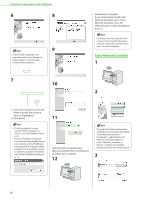
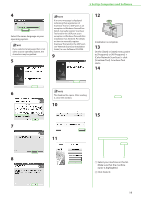
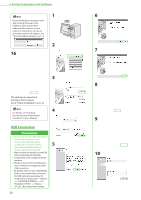
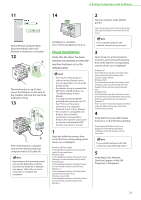
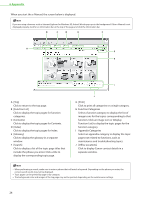
5 Set Up Computers and Software 11 14 2 Set your machine as the default printer. Select the printer icon for this machine, then select [Set as Default Printer] from the [File] menu. Select [Restart Computer Now (Recommended)], then click [Restart] to restart your computer. 12 The machine has a cap (A) that covers the USB port on the back of the machine. Remove the cap (A) by pulling the string. 13 After restarting your computer, connect the machine and your computer with a USB cable (A). Depending on the operating system you use, the dialog box to inform you that new hardware is detected may appear. Follow the on-screen instruction to complete the installation. Installation is complete. Go to "Check Installation," on p. 21. Check Installation Verify that the driver has been installed successfully and that the machine has been set as the default printer. - If the name of the machine is selected on the [Printer] screen from an application, it is set as the default printer. - For details on how to uninstall the MF drivers and MF toolbox, see "Troubleshooting," in the eManual. - For using the Online Help file provided with the drivers, see "PC Fax,""Print," and "Scanning Documents to a Computer (Network Scan)," in the e-Manual. - This machine is compatible with Bonjour. If your network environment corresponds to Bonjour, this machine can be used as a printer with/without DHCP function in a server or a router. 1 Open the folder for printers then verify that the corresponding printer driver icon is displayed. Windows XP/Server 2003: On the Windows task bar, click [start], then select [Printers and Faxes]. Windows 2000: On the Windows task bar, click [start], select [Settings], and then double-click [Printers]. Windows Vista: On the Windows task bar, click [Start], select [Control Panel], and then click [Printers]. Windows 7: On the Windows task bar, click [Start], then select [Devices and Printers]. Windows Server 2008: On the Windows task bar, click [Start], select [Control Panel], and then double-click [Printers]. If you installed software with network connection, go to step 5. 3 Open [Scanners and Cameras] or [Scanners and Cameras Properties], then verify that the corresponding scanner driver icon is displayed. Windows XP: On the Windows task bar, click [start], then select [Control Panel], and then click [Scanners and Cameras]. Windows 2000: On the Windows task bar, click [start], select [Settings], select [Control Panel], and then double-click the [Scanners and Cameras] icon. Windows Vista: On the Windows task bar, click [start], select [Control Panel], select [Hardware and Sound], and then select [Scanners and Cameras]. Windows 7: Enter "scanner" in [Search programs and files] under the [Start] menu, then click [View scanners and cameras]. 4 Verify that the [Canon MF Toolbox 4.9] icon is on the Windows desktop. If the [Canon MF Toolbox 4.9] icon is displayed on the Windows desktop, installation of the MF Toolbox 4.9 was successful. If you installed software with USB connection, skip following steps 5. 5 Verify that [Color Network ScanGear] appears in the [All Programs] or [Programs]. 21
-
 1
1 -
2
-
3
-
4
-
5
-
6
-
7
-
8
-
9
-
10
-
11
-
12
-
13
-
14
-
15
-
16
-
17
-
 18
18 -
 19
19 -
 20
20 -
 21
21 -
 22
22 -
 23
23 -
 24
24 -
 25
25 -
 26
26 -
 27
27 -
 28
28
 |
 |