Canon imageFORMULA RS40 Photo and Instruction Manual - Page 19
Basic Photo Scanning, Step 1: Prepare Photos to be Scanned, Step 2: Place Photos
 |
View all Canon imageFORMULA RS40 Photo and manuals
Add to My Manuals
Save this manual to your list of manuals |
Page 19 highlights
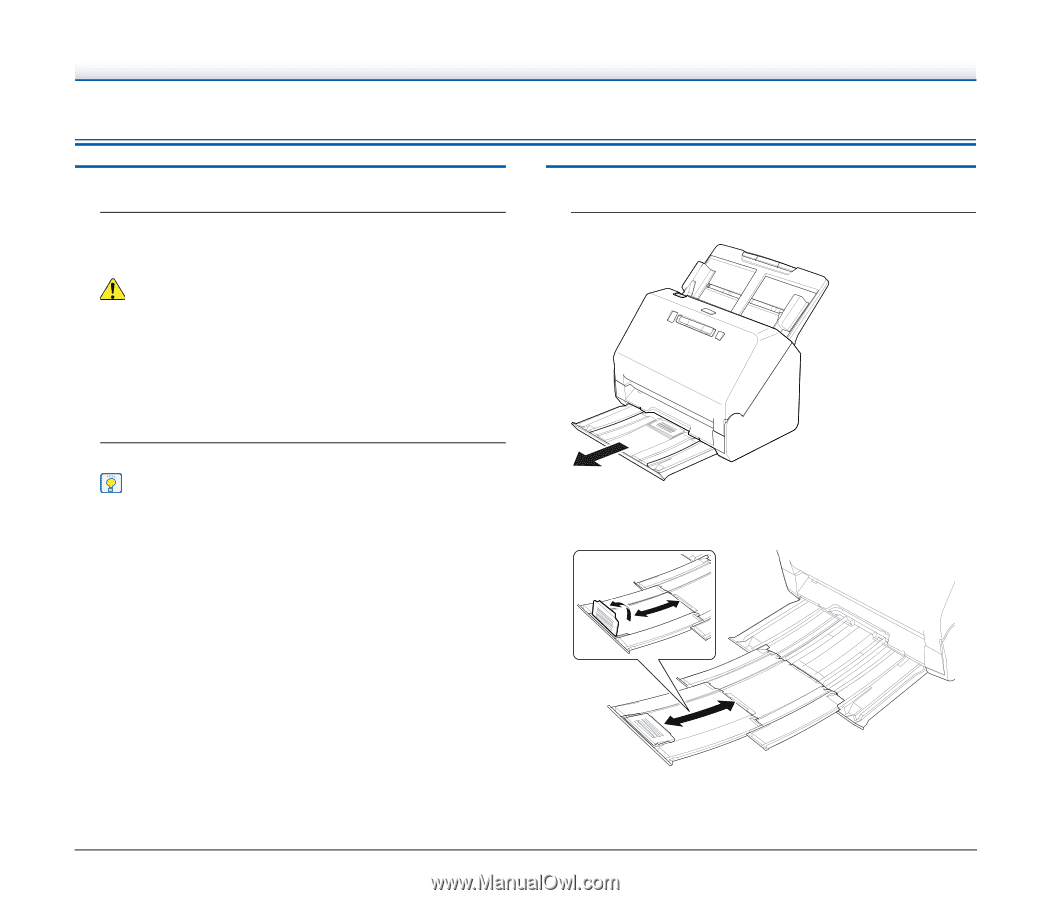
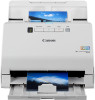
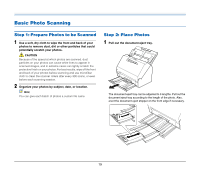
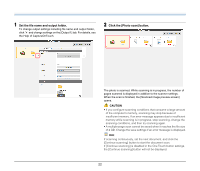
Basic Photo Scanning Step 1: Prepare Photos to be Scanned 1 Use a soft, dry cloth to wipe the front and back of your photos to remove dust, dirt or other particles that could potentially scratch your photos. CAUTION Because of the speed at which photos are scanned, dust particles on your photos can cause white lines to appear in scanned images, and in extreme cases can lightly scratch the protective finish on your photos. For best results, wipe off the front and back of your photos before scanning and use microfiber cloth to clean the scanner rollers after every 300 scans, or even before each scanning session. 2 Organize your photos by subject, date, or location. Hint You can give each batch of photos a custom file name. Step 2: Place Photos 1 Pull out the document eject tray. The document eject tray can be adjusted to 3 lengths. Pull out the document eject tray according to the length of the photo. Also, erect the document eject stopper on the front edge if necessary. 19
-
 1
1 -
2
-
3
-
4
-
5
-
6
-
7
-
8
-
9
-
10
-
11
-
12
-
13
-
 14
14 -
 15
15 -
 16
16 -
 17
17 -
 18
18 -
 19
19 -
 20
20 -
 21
21 -
 22
22 -
 23
23 -
 24
24 -
25
-
26
-
27
-
28
-
29
-
30
-
31
-
32
-
33
-
34
-
35
-
36
-
37
-
38
-
39
-
40
-
41
-
42
-
43
-
44
-
45
-
46
-
47
-
48
-
49
-
50
-
51
-
52
-
53
-
54
-
55
-
56
-
57
-
58
-
59
-
60
-
61
-
62
 |
 |