Casio KL-820 User Guide - Page 27
Controlling the Appearance of Your Labels
 |
UPC - 079767181574
View all Casio KL-820 manuals
Add to My Manuals
Save this manual to your list of manuals |
Page 27 highlights
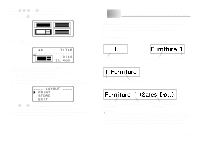
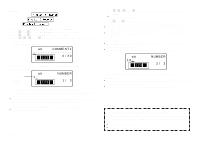
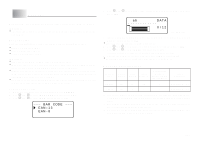
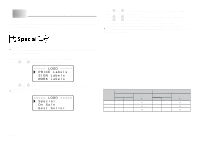
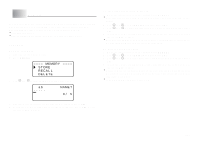
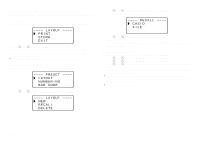
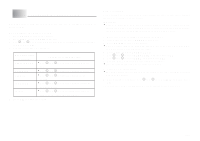
Example 1. While the text input screen is displayed, press PRESET. 2. Use z and x to select NUMBERING and then press SET. 3. Use z and x to select NEW and then press SET. 4. Use c, v, x, and z to select the numbering format, and then press SET. Here we will select Format 4. ab COMME N T 1 123 0 / 30 5. Input the text for the COMMENT 1 box, and then press SET. Here we will input "File ". Shows the starting number. ab 1• • 123 NUMB ER 1/ 3 6. Change the starting number, if you want, and then press SET. Here we want to number the labels from 15 through 17, so we would input 15 here. • If you make a mistake and input the wrong number, delete the current number and re-input. You can specify a number up to three digits long. 7. Input the text for the COMMENT 2 box, and then press SET. • Here we will input " Receipt". E-26 8. Use c, v, x, and z to select the number style you want, and then press SET. • Here we will select No.1. 9. Use z, and x to select PRINT, and then press SET. 10.Use the number keys to specify the number of labels to be printed. • Here we want to print one set of labels numbered 15, 16, and 17, so we will specify 3 for the number of labels to be printed. • For the number of labels to be printed, you can specify a value in the range of 1 to 9. 11. Press SET. • Pressing SET starts the print operation and causes a screen like the one shown below to appear. • If printing reaches the number 999, the next number printed is 000. ab 18 • 123 NUMB ER 2/ 3 The number that appears here depends on the label you created. Important! • Consecutive labels are not cut during the print operation. Cut them with scissors after printing is complete. • For information about saving tape label data, see page E-29. Controlling the Appearance of Your Labels In steps from 5 through 7 of the basic procedure described above, you can also configure the following settings to control the appearance of your label. • Font and style settings • FORM "Direction" and "Mirror" settings
-
 1
1 -
2
-
3
-
4
-
5
-
6
-
7
-
8
-
9
-
10
-
11
-
12
-
13
-
14
-
15
-
16
-
17
-
18
-
19
-
20
-
21
-
 22
22 -
 23
23 -
 24
24 -
 25
25 -
 26
26 -
 27
27 -
 28
28 -
 29
29 -
 30
30 -
 31
31 -
 32
32 -
33
-
34
-
35
-
36
-
37
-
38
-
39
-
40
-
41
-
42
-
43
-
44
-
45
 |
 |
