Cisco 2501 Configuration Guide - Page 6
Configuring the Access Server Using the Configuration Mode, show version, enable, config terminal - router manual
 |
View all Cisco 2501 manuals
Add to My Manuals
Save this manual to your list of manuals |
Page 6 highlights
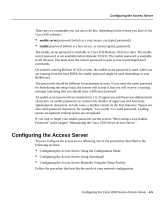
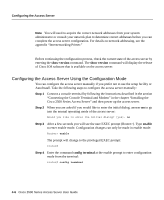
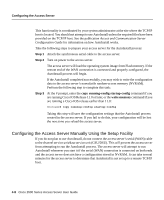
Configuring the Access Server Note You will need to acquire the correct network addresses from your system administrator or consult your network plan to determine correct addresses before you can complete the access server configuration. For details on network addressing, see the appendix "Internetworking Primer." Before continuing the configuration process, check the current state of the access server by entering the show version command. The show version command will display the release of Cisco IOS software that is available on the access server. Configuring the Access Server Using the Configuration Mode You can configure the access server manually if you prefer not to use the setup facility or AutoInstall. Take the following steps to configure the access server manually: Step 1 Connect a console terminal by following the instructions described in the section "Connecting the Console Terminal and Modem" in the chapter "Installing the Cisco 2500 Series Access Server" and then power up the access server. Step 2 When you are asked if you would like to enter the initial dialog, answer no to go into the normal operating mode of the access server: Would you like to enter the initial dialog? [yes]: no Step 3 After a few seconds you will see the user EXEC prompt (Router>). Type enable to enter enable mode. Configuration changes can only be made in enable mode: Router> enable The prompt will change to the privileged EXEC prompt: router# Step 4 Enter the command config terminal at the enable prompt to enter configuration mode from the terminal: router# config terminal 4-6 Cisco 2500 Series Access Server User Guide
-
 1
1 -
 2
2 -
 3
3 -
 4
4 -
 5
5 -
 6
6 -
 7
7 -
 8
8 -
 9
9 -
 10
10 -
 11
11 -
 12
12 -
13
-
14
-
15
-
16
-
17
-
18
 |
 |
