Cisco PLE300 User Guide - Page 10
Advanced Security, After the Network Password is con d, Adapter 3 - no power
 |
View all Cisco PLE300 manuals
Add to My Manuals
Save this manual to your list of manuals |
Page 10 highlights
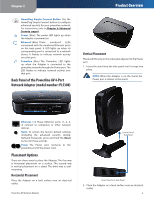
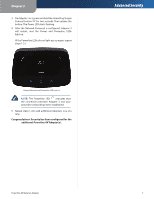
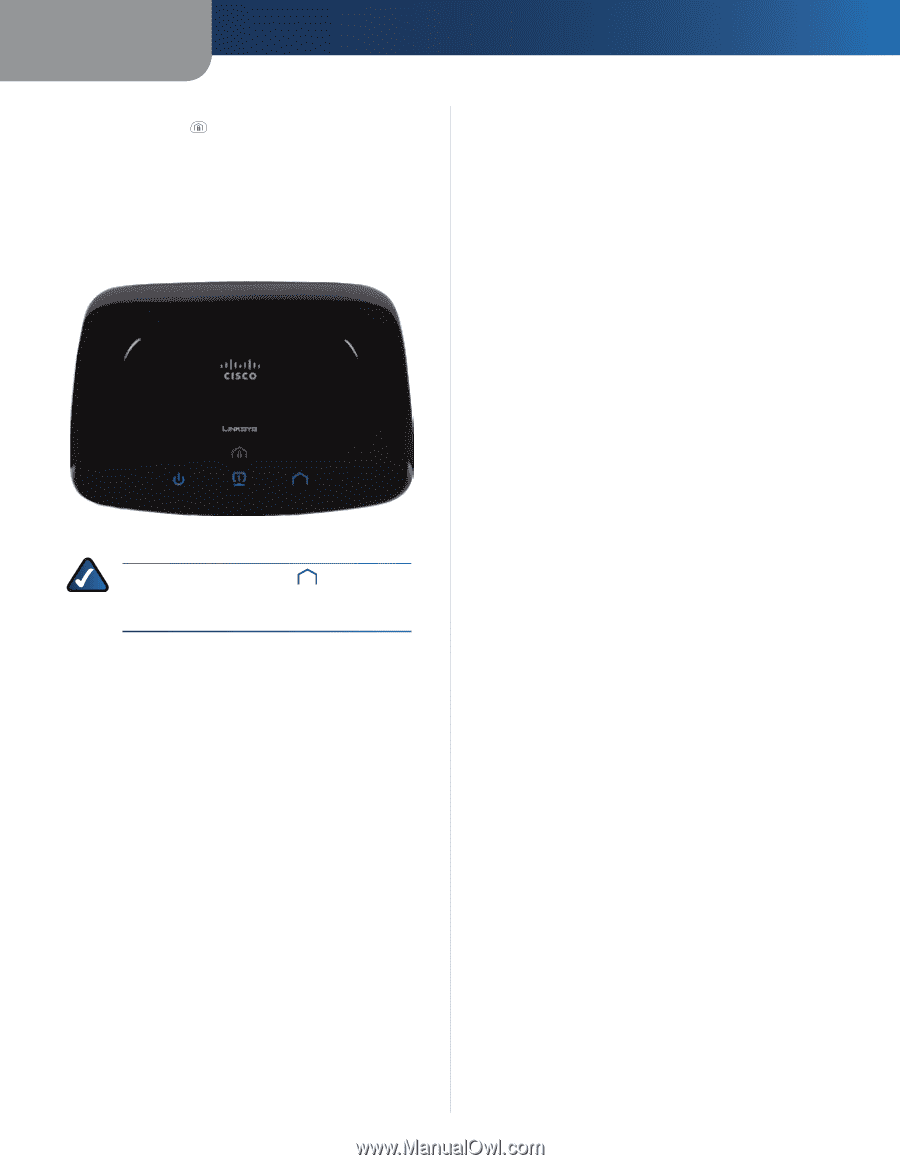
Chapter 3 3. On Adapter 1 or 2, press and hold the HomePlug Simple Connect button for two seconds. Then release the button. The Power LED starts flashing. 4. After the Network Password is configured, Adapter 3 will restart, and the Power and Powerline LEDs light up. (If the Powerline LEDs do not light up, try again; repeat steps 1-3.) Advanced Security Power, Ethernet, and Powerline LEDs are Lit NOTE: The Powerline LED indicates that the connection between Adapter 3 and your powerline network has been established. 5. Repeat steps 1-4 to add additional Adapters, one at a time. Congratulations! Security has been configured for the additional Powerline AV Adapter(s). Powerline AV Network Adapter 7
-
 1
1 -
2
-
3
-
4
-
 5
5 -
 6
6 -
 7
7 -
 8
8 -
 9
9 -
 10
10 -
 11
11 -
 12
12 -
 13
13 -
 14
14 -
 15
15 -
16
-
17
-
18
-
19
-
20
-
21
-
22
-
23
-
24
-
25
-
26
-
27
-
28
-
29
-
30
-
31
 |
 |
Chapter 3
Advanced Security
7
Powerline AV Network Adapter
On Adapter 1 or 2, press and hold the HomePlug Simple
3.
Connect button
for two seconds. Then release the
button. The Power LED starts flashing.
After the Network Password is configured, Adapter 3
4.
will restart, and the Power and Powerline LEDs
light up.
(If the Powerline LEDs do not light up, try again; repeat
steps 1-3.)
Power, Ethernet, and Powerline LEDs are Lit
NOTE:
The Powerline LED
indicates that
the connection between Adapter 3 and your
powerline network has been established.
Repeat steps 1-4 to add additional Adapters, one at a
5.
time.
Congratulations! Security has been configured for the
additional Powerline AV Adapter(s).