Craftsman 28129 Operation Manual - Page 10
The Drill, Hammer, Drill
 |
UPC - 009281290001
View all Craftsman 28129 manuals
Add to My Manuals
Save this manual to your list of manuals |
Page 10 highlights
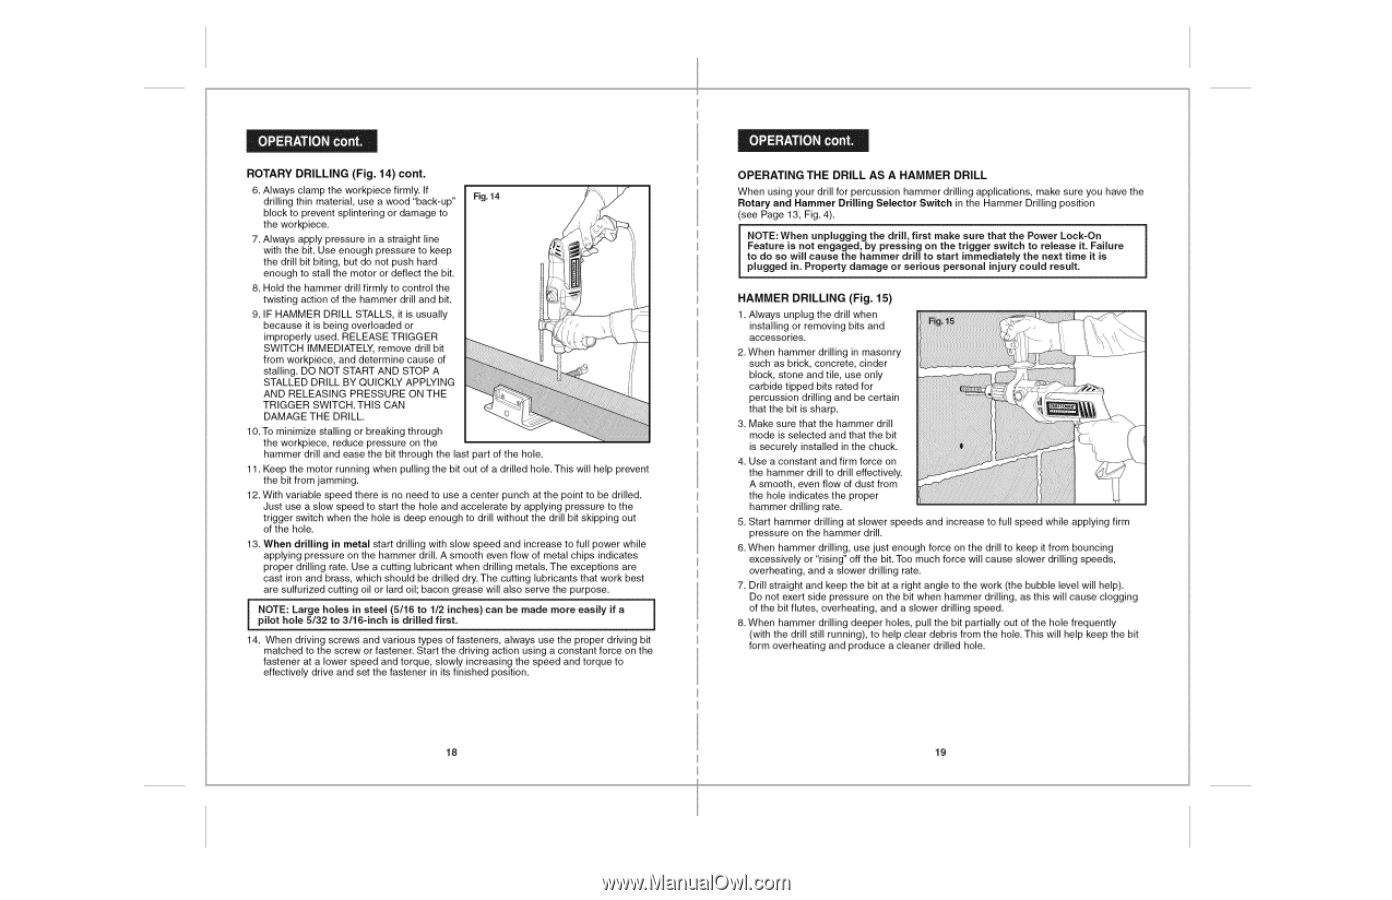
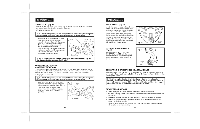
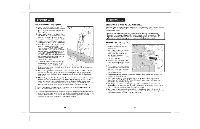
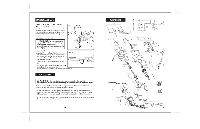
ROTARY DRILLING (Fig. 14) cont. 6. Always clamp the workpiece firmly. If drilling thin material, use a wood "back-up" block to prevent splintering or damage to the workpiece. Fig. 14 7. Always apply pressure in a straight line with the bit. Use enough pressure to keep the drill bit biting, but do not push hard enough to stall the motor or deflect the bit. 8. Hold the hammer drill firmly to control the twisting action of the hammer drill and bit. 9. IF HAMMER DRILL STALLS, it is usually because it is being overloaded or improperly used. RELEASE TRIGGER SWITCH IMMEDIATELY, remove drill bit from workpiece, and determine cause of stalling. DO NOT START AND STOP A STALLED DRILL BY QUICKLY APPLYING AND RELEASING PRESSURE ON THE TRIGGER SWITCH. THIS CAN DAMAGE THE DRILL. 10. To minimize stalling or breaking through the workpiece, reduce pressure on the hammer drill and ease the bit through the last part of the hole. 11. Keep the motor running when pulling the bit out of a drilled hole. This will help prevent the bit from jamming. 12. With variable speed there is no need to use a center punch at the point to be drilled. Just use a slow speed to start the hole and accelerate by applying pressure to the trigger switch when the hole is deep enough to drill without the drill bit skipping out of the hole. 13. When drilling in metal start drilling with slow speed and increase to full power while applying pressure on the hammer drill. A smooth even flow of metal chips indicates proper drilling rate. Use a cutting lubricant when drilling metals. The exceptions are cast iron and brass, which should be drilled dry. The cutting lubricants that work best are sulfurized cutting oil or lard oil; bacon grease will also serve the purpose. NpiOloTtEh: olLear5g/e32hotoles3/1i6n=sintecehl (i5s/1d6rillteod 1/f2irsitn. ches) can be made more easily if a 14. When driving screws and various types of fasteners, always use the proper driving bit matched to the screw or fastener. Start the driving action using a constant force on the fastener at a lower speed and torque, slowly increasing the speed and torque to effectively drive and set the fastener in its finished position. 18 OPERATING THE DRILL AS A HAMMER DRILL When using your drill for percussion hammer drilling applications, make sure you have the Rotary and Hammer Drilling Selector Switch in the Hammer Drilling position (see Page 13, Fig. 4). NOTE: When unplugging the drill, first make sure that the Power Lock-On Feature is not engaged, by pressing on the trigger switch to release it. Failure to do so will cause the hammer drill to start immediately the next time it is plugged in. Property damage or serious personal injury could result. HAMMER DRILLING (Fig. 15) 1. Always unplug the drill when installing or removing bits and accessories. 2. When hammer drilling in masonry such as brick, concrete, cinder block, stone and tile, use only carbide tipped bits rated for percussion drilling and be certain that the bit is sharp. 3. Make sure that the hammer drill mode is selected and that the bit is securely installed in the chuck. 4. Use a constant and firm force on the hammer drill to drill effectively. A smooth, even flow of dust from the hole indicates the proper hammer drilling rate. 5. Start hammer drilling at slower speeds and increase to full speed while applying firm pressure on the hammer drill. 6. When hammer drilling, use just enough force on the drill to keep it from bouncing excessively or "rising" off the bit. Too much force will cause slower drilling speeds, overheating, and a slower drilling rate. 7. Drill straight and keep the bit at a right angle to the work (the bubble level will help). Do not exert side pressure on the bit when hammer drilling, as this will cause clogging of the bit flutes, overheating, and a slower drilling speed. 8. When hammer drilling deeper holes, pull the bit partially out of the hole frequently (with the drill still running), to help clear debris from the hole. This will help keep the bit form overheating and produce a cleaner drilled hole. 19
-
 1
1 -
2
-
3
-
4
-
 5
5 -
 6
6 -
 7
7 -
 8
8 -
 9
9 -
 10
10 -
 11
11 -
 12
12 -
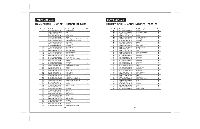 13
13 -
 14
14
 |
 |