Craftsman 28992 Operation Manual - Page 16
General, Operating, Safety
 |
View all Craftsman 28992 manuals
Add to My Manuals
Save this manual to your list of manuals |
Page 16 highlights
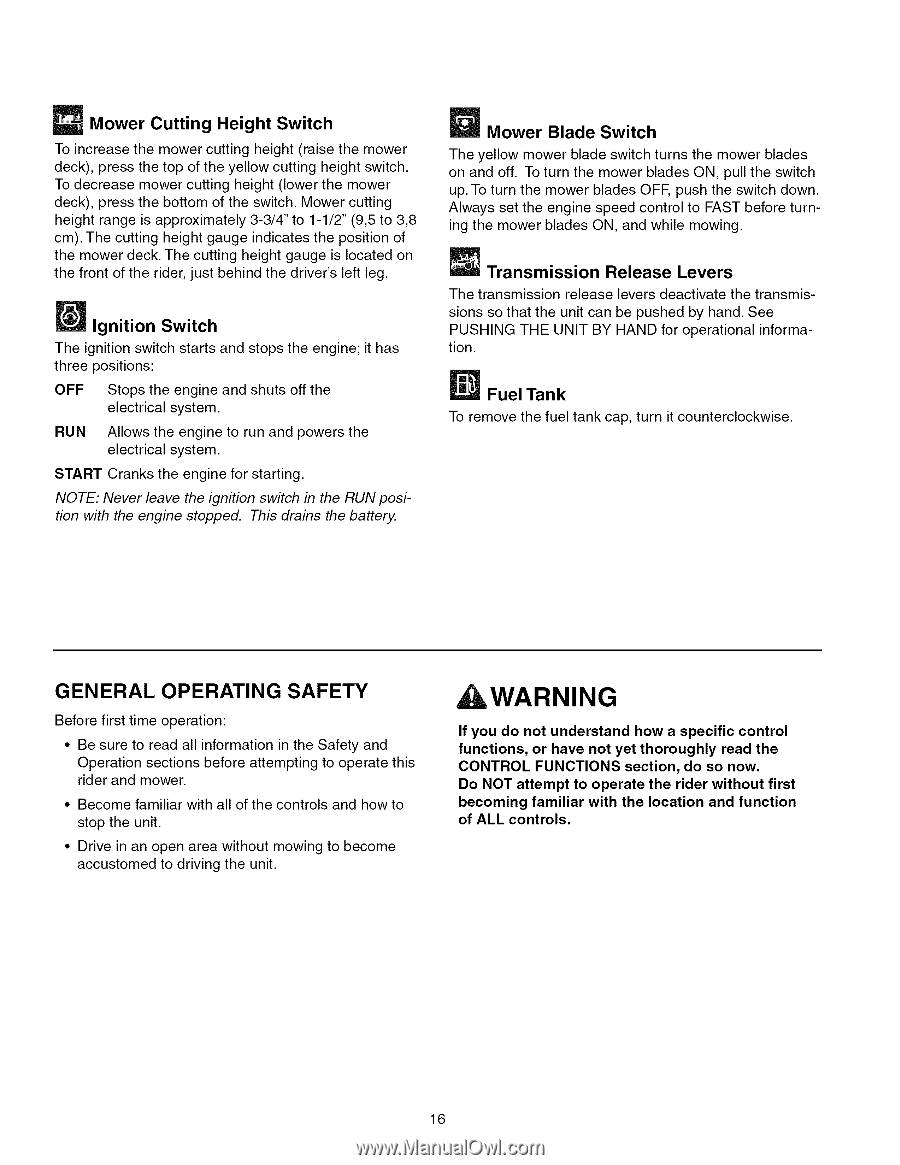
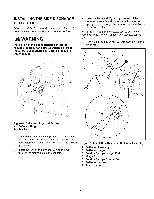
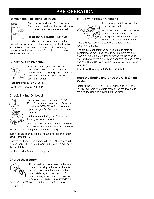
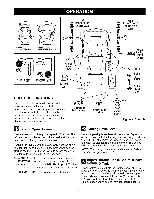
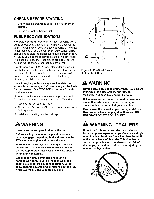
Mower Cutting Height Switch To increase the mower cutting height (raise the mower deck), press the top of the yellow cutting height switch. To decrease mower cutting height (lower the mower deck), press the bottom of the switch. Mower cutting height range is approximately 3-3/4" to 1-1/2" (9,5 to 3,8 cm). The cutting height gauge indicates the position of the mower deck. The cutting height gauge is located on the front of the rider, just behind the driver's left leg. Ignition Switch The ignition switch starts and stops the engine; it has three positions: OFF Stops the engine and shuts off the electrical system. RUN Allows the engine to run and powers the electrical system. START Cranks the engine for starting. NOTE: Never leave the ignition switch in the RUN position with the engine stopped. This drains the battery. _ Mower Blade Switch The yellow mower blade switch turns the mower blades on and off. To turn the mower blades ON, pull the switch up. To turn the mower blades OFF, push the switch down. Always set the engine speed control to FAST before turning the mower blades ON, and while mowing. Transmission Release Levers The transmission release levers deactivate the transmissions so that the unit can be pushed by hand. See PUSHING THE UNIT BY HAND for operational information. Fuel Tank To remove the fuel tank cap, turn it counterclockwise. GENERAL OPERATING SAFETY Before first time operation: • Be sure to read all information in the Safety and Operation sections before attempting to operate this rider and mower. • Become familiar with all of the controls and how to stop the unit. • Drive in an open area without mowing to become accustomed to driving the unit. WARNING If you do not understand how a specific control functions, or have not yet thoroughly read the CONTROL FUNCTIONS section, do so now. Do NOT attempt to operate the rider without first becoming familiar with the location and function of ALL controls. 16
-
 1
1 -
2
-
3
-
4
-
5
-
6
-
7
-
8
-
9
-
10
-
 11
11 -
 12
12 -
 13
13 -
 14
14 -
 15
15 -
 16
16 -
 17
17 -
 18
18 -
 19
19 -
 20
20 -
 21
21 -
22
-
23
-
24
-
25
-
26
-
27
-
28
-
29
-
30
-
31
-
32
-
33
-
34
-
35
-
36
-
37
-
38
-
39
-
40
-
41
-
42
-
43
-
44
-
45
-
46
-
47
-
48
-
49
-
50
-
51
-
52
-
53
-
54
-
55
-
56
-
57
-
58
-
59
-
60
-
61
-
62
-
63
-
64
-
65
-
66
-
67
-
68
-
69
-
70
-
71
-
72
-
73
-
74
-
75
-
76
-
77
-
78
-
79
-
80
-
81
-
82
-
83
-
84
-
85
-
86
-
87
-
88
-
89
-
90
-
91
-
92
-
93
-
94
-
95
-
96
-
97
-
98
-
99
-
100
-
101
-
102
-
103
-
104
-
105
-
106
-
107
-
108
-
109
-
110
-
111
-
112
-
113
-
114
-
115
-
116
-
117
-
118
-
119
-
120
 |
 |