DELPHI SA10001 Operation Guide - Page 8
Using the SKYFi, Audio System - model
 |
UPC - 689604150894
View all DELPHI SA10001 manuals
Add to My Manuals
Save this manual to your list of manuals |
Page 8 highlights
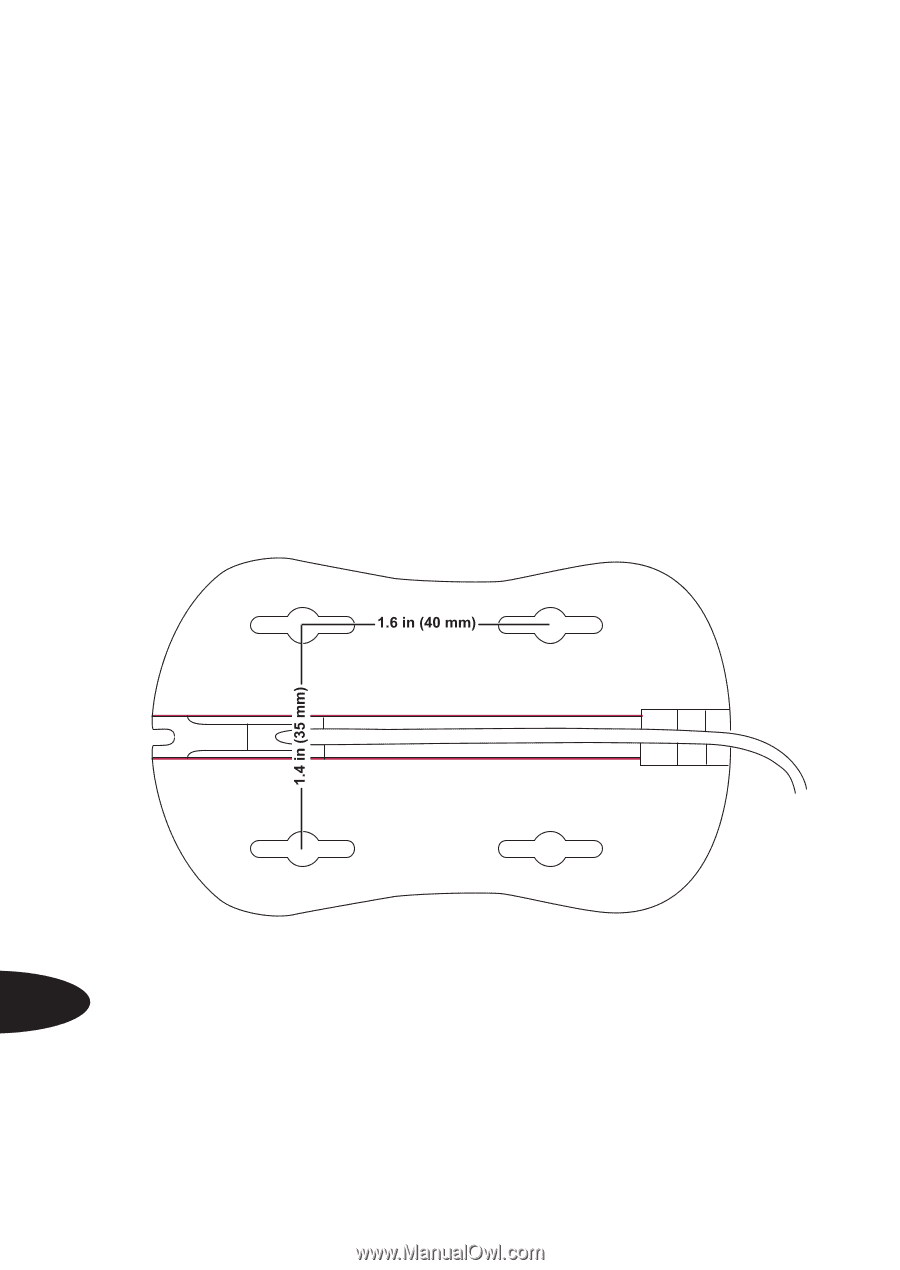
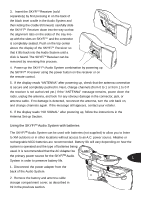
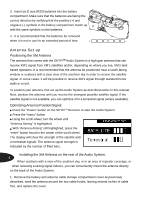
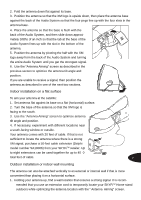
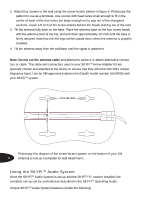
2. Attach four screws to the wall using the screw-locator pattern in figure 6. Photocopy the pattern to use as a template. Use screws with head sizes small enough to fit in the center of each of the four holes but large enough not to pop out of the elongated sections. Leave 1/8 inch of the screw shanks behind the heads sticking out of the wall. 3. Tilt the antenna fully back on the base. Place the antenna base on the four screw heads with the antenna pivot at the top. and pull down approximately 1/4 inch until the base is firmly secured. Note that the XM logo will be upside down when the antenna is properly installed. 4. Tilt the antenna away from the wall/base until the signal is optimized. Note: Do not cut the antenna cable and attempt to splice it or attach alternative connectors or cable. The cable and connectors used in your SKYFiTM Home Adapter Kit are specially chosen and attached at the factory to ensure that they will work with XM's unique frequency band. Use an XM-approved extension kit (Deplhi model number SA10006) with your SKYFiTM system. Photocopy this diagram of the screw-locator pattern on the bottom of your XM 8 Antenna to use as a template for wall attachment. Using the SKYFiTM Audio System Once the SKYFiTM Audio System is set-up and the SKYFiTM R eceiver installed, the complete set-up can be controlled as described in the SKYFiTM Operating Guide. Unique SKYFiTM Audio System features include the following:
-
 1
1 -
2
-
 3
3 -
 4
4 -
 5
5 -
 6
6 -
 7
7 -
 8
8 -
 9
9 -
 10
10 -
 11
11 -
 12
12 -
 13
13
 |
 |