Dacor ERD36SCH Use and Care Manual - Page 13
Adjusting the Oven Temperature, Replacing the Oven Lights
 |
View all Dacor ERD36SCH manuals
Add to My Manuals
Save this manual to your list of manuals |
Page 13 highlights
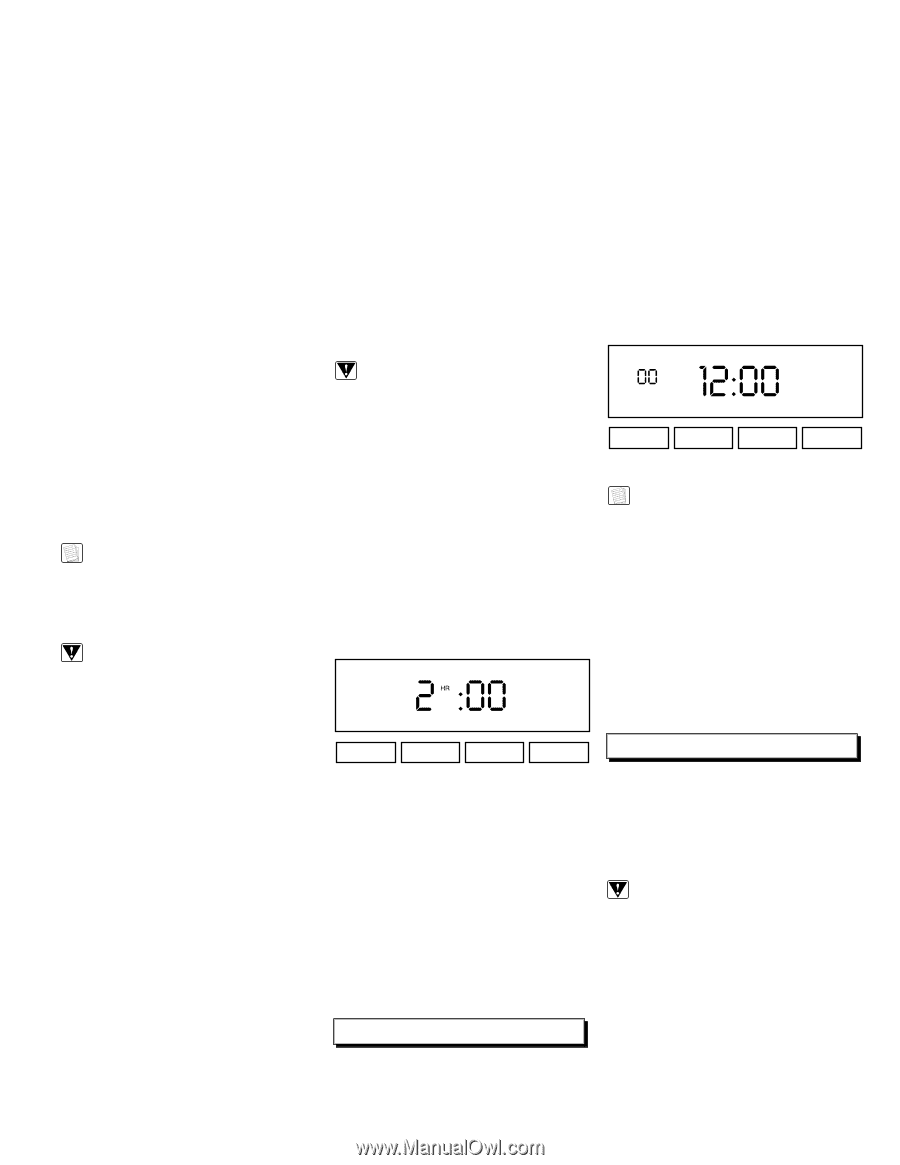
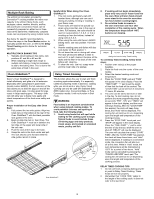
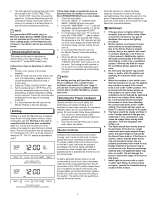
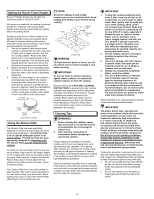
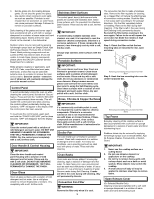
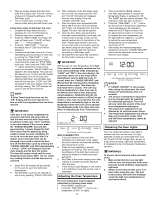
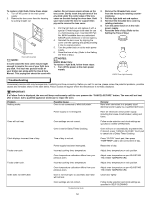
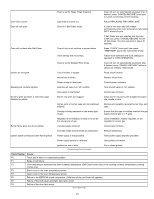
3. Wipe up excess grease and other food spills with a damp cloth. This will minimize smoke and increase the efficiency of the Self-Clean cycle. 4. Turn on kitchen fans or vents to help remove odors during the Self-Clean cycle. Follow these steps to Self-Clean the oven: 1. Complete all steps listed above for preparing the oven for Self-Cleaning. 2. Close the oven door completely. 3. Press the "SELF-CLEAN" touch pad. The oven will beep once, "CLEAN" will flash, and "- -:- -" will be displayed. 4. Press the "TIME•TEMP" "+" pad and the default time of "2:00" hours will be displayed. 5. Increase the self-clean time up to 4 hours (depending upon the amount of oven soil) by holding the "TIME•TEMP" "+" pad. 6. To delay the self-clean start to a more convenient time, press the "STOP TIME" touch pad. Then, press the "TIME•TEMP" "+" pad to set the time of day for the cycle to be complete. "DELAY TIMED" will appear in the clock display. The cycle can be delayed up to 11 hours and 50 minutes. 7. Approximately 30 to 60 seconds after selecting Self-Clean, the automatic door latch will lock the door. "LOCK" and "ON" will appear in the clock display. The oven will begin heating. The "ON" indicator will cycle on and off with the burner. NOTE: If Delay Timed mode has been set, the "ON" display and the oven heat will not turn on until the programmed time has been reached. IMPORTANT: If the door is not closed completely, the automatic door latch will not be able to lock the door when the Self-Clean mode is selected. In this case, "door" will flash in the clock display. If this occurs, press the "CANCEL•SECURE" pad and wait approximately 1 minute. Repeat the SelfClean steps from the beginning, being certain to close the door completely. Do not try to force the door open after it is locked, as the automatic latch can be damaged. If you need to unlock the door, turn off the Self-Clean cycle by pressing the "CANCEL•SECURE" pad. After approximately 1 minute, "LOCK" will disappear from the clock display, and the door will unlock. The door will remain locked until the oven temperature falls below 390˚F. Do not select any cooking function until the oven door is unlocked. 8. About 50 to 60 minutes will be required for the oven to reach the Self-Clean temperature. 9. The Self-Clean cycle can be stopped at any time by pressing "CANCEL•SECURE." 10. After completion of the Self-Clean cycle, the oven will stop heating and the "ON" and "CLEAN" indicators will disappear from the clock display. Press the "CANCEL•SECURE" pad. 11. After the interior oven temperature falls below 390˚F, the door latch will release and "LOCK" will disappear from the clock display. The door can now be opened. 12. Open the door. After ensuring that the oven has cooled sufficiently to be safe, use a damp cloth or sponge to wipe out the powder residue found in the bottom of the oven. If white spots remain in the oven, remove them with a non-scratch scouring pad before using the oven again. These spots are normally salt that cannot be removed by a Self-Clean cycle. 13. Re-install the oven racks and convection fan filter before cooking in the oven. IMPORTANT: With the oven at room temperature, if the SelfClean mode is accidentally selected and the oven enters Self-Clean mode (indicated by "LOCK" and "ON" in the clock display), the user must cancel out of this mode before attempting to select a different mode. To cancel, press the "CANCEL•SECURE" pad. Wait at least 60 seconds before attempting to select another mode. This allows the door latch time to unlock. The user may find the temperature in their new oven to be different from that of their previouslyowned appliance. Familiarity with the old appliance sometimes makes it difficult to get used to a new oven. If you feel that the oven temperature is consistently high or low, the temperature of the new oven can be adjusted. The adjustment needs to be done only once. (Refer to Adjusting the Oven Temperature) CLEAN LOCK ON CLEAN TIME TIMER 1 CLOCK STOP TIME TIMER 2 Clock Display in Self-Cleaning Mode SELF-CLEANING TIPS 1. If any soil remains in the oven after completion of a Self-Clean cycle, repeat the cycle if desired. Increase the cleaning time during future cycles. 2. Clean the oven regularly to prevent excessive soil build-up. This will increase the efficiency of the Self-Clean cycle and reduce the amount of smoke and odors generated. 3. Self-Clean in the cooler evening hours after cooking is complete and when electricity rates are lower. 4. In the 48 inch model Ranges, if one oven is in the Self-Clean mode the second oven is inoperable. Adjusting the Oven Temperature The oven temperature may be adjusted (calibrated) by following these steps: 1. Press "BAKE" selector pad. 2. Press the "TIME•TEMP" "+" pad to set a temperature of 500˚F or higher. 11 3. Press and hold the "BAKE" selector pad. After approximately 5 seconds the temperature display is replaced by "00". The "BAKE" pad can now be released. The calibration mode has been accessed. 4. Press the "TIME•TEMP" "+" or "-" pad to set the amount of temperature adjustment. The temperature can be changed a maximum of 35˚F higher or lower. Set the adjustment to positive (+) numbers to increase the oven temperature; set the adjustment to negative (-) numbers to reduce the oven temperature. Temperatures can be adjusted in increments of 5˚F. 5. After setting the desired temperature adjustment, press the "CANCEL•SECURE" pad to exit the calibration mode and to reset the clock display. TIMER 1 CLOCK STOP TIME TIMER 2 Clock Display When Adjusting (Calibrating) the Oven Temperature NOTES: 1. If "CANCEL•SECURE" is not pressed after setting the adjustment, the clock display will automatically reset in 6 seconds. 2. The amount of temperature adjustment may be changed again by repeating the calibration procedure. The oven will only retain the amount of the most recent temperature adjustment. 3. The temperature adjustment is not affected by an electrical power failure. 4. The temperature adjustment only affects Bake and Convection modes. Broil and Self-Clean temperatures cannot be adjusted. Replacing the Oven Lights Your new range has halogen oven lights to enhance the view into the oven. The light assembly consists of a removable lens cover and 10-watt 120VAC halogen bulb, as well as a light fixture housing. Light bulb replacement is considered to be a homeowner maintenance operation. WARNINGS: To prevent electrical shock and/or personal injury: 1. Make certain that the oven and light bulb are cool and that power to the oven has been turned off before replacing the light bulb. 2. Always ensure that the lens cover is in place when using the oven. The lens cover protects the bulb from breakage caused by high oven temperatures or mechanical shock.
-
 1
1 -
2
-
3
-
4
-
5
-
6
-
7
-
 8
8 -
 9
9 -
 10
10 -
 11
11 -
 12
12 -
 13
13 -
 14
14 -
 15
15 -
 16
16 -
 17
17 -
 18
18 -
19
-
20
 |
 |