Dacor ERD36SCH Use and Care Manual - Page 14
Troubleshooting - review
 |
View all Dacor ERD36SCH manuals
Add to My Manuals
Save this manual to your list of manuals |
Page 14 highlights
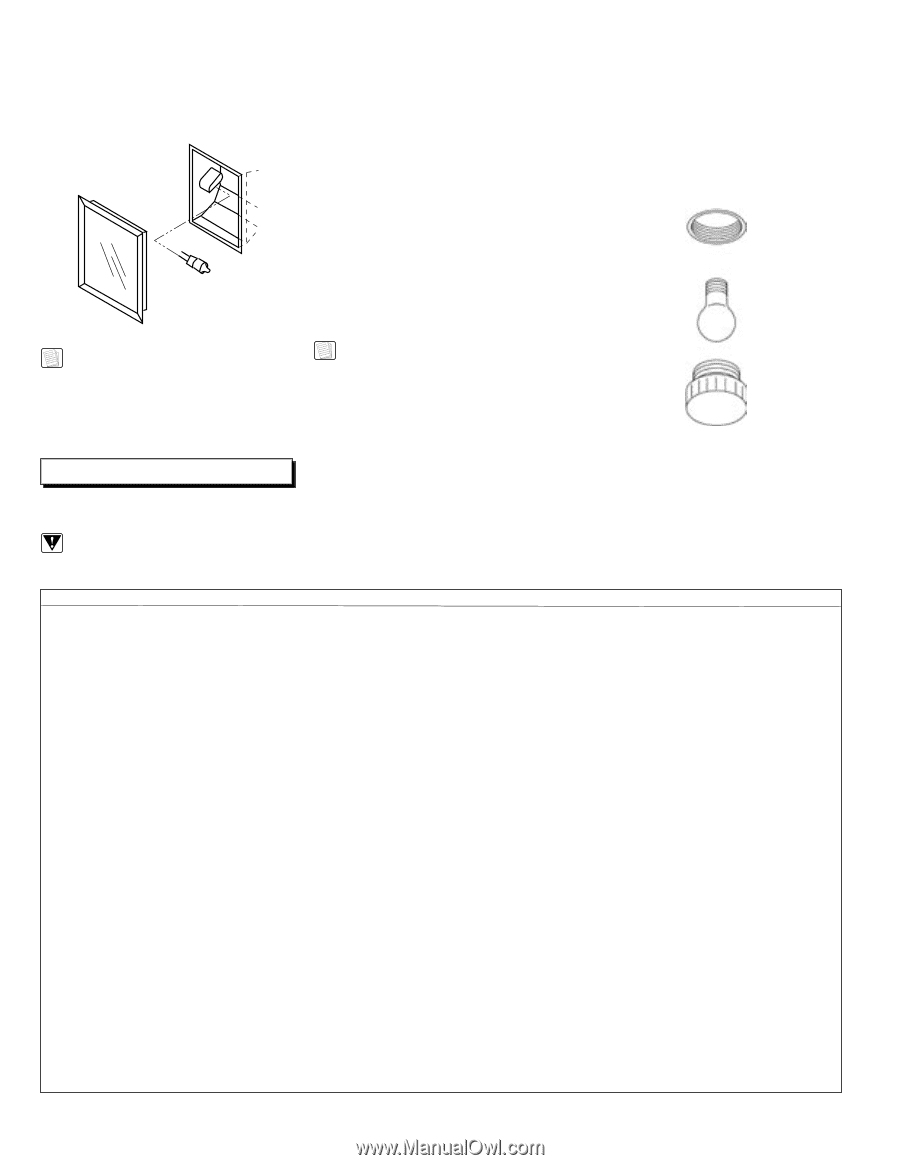
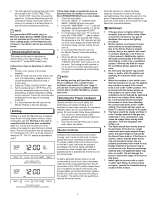
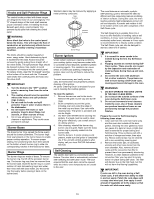
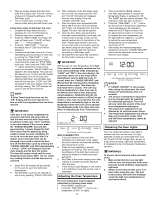
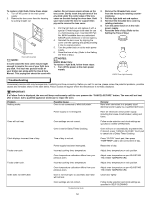
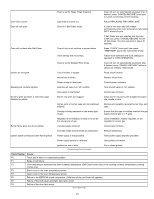
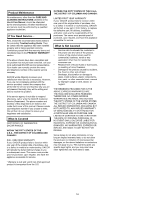
To replace a light bulb, follow these steps: 1. Turn off the power at the main power supply. 2. Remove the lens cover from the housing by pulling straight out. Lens Cover NOTE: Oven Light Assembly In some cases the lens cover may be tight enough to require the use of your light lens pry stick. This tool was packed inside of your broiler pan along with the Use & Care Manual. This prying tool should be used with caution. Do not cause uneven stress on the lens cover. Gently insert the point end of the pry stick under the center edge of the lens cover on the side facing the oven door. Hold your hand under the lens for support then pry out to remove the lens cover. 3. Pull the light bulb out and replace it with a special 10-watt halogen bulb rated for use in a Self-Cleaning oven. Use DACOR Part No. 86364 available from any authorized DACOR parts distributor or service agency. 4. Reinstall the lens cover by aligning the cover over the opening and gently pressing it into its original position. 5. Turn the power back on at the main power supply. 6. Reset the time of day. (Refer to the Setting the Time of Day.) NOTES: EGR30 Model Only: To replace a light bulb, follow these steps: 1. Turn off the power at the main power supply. 2. Remove the threaded lens cover from the housing by rotating counterclockwise. 3. Pull the light bulb out and replace. 4. Reinstall the threaded lens cover by rotating clockwise. 5. Turn the power back on at the main power supply. 6. Reset the time of day. (Refer to the Setting the Time of Day.) EGR30 Oven Light Assembly Troubleshooting Unnecessary service calls may be expensive, frustrating and time-consuming. Before you call for service, please review the potential problems, possible causes and remedies shown in the table below. Failure Codes will appear where the temperature is normally displayed. IMPORTANT: If a Failure Code is displayed, the oven will beep continuously until the user presses the "CANCEL•SECURE" button. The oven will not heat after a failure. Call a qualified appliance technician to repair the oven. Problem Nothing works. Possible Cause Oven is not connected to electrical power. Remedy Have oven connected to a properly sized electrical power supply by a qualified technician. Power supply is not energized. Have an electrician check power supply, including the house circuit breaker, wiring and fuses. Oven will not heat. Oven settings are not correct. Follow mode selection and clock settings as specified in OVEN OPERATION. Oven is set for Delay Tiimed Cooking, Oven will turn on automatically at present time. If desired, press "CANCEL•SECURE" touch pad to cancel out of Delay Timed Cooking Clock displays incorrect time of day. Time of day is not set. Press "CLOCK" touch pad, then press "TIME•TEMP" pad to set correct time of day. Power supply has been interrupted. Reset time of day. Foods over-cook. Incorrect cooking time, temperature. Adjust time, temperature or rack position. Oven temperature calibration differs from your previous oven. Adjust oven temperature as per ADJUSTING THE OVEN TEMPERATURE. Foods under-cook. Incorrect cooking time, temperature. Adjust time, temperature or rack position. Oven temperature calibration differs from your previous oven. Adjust oven temperature as per ADJUSTING THE OVEN TEMPERATURE. Oven does not Self-Clean. Door is not shut tight, so automatic door latch will not lock. Close door tightly. Oven settings are not correct. Troubleshooting Guide Follow mode selection and clock settings as specified in SELF-CLEANING. 12
-
 1
1 -
2
-
3
-
4
-
5
-
6
-
7
-
8
-
 9
9 -
 10
10 -
 11
11 -
 12
12 -
 13
13 -
 14
14 -
 15
15 -
 16
16 -
 17
17 -
 18
18 -
 19
19 -
20
 |
 |