Dell 968 User Guide - Page 112
Printing More Than One on a Sheet of Paper
 |
View all Dell 968 manuals
Add to My Manuals
Save this manual to your list of manuals |
Page 112 highlights
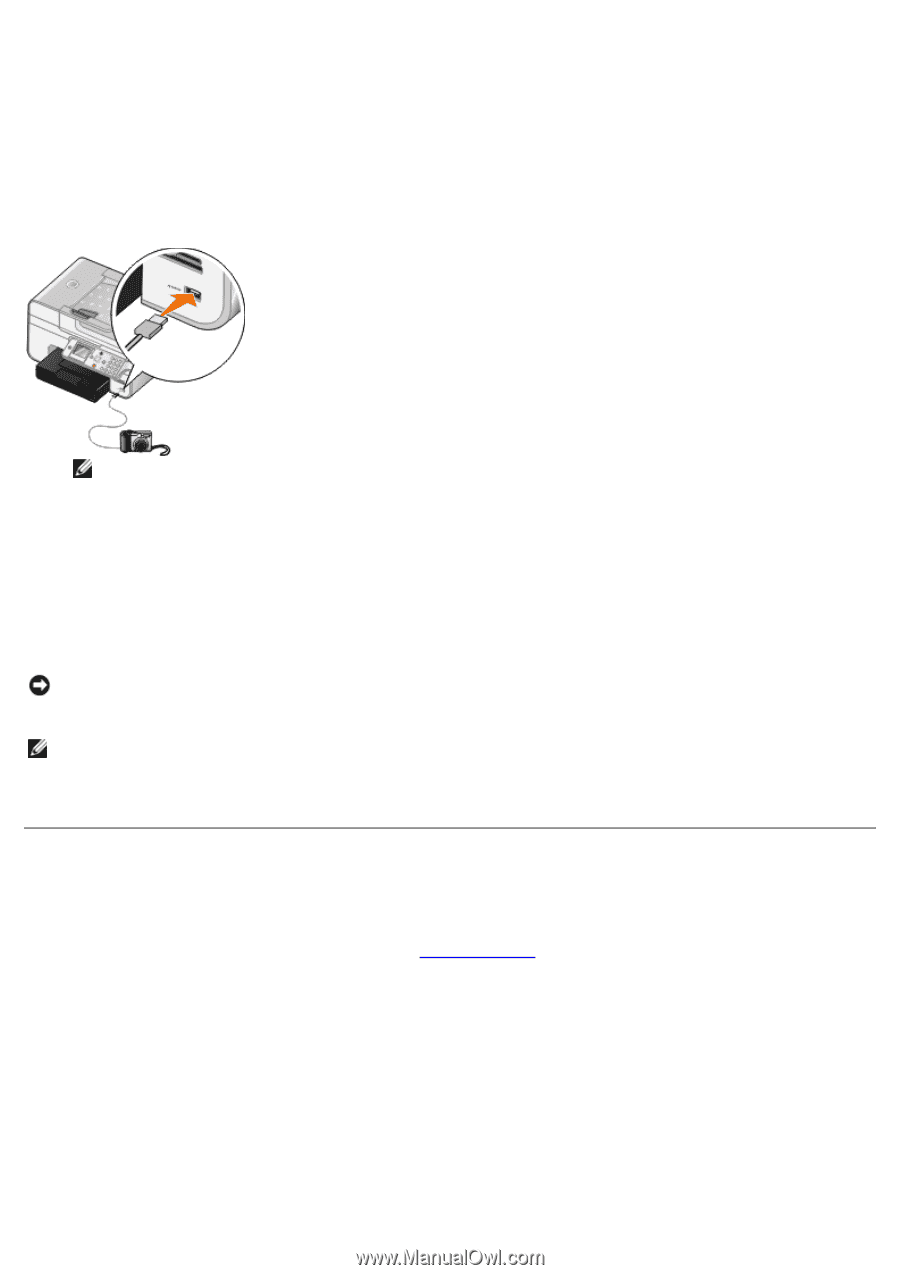
Your printer supports printing from a PictBridge-enabled camera. 1. Turn on your printer. 2. Insert one end of the USB cable into the camera. 3. Insert the other end of the USB cable into the PictBridge port on the front of the printer. See the instructions included with your camera for selection of the appropriate camera USB settings and PictBridge connection and usage information. NOTE: When your printer is not connected to a computer, and a PictBridge camera is connected to your printer, some of the functions of your printer operator panel buttons may be unavailable. These functions become available after you disconnect the PictBridge camera from your printer. 4. Turn on your digital camera. The printer automatically enters PictBridge mode. 5. See the instructions included with your camera to begin printing photos. NOTICE: Do not remove the PictBridge-enabled device or touch the printer near the area of the memory card or PictBridge-enabled device while actively printing from PictBridge. Data corruption can occur. NOTE: If your digital camera has computer and printer (PTP) USB mode selections, use the printer (PTP) USB mode selection for PictBridge printing. For more information, see the documentation included with your camera. Printing More Than One Page on a Sheet of Paper 1. Turn on your computer and printer, and make sure they are connected. 2. Load the paper. For more information, see Loading Paper. 3. With your document open, click File® Print. 4. Click Preferences, Properties, Options, or Setup (depending on the program or operating system). The Printing Preferences dialog box opens. 5. On the Advanced tab, select N-up from the Layout drop-down list. 6. From the Pages per sheet drop-down list, select how many pages you want to be printed on one sheet.
-
 1
1 -
2
-
3
-
4
-
5
-
6
-
7
-
8
-
9
-
10
-
11
-
12
-
13
-
14
-
15
-
16
-
17
-
18
-
19
-
20
-
21
-
22
-
23
-
24
-
25
-
26
-
27
-
28
-
29
-
30
-
31
-
32
-
33
-
34
-
35
-
36
-
37
-
38
-
39
-
40
-
41
-
42
-
43
-
44
-
45
-
46
-
47
-
48
-
49
-
50
-
51
-
52
-
53
-
54
-
55
-
56
-
57
-
58
-
59
-
60
-
61
-
62
-
63
-
64
-
65
-
66
-
67
-
68
-
69
-
70
-
71
-
72
-
73
-
74
-
75
-
76
-
77
-
78
-
79
-
80
-
81
-
82
-
83
-
84
-
85
-
86
-
87
-
88
-
89
-
90
-
91
-
92
-
93
-
94
-
95
-
96
-
97
-
98
-
99
-
100
-
101
-
102
-
103
-
104
-
105
-
106
-
 107
107 -
 108
108 -
 109
109 -
 110
110 -
 111
111 -
 112
112 -
 113
113 -
 114
114 -
 115
115 -
 116
116 -
 117
117 -
118
-
119
-
120
-
121
-
122
-
123
-
124
-
125
-
126
-
127
-
128
-
129
-
130
-
131
-
132
-
133
-
134
-
135
-
136
-
137
-
138
-
139
-
140
-
141
-
142
-
143
-
144
-
145
-
146
-
147
-
148
-
149
-
150
-
151
-
152
-
153
-
154
-
155
-
156
-
157
-
158
-
159
-
160
-
161
-
162
-
163
-
164
-
165
-
166
-
167
-
168
-
169
-
170
-
171
-
172
-
173
-
174
-
175
-
176
-
177
-
178
-
179
-
180
-
181
 |
 |