Dell Premium User's Guide - Page 15
Setup: Setting Up the Dell™ Premium Remote Control
 |
View all Dell Premium manuals
Add to My Manuals
Save this manual to your list of manuals |
Page 15 highlights
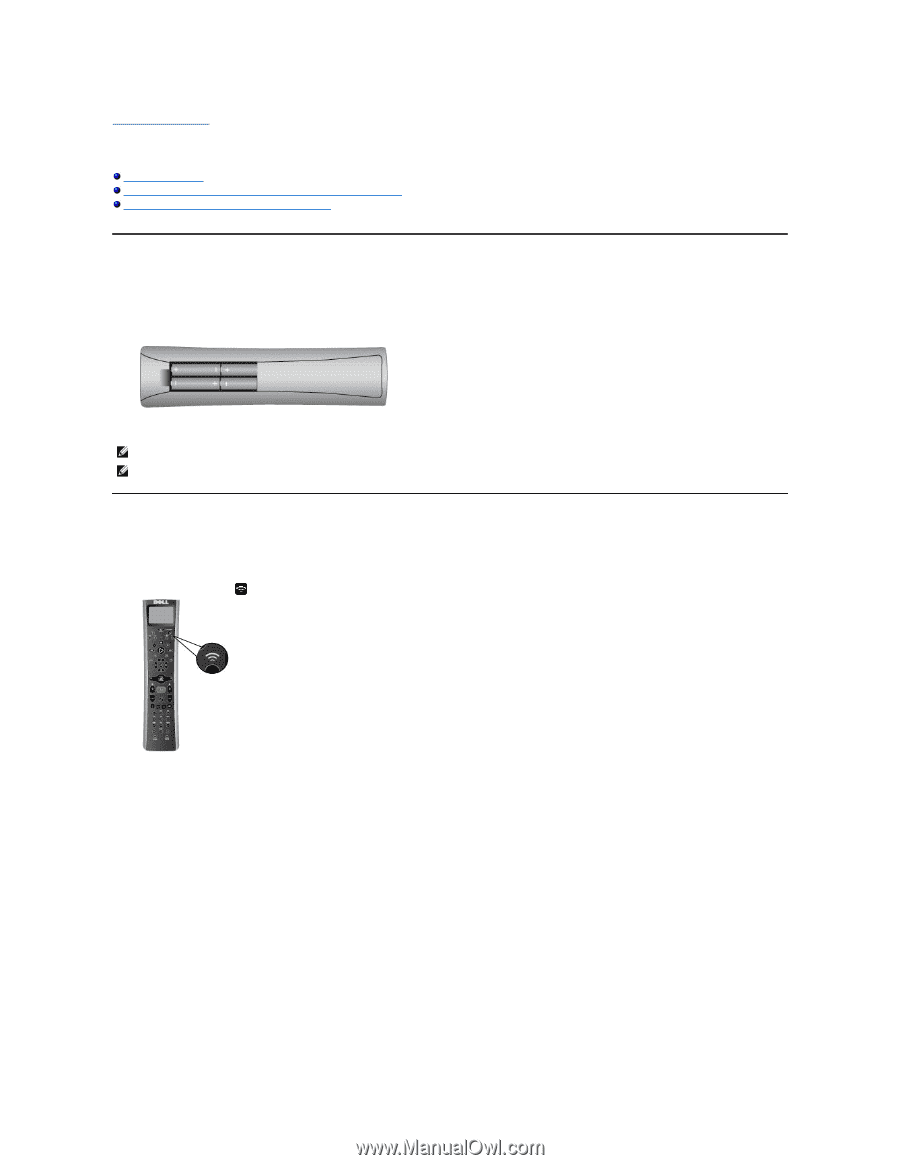
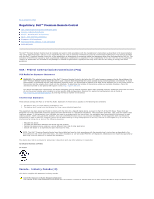
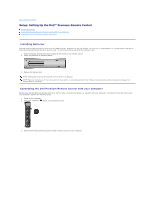
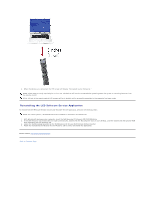
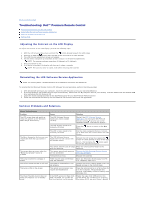
Back to Contents Page Setup: Setting Up the Dell™ Premium Remote Control Installing Batteries Connecting the Dell Premium Remote Control With Your Computer Reinstalling the LCD Software Service Application Installing Batteries The Dell Premium Remote Control comes with four AAA batteries. Standard 1.5-volt (V) alkaline, 1.5-V lithium, or rechargeable 1.2-V nickel cadmium (Ni-Cd) or nickel metal hydride (Ni-Mh) batteries may be used. To install the batteries, perform the following steps: 1. Open the battery compartment door located on the bottom of the remote control. 2. Insert the batteries as indicated below. 3. Replace the battery door. NOTE: Reprogramming may be required after batteries are replaced. NOTE: Remove the batteries if the remote will not be used for an extended period of time. Doing so extends battery life and prevents damage from battery leaks or corrosion. Connecting the Dell Premium Remote Control with your Computer Before using the Dell Premium Remote Control for the first time it must be connected (i.e. "paired") with your Computer. To connect the remote control with your computer, perform the following steps: 1. Power on the computer. 2. Press the "CONNECT" button on the remote control. 3. Hold the Dell Premium Remote Control within 6 inches (15 cm) of your computer.
-
 1
1 -
2
-
3
-
4
-
5
-
6
-
7
-
8
-
9
-
 10
10 -
 11
11 -
 12
12 -
 13
13 -
 14
14 -
 15
15 -
 16
16 -
 17
17 -
 18
18 -
 19
19 -
 20
20 -
21
 |
 |