Dell Studio XPS M1340 Service Manual - Page 32
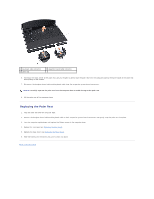
Replacing the Optical Drive
 |
View all Dell Studio XPS M1340 manuals
Add to My Manuals
Save this manual to your list of manuals |
Page 32 highlights
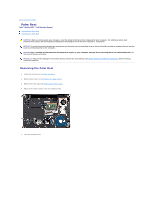
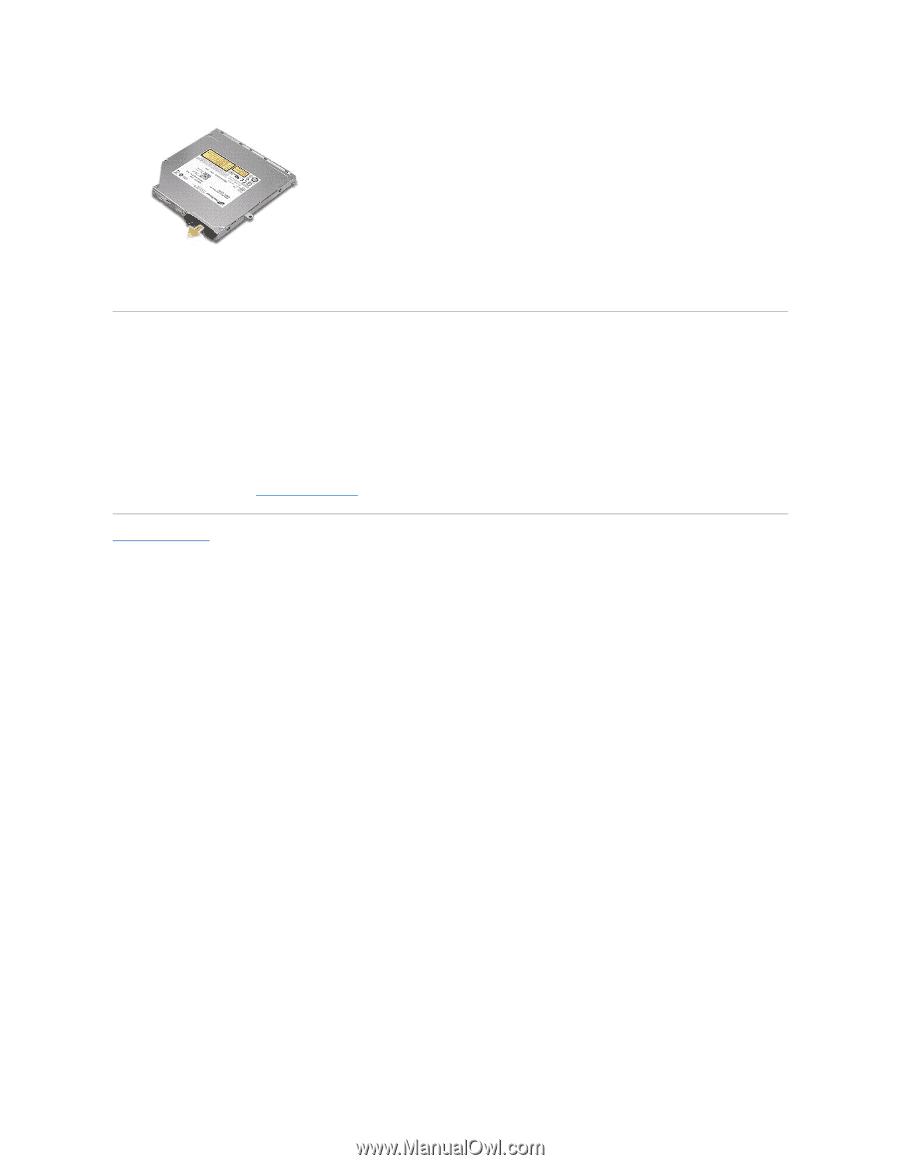
6. Detach the interposer from the optical drive. Replacing the Optical Drive 1. Attach the interposer to the optical drive. 2. Place the optical drive in the computer base. 3. Replace the two screws that secure the optical drive to the system board. 4. Turn the computer over and replace the screw that secures the optical drive to the computer base. 5. Replace the palm rest (see Replacing the Palm Rest). Back to Contents Page
-
 1
1 -
2
-
3
-
4
-
5
-
6
-
7
-
8
-
9
-
10
-
11
-
12
-
13
-
14
-
15
-
16
-
17
-
18
-
19
-
20
-
21
-
22
-
23
-
24
-
25
-
26
-
 27
27 -
 28
28 -
 29
29 -
 30
30 -
 31
31 -
 32
32 -
 33
33 -
 34
34 -
 35
35 -
 36
36 -
 37
37 -
38
-
39
 |
 |
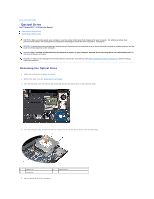
6.
Detach the interposer from the optical drive.
Replacing the Optical Drive
1.
Attach the interposer to the optical drive.
2.
Place the optical drive in the computer base.
3.
Replace the two screws that secure the optical drive to the system board.
4.
Turn the computer over and replace the screw that secures the optical drive to the computer base.
5.
Replace the palm rest (see
Replacing the Palm Rest
).
Back to Contents Page