Dell Studio XPS M1340 Service Manual - Page 34
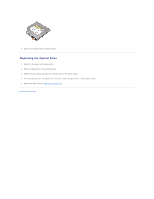
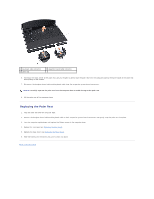
Replacing the Palm Rest
 |
View all Dell Studio XPS M1340 manuals
Add to My Manuals
Save this manual to your list of manuals |
Page 34 highlights
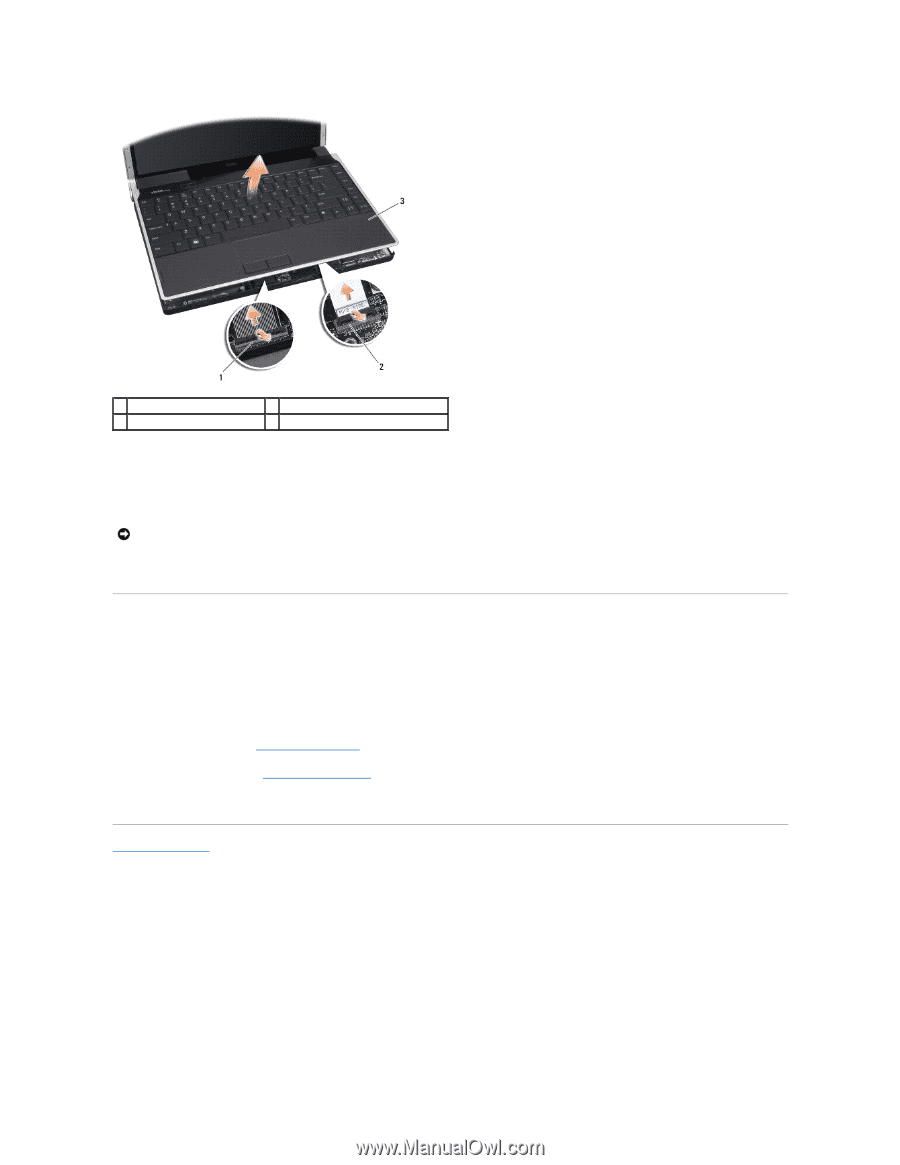
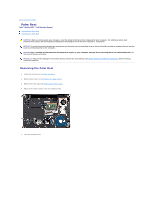
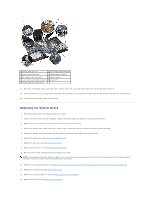
1 keyboard cable connector 3 palm rest 2 daughter board cable connector 6. Starting at the back center of the palm rest, use your fingers to gently ease the palm rest from the computer base by lifting the inside of the palm rest while pulling on the outside. 7. Disconnect the daughter board cable and keyboard cable from the respective system board connectors. NOTICE: Carefully separate the palm rest from the computer base to avoid damage to the palm rest. 8. Lift the palm rest off the computer base. Replacing the Palm Rest 1. Align the palm rest with the computer base. 2. Connect the daughter board cable and keyboard cable to their respective system board connectors and gently snap the palm rest into place. 3. Turn the computer upside down and replace the fifteen screws in the computer base. 4. Replace the rear caps (see Replacing the Rear Caps). 5. Replace the base cover (see Replacing the Base Cover). 6. Slide the battery into the battery bay until it clicks into place. Back to Contents Page
-
 1
1 -
2
-
3
-
4
-
5
-
6
-
7
-
8
-
9
-
10
-
11
-
12
-
13
-
14
-
15
-
16
-
17
-
18
-
19
-
20
-
21
-
22
-
23
-
24
-
25
-
26
-
27
-
28
-
 29
29 -
 30
30 -
 31
31 -
 32
32 -
 33
33 -
 34
34 -
 35
35 -
 36
36 -
 37
37 -
 38
38 -
 39
39
 |
 |