ENGLISH
23
Getting Started
Basic Connections
Advanced Connections
Basic Operations
Advanced Operations
Advanced Operations
Troubleshooting
Explanation terms
Specifications
Index
<
1
/
3
>
<
5
>
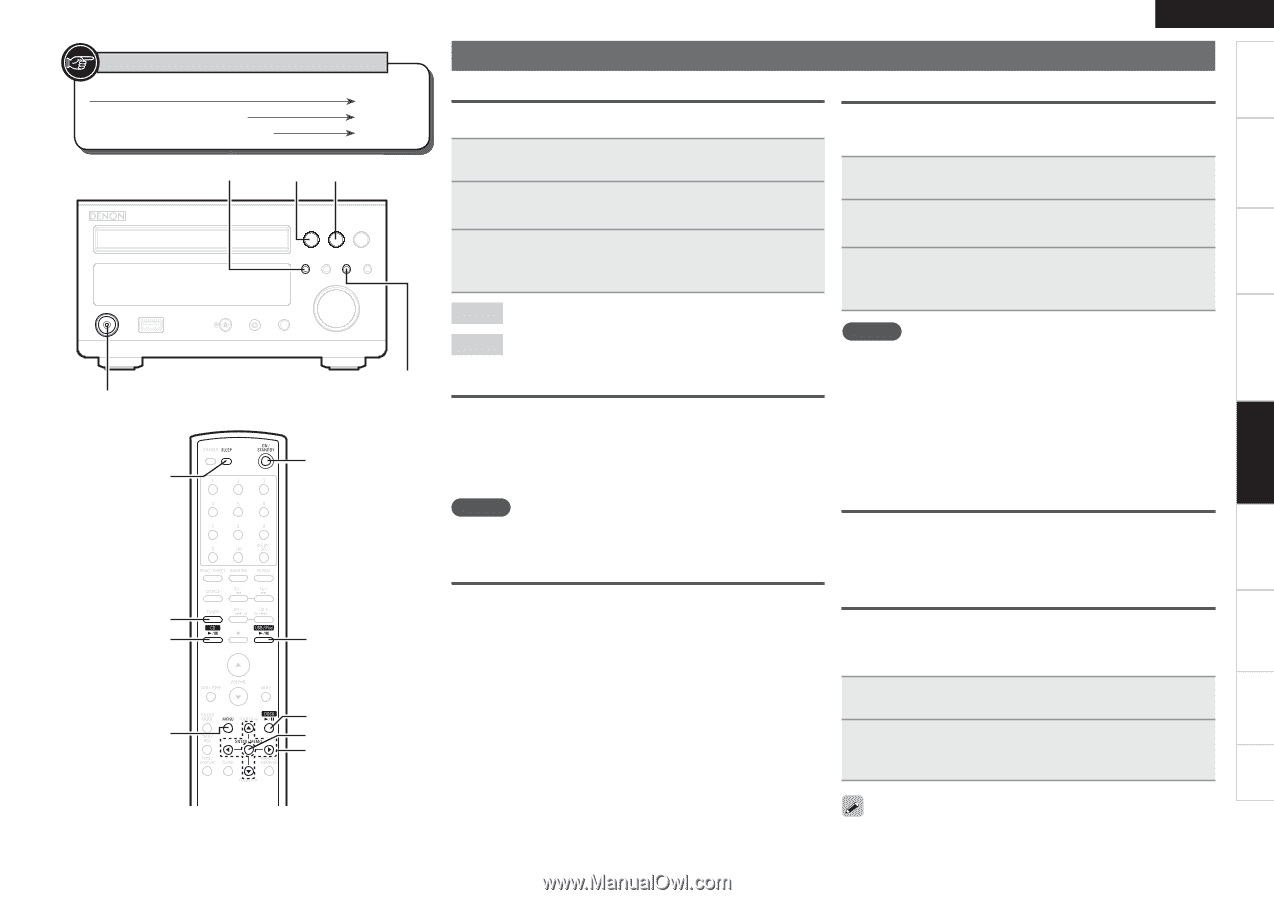
ON/STANDBY
<SDB/TONE>
<
8
/–>
ON/STANDBY
[
uio
p
]
[CD
1
/
3
]
[TUNER]
[USB/iPod
1
/
3
]
[DOCK
1
/
3
]
[MENU]
[SLEEP]
[ENTER/MEMO]
Button located on both the main unit and the remote control
BUTTON
Button only on the main unit
<BUTTON>
Button only on the remote control
[BUTTON]
Symbols used to indicate buttons in this manual
Other functions
Using an optimizing filter
An optimizing filter suited for the properties of the speakers (SC-M37)
can be used.
1
Press
[MENU]
.
2
Use
[
ui
]
to select “SPK OPTIMISE”, then press
the
[ENTER/MEMO]
or
[
p
]
.
3
Use
[
ui
]
to select “ON”, then press the
[ENTER/
MEMO]
or
[
p
]
.
The setting is entered.
ON
The response is optimized for the speakers (SC-M37, sold
separately).
OFF
The response is flat.
Auto power on
When the power is in standby, the power turns on when any of
the buttons below other than
ON/STANDBY
is operated, and the
respective operation is performed.
•
<
5
>
...............................................
The disc tray opens.
•
<
1
/
3
>
for the different source
....
Playback of that source starts.
•
[TUNER]
........................................
Playback of the tuner starts.
NOTE
The Auto Power On function cannot be used with control dock for
iPod.
Auto source selector function
When one of the buttons below is pressed, it switches to that source
and starts playback on that source.
•
[CD
1
/
3
]
...................
The source switches to “DISC” and the disc
starts playing.
•
[USB/iPod
1
/
3
]
........
The source switches to “USB” and the USB
starts playing.
•
[DOCK
1
/
3
]
..............
The source switches to “AUX1/Dock” and the
iPod starts playing.
•
[TUNER]
.....................
The source switches to “TUNER” and the
band last set is tuned in.
Auto standby
With the Auto standby ON, this unit will automatically enter the
standby mode after about 30 continuous minutes of stop mode with
no operation.
1
Press
[MENU]
.
2
Use
[
ui
]
to select “AUTO STANDBY”, then press
[ENTER/MEMO]
or
[
p
]
.
3
Use
[
ui
]
to select “ON”, then press
[ENTER/
MEMO]
or
[
p
]
.
The setting is entered.
NOTE
In the following situations, the Auto standby function does not operate.
• When an iPod or USB memory device is connected to the USB port
on the unit.
• When the source is “TUNER”
、
“AUX1” or “AUX2”.
• When the source is “AUX1/Dock”, and an iPod is connected to
control dock for iPod. (ASD-11R only)
• When the source is “PORTABLE IN” and a device is connected to
the portable jack.
Last function memory
This stores the settings as they were immediately before going into
the standby mode.
When the power is turned back on, the settings are restored to as
they were immediately before going into the standby mode.
Resetting the microprocessor
Perform this procedure if the display is abnormal or if operations
cannot be performed.
When the microprocessor is reset, all the settings are reset to their
default values.
1
Unplug the power cord.
2
Plug the power cord into a power outlet while pressing
<
8
/–>
and
<SDB/TONE>
simultaneously.
• “INITIALIZE” is displayed.
If “INITIALIZE” does not display in step 2, start over from step 1.
 1
1 21
21 22
22 23
23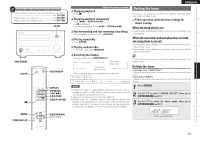 24
24 25
25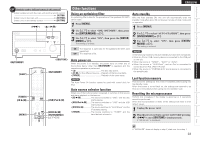 26
26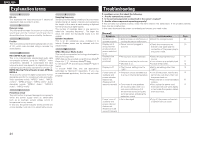 27
27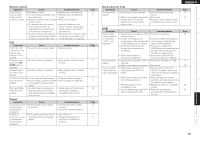 28
28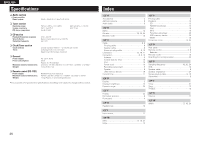 29
29 30
30 31
31