Dynex DX-L37-10A User Manual (English) - Page 27
Setting the clock
 |
View all Dynex DX-L37-10A manuals
Add to My Manuals
Save this manual to your list of manuals |
Page 27 highlights
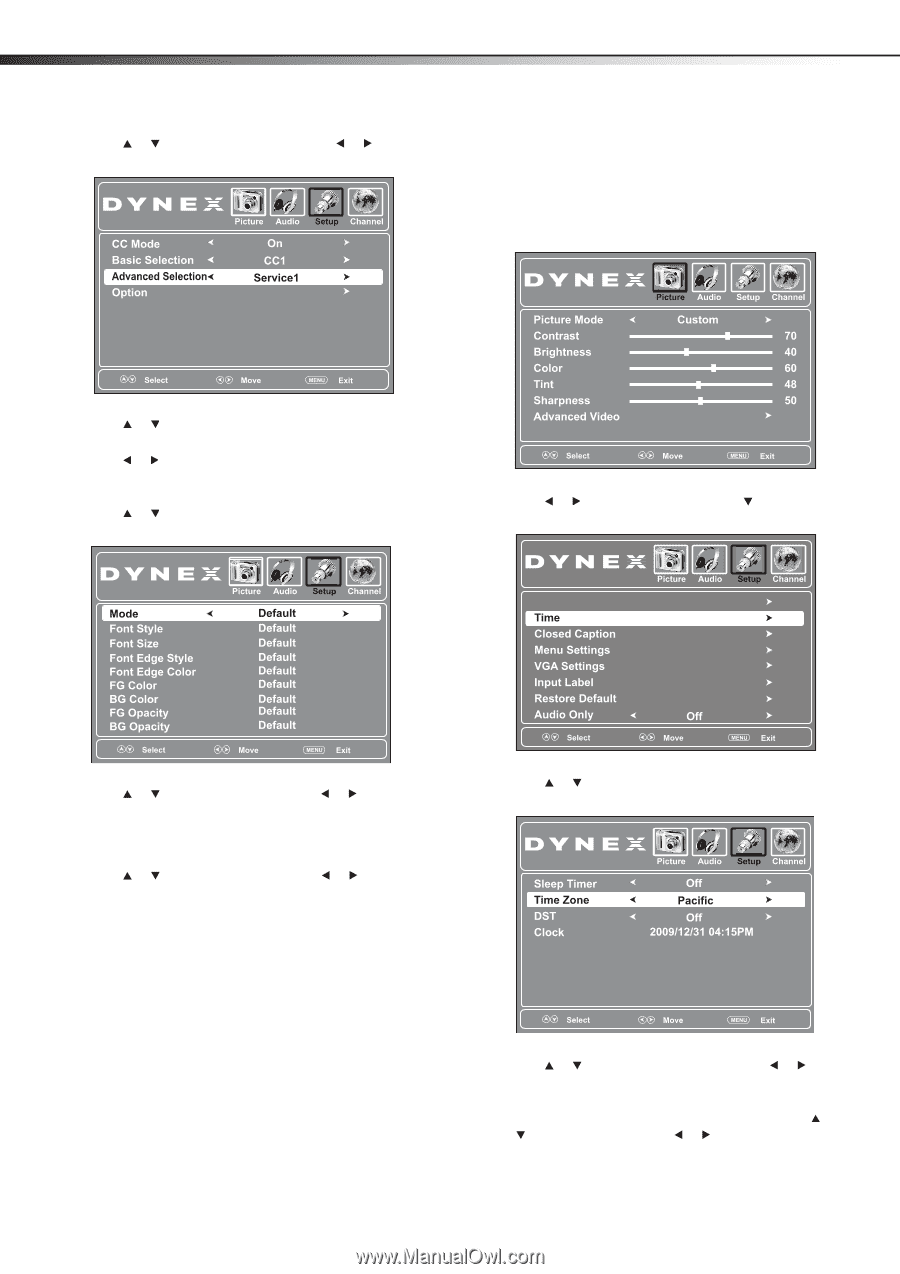
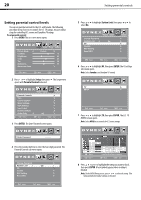
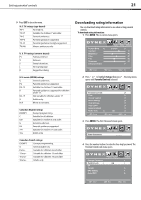
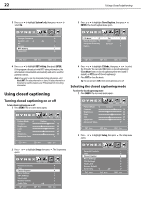
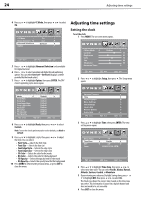
24 Adjusting time settings 4 Press or to highlight CC Mode, then press or to select On. Adjusting time settings Setting the clock To set the clock: 1 Press MENU. The on-screen menu opens. 5 Press or to highlight Advanced Selection (only available for digital stations). 6 Press or to select an advanced digital closed captioning option. You can select Service1 - Service6 (displays content provided by the broadcaster). 7 Press or to highlight Option, then press ENTER. The DTV closed captioning styles menu opens. 2 Press or to highlight Setup, then press . The Setup menu opens. Parental Controls 8 Press or to highlight Mode, then press or to select Custom. Note: To reset the closed captioning styles to their defaults, set Mode to Default. 9 Press or to highlight a style, then press or to adjust the style. You can select: • Font Style-Selects the font style • Font Size-Selects the font size • Font Edge Style-Selects the edge style • Font Edge Color-Selects the edge color • FG Color-Selects the color for the words • BG Color-Selects the color for the background • FG Opacity-Selects the opacity level for the words • BG Opacity-Selects the opacity level for the background 10 Press MENU to return to the previous menu, or press EXIT to close the menu. 3 Press or to highlight Time, then press ENTER. The time setting menu opens. 4 Press or to highlight Time Zone, then press or to select your time zone. You can select Pacific, Alaska, Hawaii, Atlantic, Eastern, Central, or Mountain. 5 If your viewing area observes Daylight Savings time, press or to highlight DST, then press or to select On. The Clock row shows the current time, based on the time zone you select. This information is based on a digital channel and does not need to be set manually. 6 Press EXIT to close the menu.
-
 1
1 -
2
-
3
-
4
-
5
-
6
-
7
-
8
-
9
-
10
-
11
-
12
-
13
-
14
-
15
-
16
-
17
-
18
-
19
-
20
-
21
-
 22
22 -
 23
23 -
 24
24 -
 25
25 -
 26
26 -
 27
27 -
 28
28 -
 29
29 -
 30
30 -
 31
31 -
 32
32 -
33
-
34
-
35
-
36
 |
 |