Epson 9600 Product Information Guide - Page 11
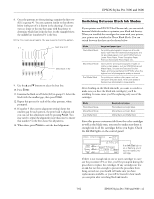
Switching Between Black Ink Modes, as well as the black ones, you need to make sure there is - parts
 |
UPC - 010343841888
View all Epson 9600 manuals
Add to My Manuals
Save this manual to your list of manuals |
Page 11 highlights
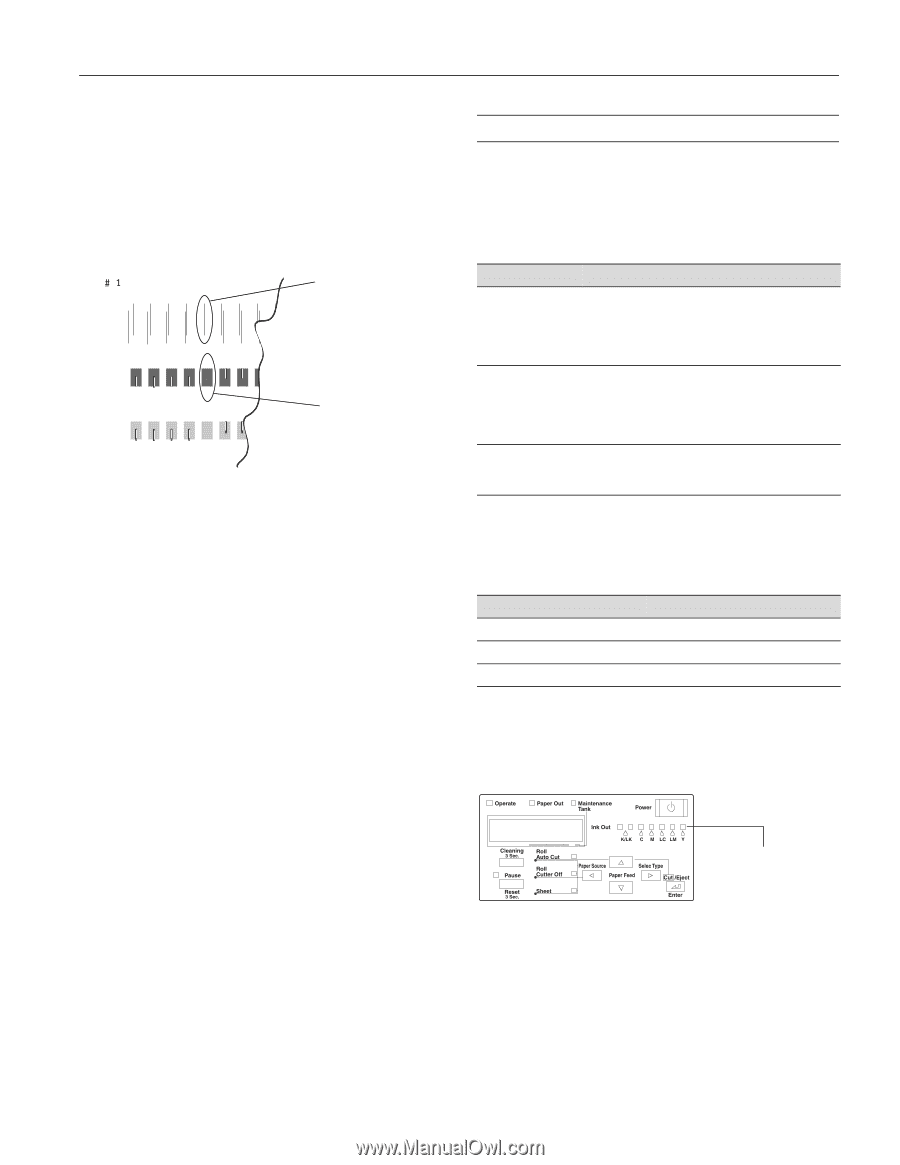
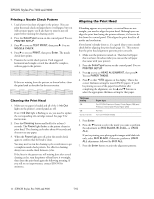
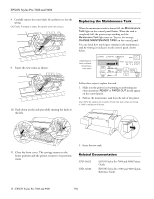
EPSON Stylus Pro 7600 and 9600 8. Once the patterns are done printing, examine the first row (K1) in group #1. You see a pattern similar to that shown below (only part of it is shown in the drawing). Use your own eye loupe or the one that came with the printer to determine which line looks the best. In the example below, the middle line (numbered 5) is the best. NOTE: You must use at least a 10× eye loupe to check the pattern. best line in K1 K1 1 2 3 45 67 K2 1 2 3 45 67 Lc 1 2 3 45 67 best block in K2 9. Use the u and d buttons to select the best line. 10. Press Enter. 11. Examine the black set of blocks (K2) in group #1. Select the block with the smallest gap, then press Enter. 12. Repeat this process for each of the other patterns, when prompted. 13. If number 5 (the current alignment setting) shows the smallest gap for each pattern, the print head is aligned and you can exit the adjustment early by pressing Pause. You may need to repeat the alignment more than once to ensure that number 5 is the best choice for all patterns. 14. When done, press Pause to exit the head alignment. Switching Between Black Ink Modes If your printer uses EPSON UltraChrome ink, you can switch between black ink modes to optimize your black ink density. When you installed the cartridges that came with your printer, your printer was initialized in Photo Black Mode. You can switch between the three modes shown below: Mode Image and paper type Photo Black Mode For printing photographic images on all media types. Optimized for traditional photographic and ink jet-coated papers, such as EPSON Premium Luster Photo Paper, Photo Semigloss Paper, Premium Semimatte Photo Paper, etc. Matte Black Mode Optimized for printing photographic images on matte or plain papers, such as EPSON Enhanced Matte Paper, Smooth and Textured Fine Art Paper, and Somerset Velvet for EPSON, when the highest level of photographic quality is desired. Dual Matte Black For printing on matte or plain paper, such as newsprint and plain bond, when print speed is favored over photographic image quality. After deciding on the black ink mode you want to switch to, make sure you have the black ink cartridge(s) you'll be installing. In some cases, you'll be replacing only one of the cartridges. Mode Photo Black Mode Matte Black Mode Dual Matte Black Required cartridges Photo Black and Light Black Matte Black and Light Black Matte Black and Matte Black Since this process consumes ink from the color cartridges as well as the black ones, you need to make sure there is enough ink in all the cartridges before you begin. Check the Ink Out lights on the control panel: If an Ink Out light is on or flashing, you'll need to replace the cartridge If there is not enough ink in one or more cartridges to carry out the procedure (5% or less), you'll be prompted during the procedure to replace the cartridges. If any cartridges are low on ink but not low enough to prevent the procedure from being carried out, you should still make sure you have replacements available, or you will be limited in how much you can print after switching black ink modes. 7/02 EPSON Stylus Pro 7600 and 9600 - 12
-
 1
1 -
2
-
3
-
4
-
5
-
 6
6 -
 7
7 -
 8
8 -
 9
9 -
 10
10 -
 11
11 -
 12
12 -
 13
13 -
 14
14
 |
 |