Epson C84WN Start Here Card
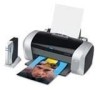
Epson C84WN - Stylus Color Inkjet Printer Manual
 |
UPC - 010343849143
View all Epson C84WN manuals
Add to My Manuals
Save this manual to your list of manuals |
Epson C84WN manual content summary:
- Epson C84WN | Start Here Card - Page 1
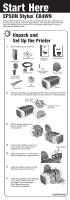
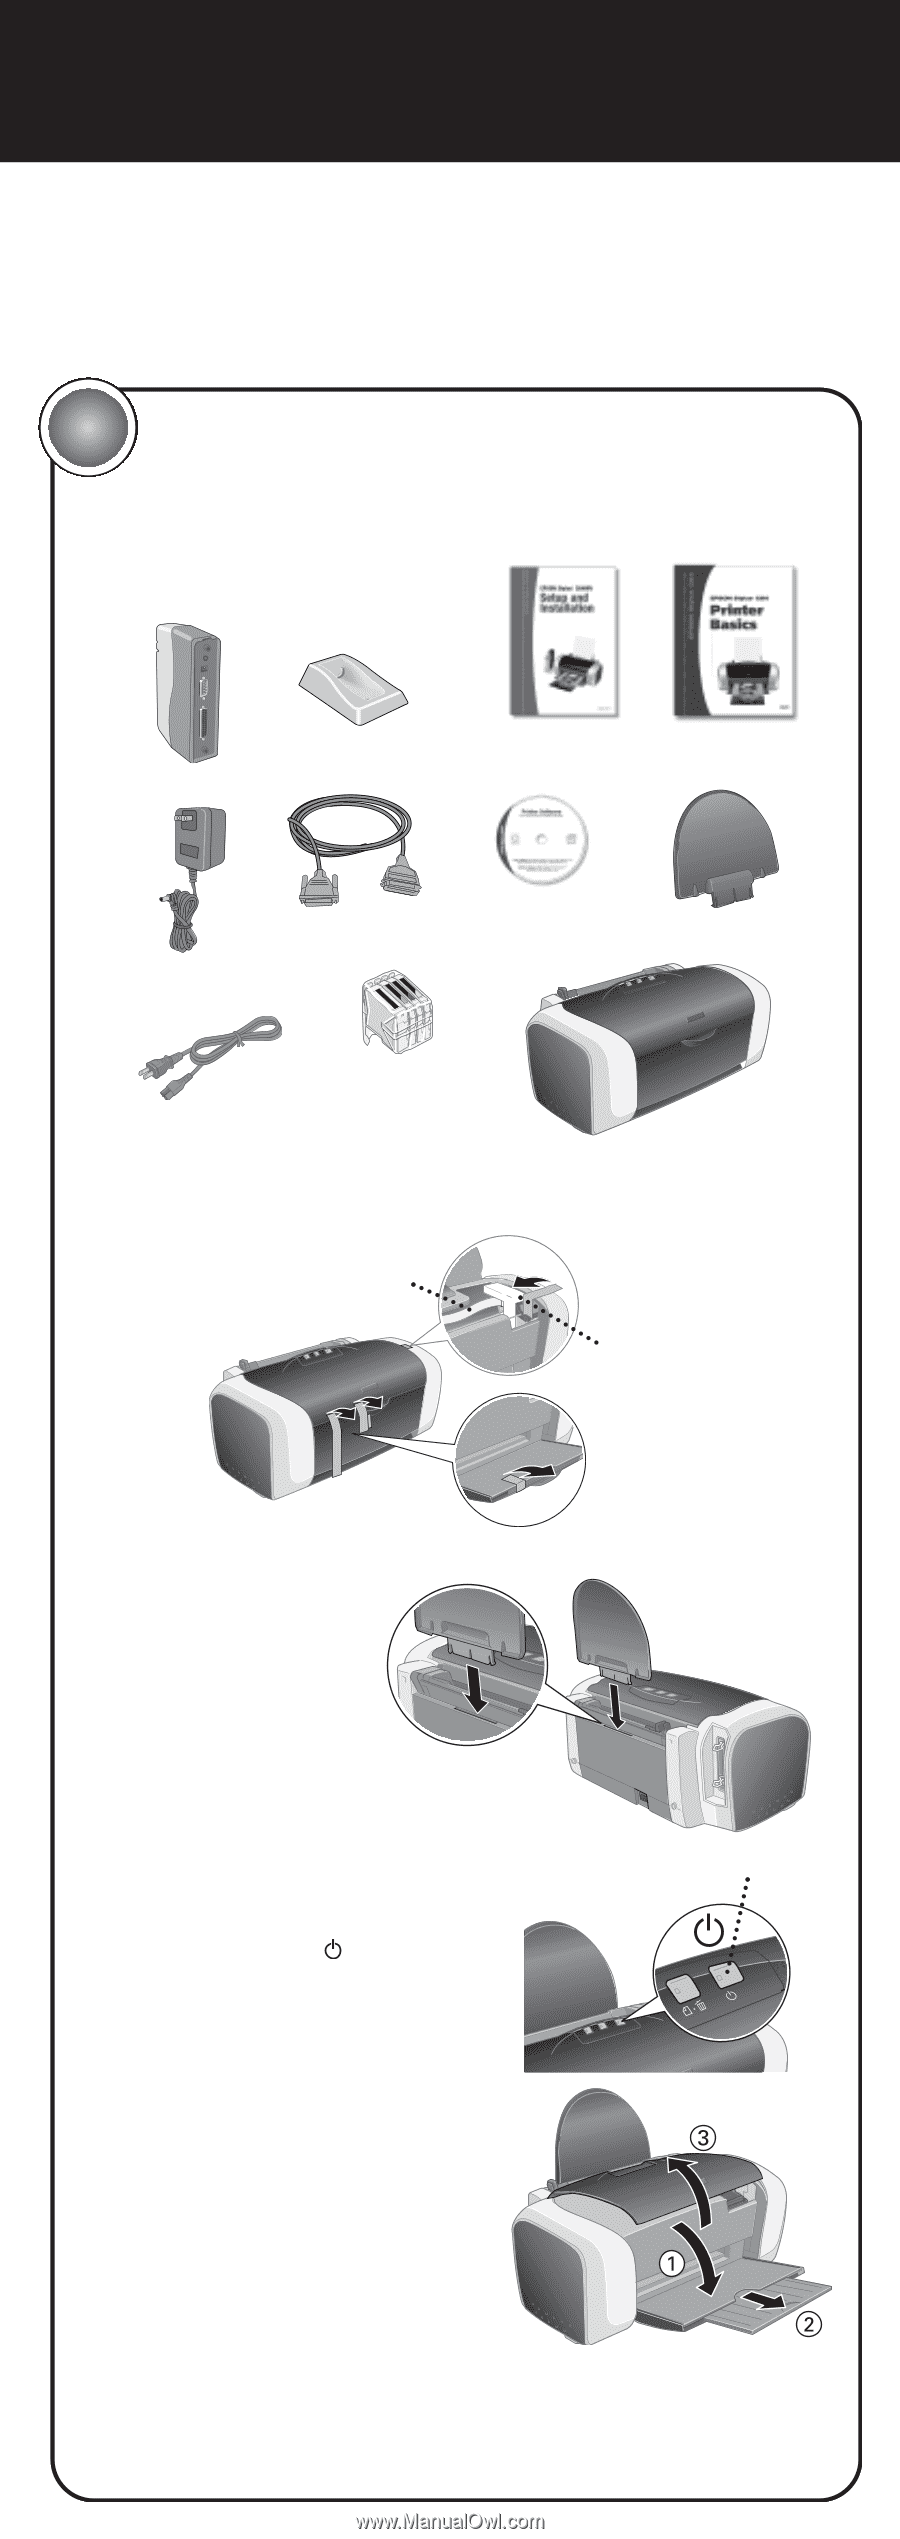
book. 1 Unpack and Set Up the Printer 1 Take everything out of the box. Print server Print server base Setup and Installation Printer Basics Print server power supply Parallel cable Printer software CD-ROM Paper support Power cord Ink cartridges Printer 2 Remove all the tape and packing - Epson C84WN | Start Here Card - Page 2
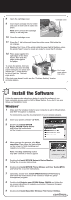
and follow the instructions on the screen to install this photo management program. 8 Double-click Register your EPSON Stylus C84WN and follow the on-screen instructions to register your printer. Close your browser when you're done. 9 Double-click Install EpsonNet Wireless Print Server Utilities - Epson C84WN | Start Here Card - Page 3
to install this photo management program. 10 Double-click Register Your EPSON Stylus C84WN and follow the on-screen instructions to register your printer. Close your browser when you're done. 11 Double-click Install EpsonNet Wireless Print Server Utilities. You see the print server install window - Epson C84WN | Start Here Card - Page 4
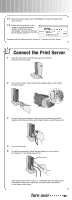
window. Continue with the instructions in section 3, "Connect the Print Server." 3 Connect the Print Server 1 Slide the print server into the base and press firmly. It should click into place. 2 Turn off the printer. Then connect the parallel cable to the printer and print server. 3 Connect the - Epson C84WN | Start Here Card - Page 5
up a network port. Mac OS X: Add the printer to Print Center or Printer Setup Utility. (For details, see Setup and Installation.) Congratulations! You're ready for wireless printing. See Printer Basics for instructions. Mac OS 8.6 to 9.x: Select your C84 Series printer icon in the Macintosh Chooser - Epson C84WN | Start Here Card - Page 6
under "Problems?" in the next column. Congratulations! You're ready for wireless printing. See Printer Basics for more information. Windows Me or 98 1 On the EPSON® Installation Program screen, double-click Install EpsonNet Direct Print Utility and follow the on-screen instructions to install - Epson C84WN | Start Here Card - Page 7
on. Check the printer's lights to see if there is a problem. See Printer Basics for details. Unplug the AC adapter from the print server and plug it in again. Then press the print server's test button for 10 seconds to reset it to its factory defaults. If you still have problems, contact EPSON. The - Epson C84WN | Start Here Card - Page 8
ink cartridges, and clean the print head. Also includes a User Guide with additional printer information. To launch EPSON Printer Information Center, double-click the EPIC or EPSON Printer Info Center icon on your desktop. Printer Basics Includes instructions for printing, maintaining the printer
-
 1
1 -
 2
2 -
 3
3 -
 4
4 -
 5
5 -
 6
6 -
 7
7 -
8
 |
 |
Start Here
1
Take everything out of the box.
2
Remove all the tape and packing material inside and around the printer.
The tape may be in different places on your printer, so check carefully.
3
Slide the paper support into
the slot on the back
of the printer.
4
Connect the printer’s power cord
to the printer, then plug it into a
standard electrical outlet.
5
Press the printer’s
power button
until the green power light comes on.
6
Lower the output tray, pull out the
extension, and open the cover.
7
Shake the package of ink cartridges
4 or 5 times. Then remove the
cartridges from the package.
(Don’t shake them after
removing the packaging.)
Unpack and
Set Up the Printer
1
continue
EPSON Stylus
®
C84WN
Paper support
Ink
cartridges
Print server
power supply
Parallel cable
Print server base
Print server
Printer Basics
Printer software
CD-ROM
Setup and
Installation
Printer
Follow these instructions if you’re an advanced user and your network has a
wireless access point or AirPort
®
Base Station. This includes wired networks
that have wireless access points. For more detailed instructions, see your
Setup and Installation
book.
Power button
Don’t touch
this cable
Carefully remove
this piece
Power cord