Epson C84WN Start Here Card - Page 4
Connect the Print Server, Turn over
 |
UPC - 010343849143
View all Epson C84WN manuals
Add to My Manuals
Save this manual to your list of manuals |
Page 4 highlights
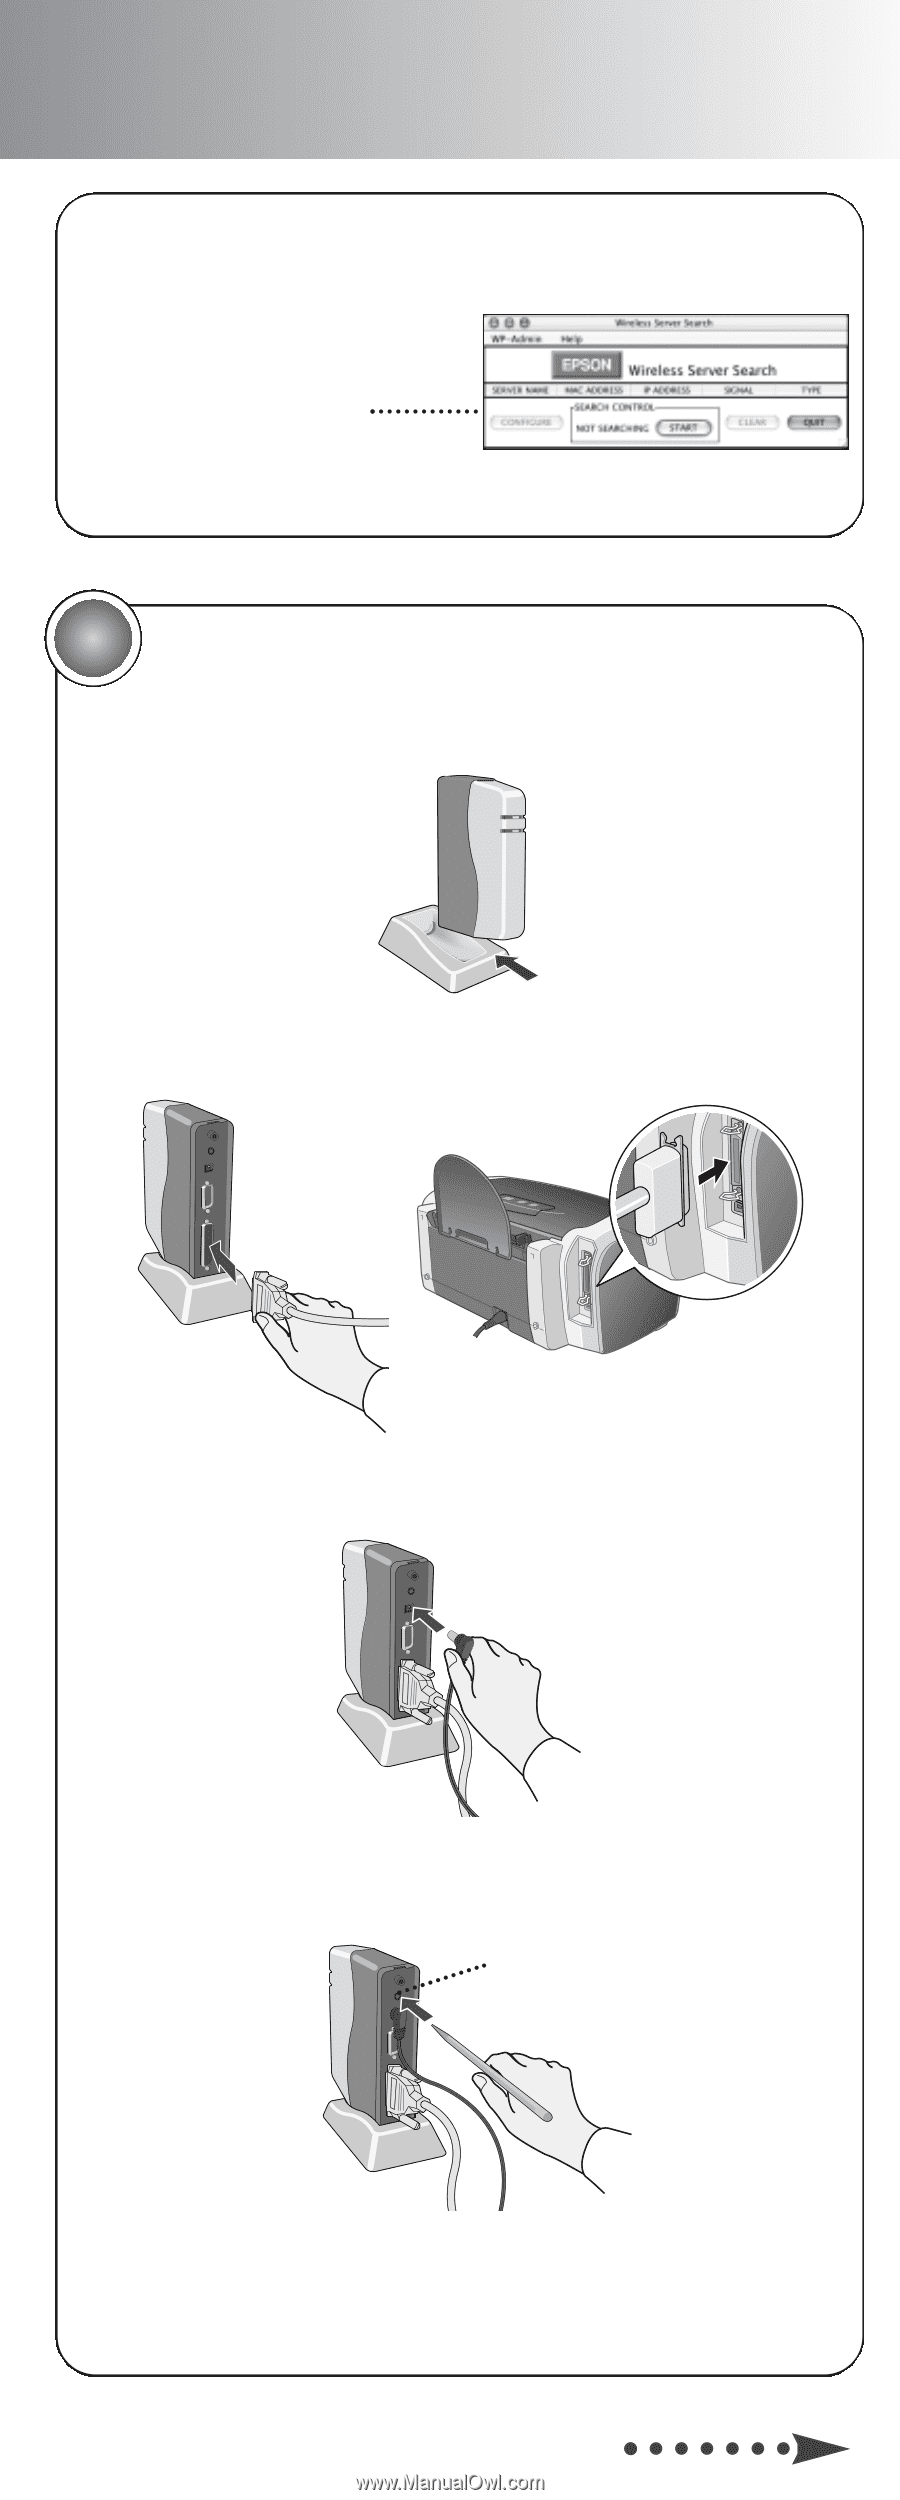
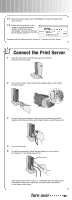
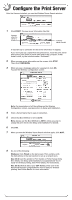
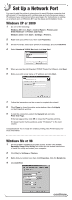
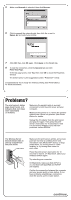
13 Read the license agreement. Click Next to accept the agreement and continue. 14 Follow the instructions on the screen to install the wireless utilities. At the last screen, click Done. You see the Wireless Server Search window. Continue with the instructions in section 3, "Connect the Print Server." 3 Connect the Print Server 1 Slide the print server into the base and press firmly. It should click into place. 2 Turn off the printer. Then connect the parallel cable to the printer and print server. 3 Connect the power supply to the print server and plug in the AC adapter. Both the green and yellow lights come on and then go out. 4 Turn on the printer. 5 To test the connection, press the test button for one second and release it. The status page prints. Test button If the status page doesn't print, or it indicates that zero bytes were transmitted or received, check the solutions under "Problems?" on the back of this sheet. Turn over
-
 1
1 -
 2
2 -
 3
3 -
 4
4 -
 5
5 -
 6
6 -
 7
7 -
 8
8
 |
 |