Epson CX5400 Start Here Card - Page 3
Install Ink Cartridges, Plug In and Turn - print head
 |
UPC - 010343848412
View all Epson CX5400 manuals
Add to My Manuals
Save this manual to your list of manuals |
Page 3 highlights
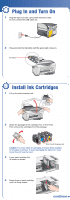
4 Plug In and Turn On 1 Plug the Stylus CX into a grounded electrical outlet. Do not connect the USB cable yet. 2 Press and hold the On button until the green light comes on. On button On Scan Error Reset Recall Reset all(3sec) Save(3sec) 5 Install Ink Cartridges 1 Lift up the entire scanner unit. 2 Shake the package of ink cartridges four or five times. Then remove the cartridges from the package. Don't touch the green part Caution: You must install all cartridges and leave them installed for all types of printing. To avoid damaging the Stylus CX, never move the print head by hand. 3 Lower each cartridge into its holder as shown. 4 Press down on each cartridge until it is firmly seated. continue
-
 1
1 -
 2
2 -
 3
3 -
 4
4 -
 5
5 -
 6
6 -
 7
7 -
 8
8
 |
 |
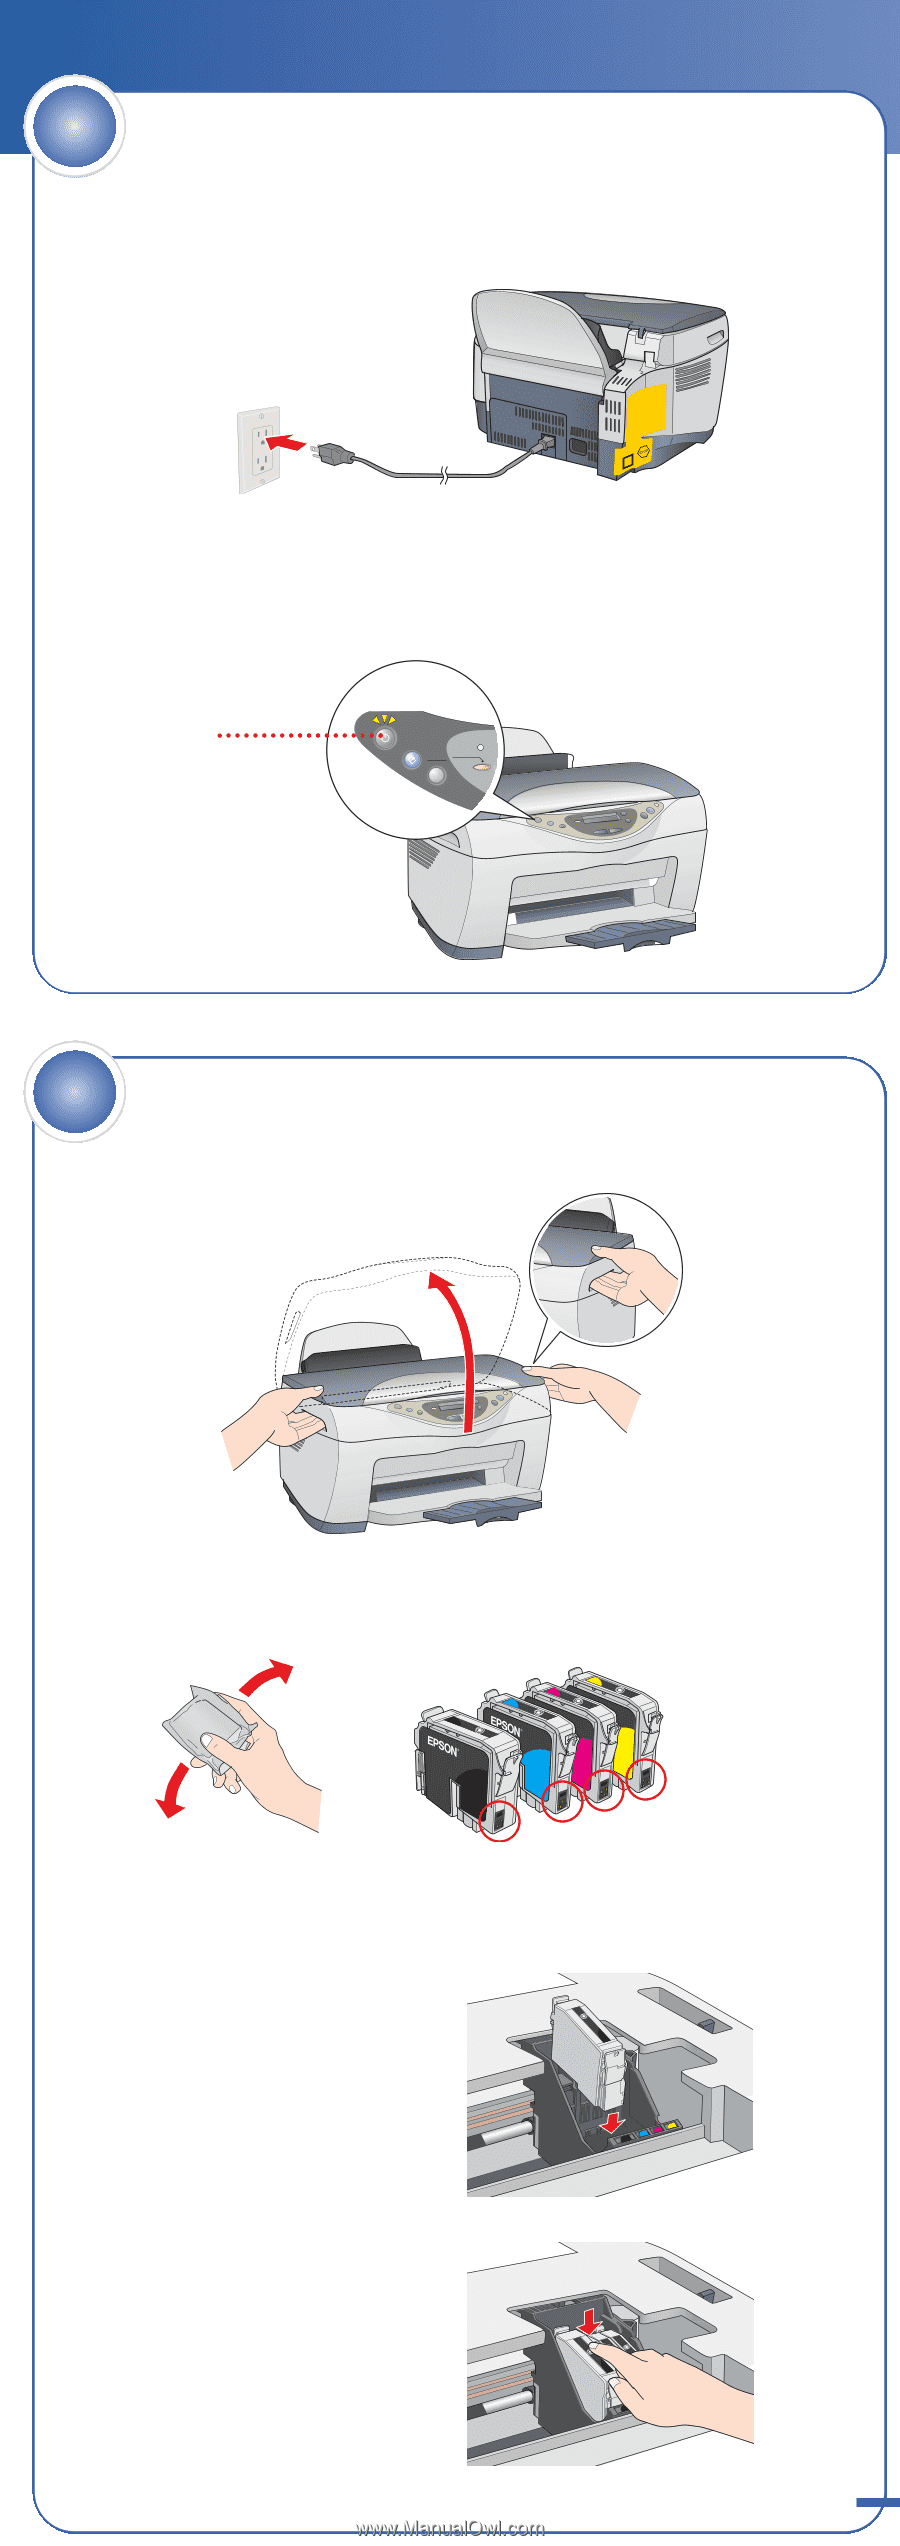
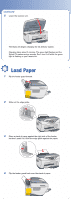
1
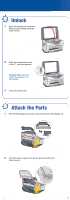
Lift up the entire scanner unit.
2
Shake the package of ink cartridges four or five times.
Then remove the cartridges from the package.
Caution:
You must install all cartridges and leave them installed
for all types of printing. To avoid damaging the Stylus CX, never
move the print head by hand.
3
Lower each cartridge into
its holder as shown.
4
Press down on each cartridge
until it is firmly seated.
Install Ink Cartridges
5
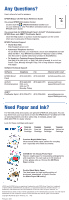
1
Plug the Stylus CX into a grounded electrical outlet.
Do not connect the USB cable yet.
2
Press and hold the
On
button until the green light comes on.
Plug In and Turn On
On
Error
Scan
Reset
Reset all(3sec)
Recall
Save(3sec)
4
On
button
continue
Don’t touch the green part