Epson LQ-590 User Manual - Page 20
pulling it straight down., Remove the front cover - tractor
 |
View all Epson LQ-590 manuals
Add to My Manuals
Save this manual to your list of manuals |
Page 20 highlights
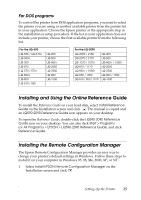
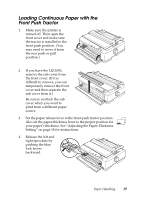
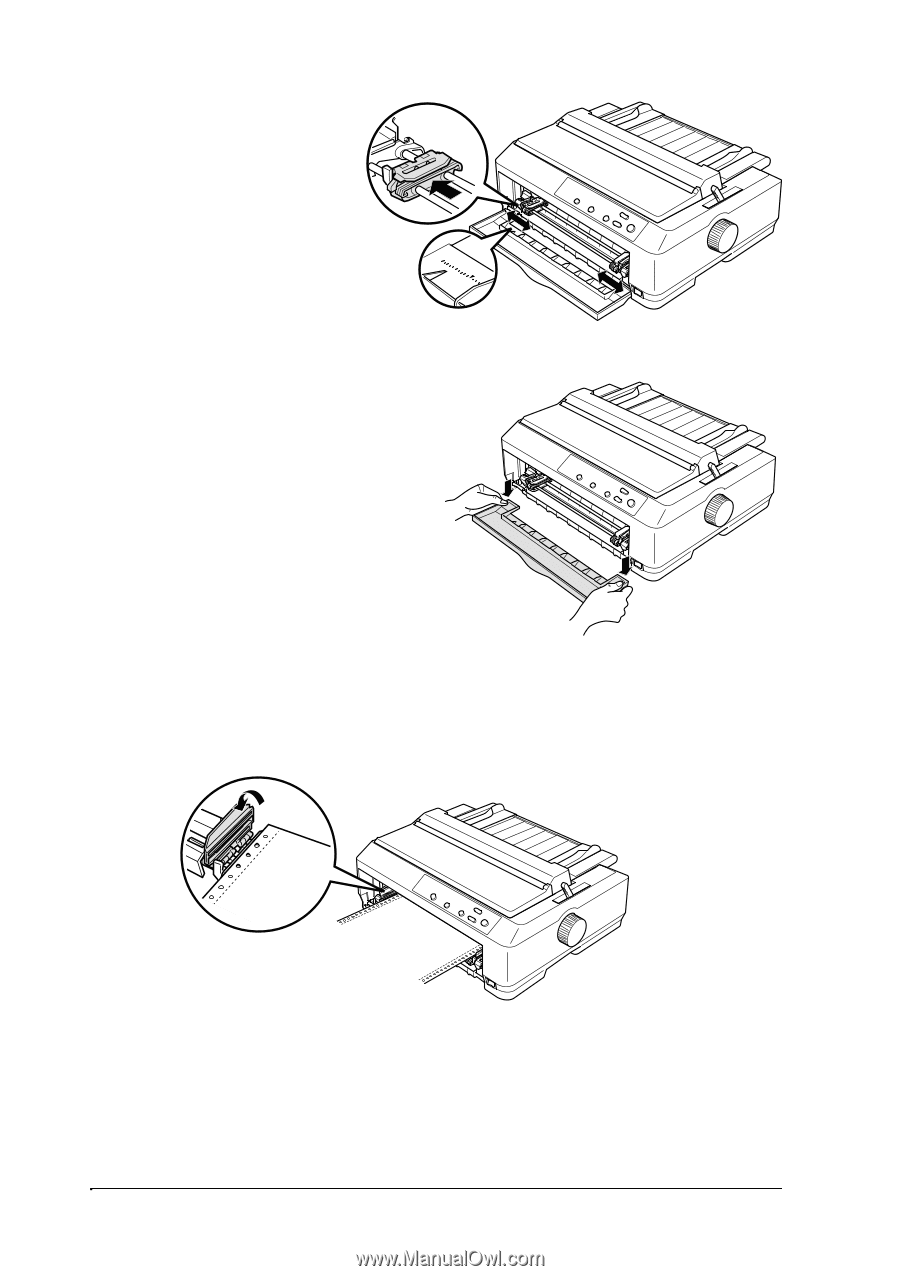
5. Slide the left sprocket approximately 0.5 inch (12 mm) from the far left position and pull the blue lever forward to lock it in place. Then 10 slide the right 5 0 sprocket to match the width of your paper, but do not lock it. 6. Remove the front cover by pulling it straight down. 7. Make sure your paper has a clean, straight edge. Then open both sprocket covers and fit the first four holes of the paper, with the printable side up, over the tractor pins. 8. Close the sprocket covers. 9. Slide the right sprocket to remove any slack in the paper; then lock it in place by pushing the sprocket lock down. 20 Paper Handling
-
 1
1 -
2
-
3
-
4
-
5
-
6
-
7
-
8
-
9
-
10
-
11
-
12
-
13
-
14
-
 15
15 -
 16
16 -
 17
17 -
 18
18 -
 19
19 -
 20
20 -
 21
21 -
 22
22 -
 23
23 -
 24
24 -
 25
25 -
26
-
27
-
28
-
29
-
30
-
31
-
32
-
33
-
34
-
35
-
36
-
37
-
38
-
39
-
40
-
41
-
42
-
43
-
44
-
45
-
46
-
47
-
48
 |
 |
20
Paper Handling
5.
Slide the left sprocket
approximately
0.5 inch (12 mm)
from the far left
position and pull the
blue lever forward to
lock it in place. Then
slide the right
sprocket to match the
width of your paper,
but do not lock it.
6.
Remove the front cover by
pulling it straight down.
7.
Make sure your paper has a clean, straight edge. Then open both
sprocket covers and fit the first four holes of the paper, with the
printable side up, over the tractor pins.
8.
Close the sprocket covers.
9.
Slide the right sprocket to remove any slack in the paper; then lock it
in place by pushing the sprocket lock down.
10
5
0