Epson MovieMate 85HD User's Guide - Page 50
Adjusting Picture Quality, Using the Others Setup to display the Others Setup
 |
View all Epson MovieMate 85HD manuals
Add to My Manuals
Save this manual to your list of manuals |
Page 50 highlights
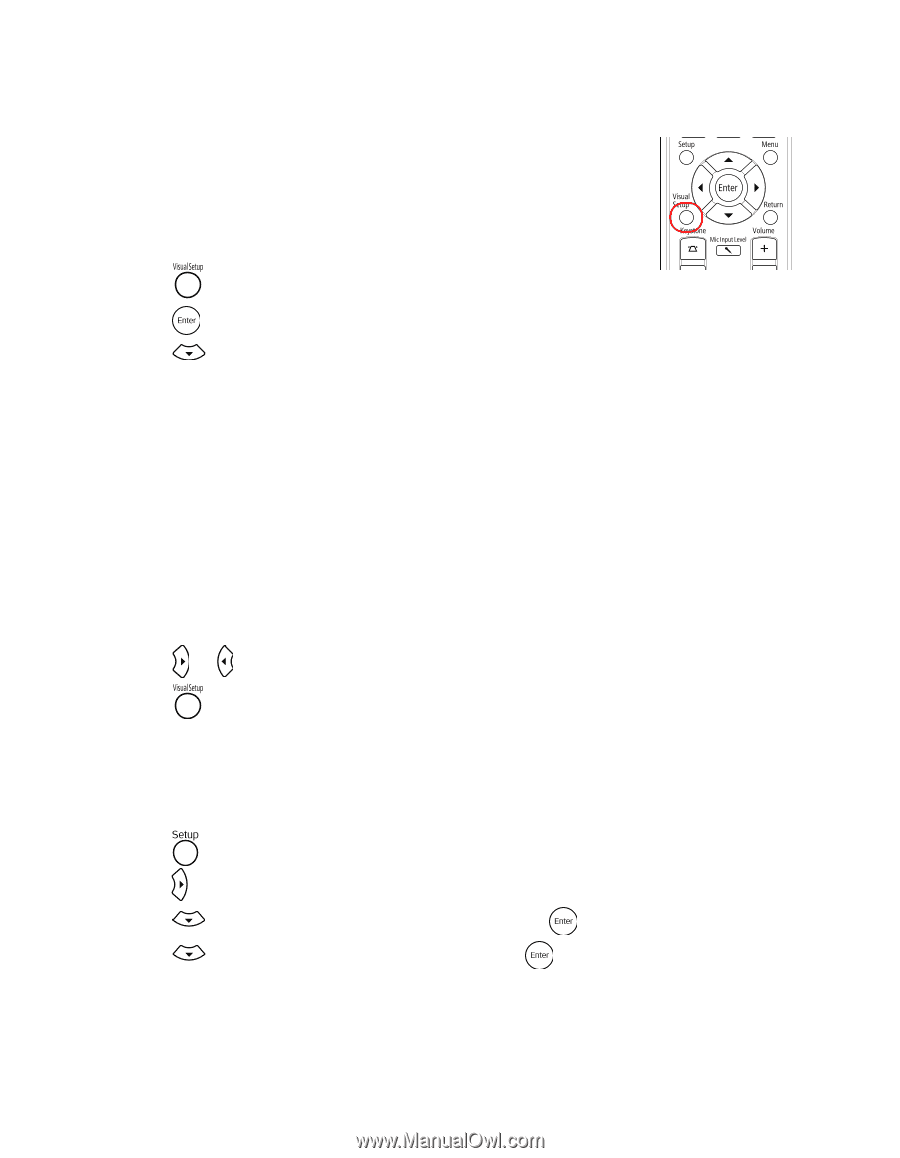
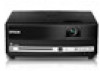
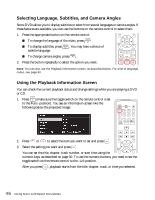
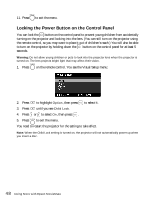
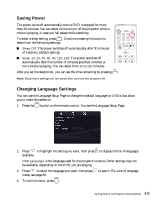
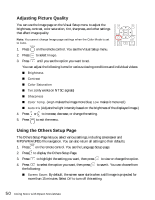
Adjusting Picture Quality You can use the Image page on the Visual Setup menu to adjust the brightness, contrast, color saturation, tint, sharpness, and other settings that affect image quality. Note: You cannot change Image page settings when the Color Mode is set to Auto. 1. Press on the remote control. You see the Visual Setup menu. 2. Press to select Image. 3. Press until you see the option you want to set. You can adjust the following items for various viewing conditions and individual videos: ■ Brightness ■ Contrast ■ Color Saturation ■ Tint (only works on NTSC signals) ■ Sharpness ■ Color Temp. (High makes the image more blue; Low makes it more red.) ■ Auto Iris (Adjusts the light intensity based on the brightness of the displayed image.) 4. Press or to increase, decrease, or change the setting. 5. Press to exit the menu. Using the Others Setup Page The Others Setup Page lets you select various settings, including screensaver and MP3/WMA/JPEG file navigation. You can also return all settings to their defaults. 1. Press on the remote control. You see the Language Setup page. 2. Press to display the Others Setup Page. 3. Press to highlight the setting you want, then press to view or change the option. 4. Press to select the option you want, then press the following: to save it. You can choose from ■ Screen Saver: By default, the screen saver starts when a still image is projected for more than 15 minutes. Select Off to turn off this setting. 50 Doing More with Epson MovieMate
-
 1
1 -
2
-
3
-
4
-
5
-
6
-
7
-
8
-
9
-
10
-
11
-
12
-
13
-
14
-
15
-
16
-
17
-
18
-
19
-
20
-
21
-
22
-
23
-
24
-
25
-
26
-
27
-
28
-
29
-
30
-
31
-
32
-
33
-
34
-
35
-
36
-
37
-
38
-
39
-
40
-
41
-
42
-
43
-
44
-
 45
45 -
 46
46 -
 47
47 -
 48
48 -
 49
49 -
 50
50 -
 51
51 -
 52
52 -
 53
53 -
 54
54 -
 55
55 -
56
-
57
-
58
-
59
-
60
-
61
-
62
-
63
-
64
-
65
-
66
-
67
-
68
-
69
-
70
-
71
-
72
-
73
-
74
-
75
-
76
-
77
-
78
-
79
-
80
 |
 |