Epson PowerLite 735c User Manual - Supplement - Page 22
Using E-mail Alerts
 |
View all Epson PowerLite 735c manuals
Add to My Manuals
Save this manual to your list of manuals |
Page 22 highlights
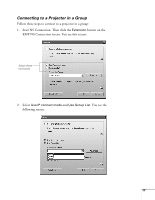
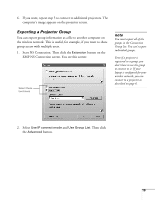
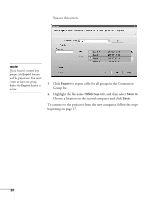
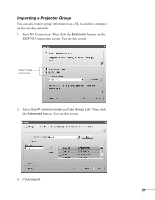
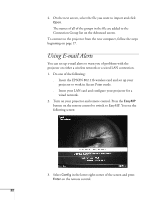
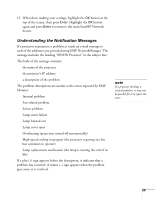
4. On the next screen, select the file you want to import and click Open. The names of all of the groups in the file are added to the Connection Group list on the Advanced screen. To connect to the projector from the new computer, follow the steps beginning on page 17. Using E-mail Alerts You can set up e-mail alerts to warn you of problems with the projector on either a wireless network or a wired LAN connection. 1. Do one of the following: ■ Insert the EPSON 802.11b wireless card and set up your projector to work in Access Point mode. ■ Insert your LAN card and configure your projector for a wired network. 2. Turn on your projector and remote control. Press the EasyMP button on the remote control to switch to EasyMP. You see the following screen: 3. Select Config in the lower right corner of the screen and press Enter on the remote control. 22
-
 1
1 -
2
-
3
-
4
-
5
-
6
-
7
-
8
-
9
-
10
-
11
-
12
-
13
-
14
-
15
-
16
-
 17
17 -
 18
18 -
 19
19 -
 20
20 -
 21
21 -
 22
22 -
 23
23 -
 24
24 -
 25
25 -
 26
26 -
 27
27 -
28
 |
 |
