Epson R380 Product Information Guide - Page 9
Cleaning the Print Head, Checking the Print Head Nozzles, Running the Head Cleaning Utility - stylus photo printer error
 |
UPC - 010343859074
View all Epson R380 manuals
Add to My Manuals
Save this manual to your list of manuals |
Page 9 highlights
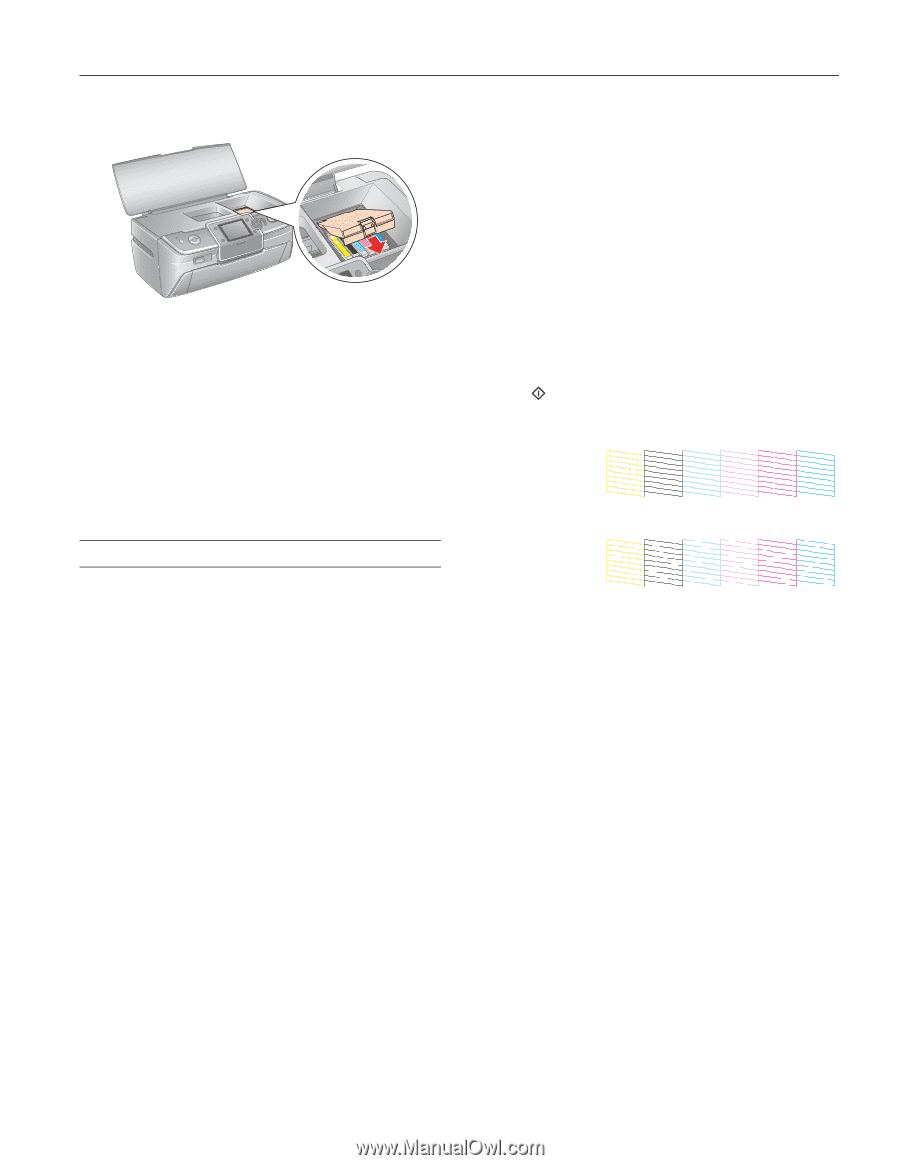
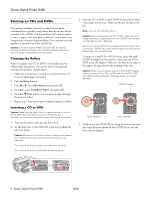
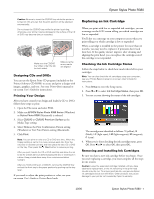
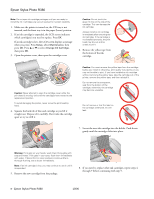
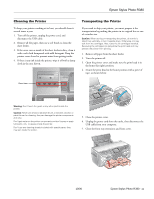
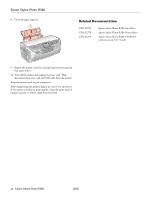
Epson Stylus Photo R380 9. Close the cartridge cover, then close the printer cover. . 10. Press OK. The printer begins charging the ink delivery system and the message "Charging Ink. Please Wait" appears on the LCD screen. After about one minute, the message "Ink cartridge replacement is complete" appears on the LCD screen. Caution: Do not turn off the printer during ink charging as this will waste ink. Do not insert the CD/DVD tray during ink charging. Cleaning the Print Head If your printouts are unexpectedly light or faint, or you notice light or dark bands across your printout, you may need to clean the print head. This unclogs the nozzles so they can deliver ink properly. You can clean the print head using the buttons on your printer or using the Head Cleaning utility on your computer. You can also run a nozzle check to see if the print head needs cleaning. Note: Print head cleaning uses ink, so clean the print head only when print quality declines (for example, if you see lines in your printout or colors are incorrect or missing). Before you clean the print head, check the print head nozzles first to confirm that the print head needs to be cleaned, as described below. If error messages indicating low or expended ink appear on the LCD screen, you cannot clean the print head. Replace the appropriate ink cartridge first. Caution: If you don't use your printer often it is a good idea to print a few pages at least once a month to maintain good print quality. Before you check the print head nozzles or clean the print head, make sure the CD/DVD tray is not inserted in the printer, and make sure the front tray is in the paper (lower) position. Checking the Print Head Nozzles Follow the steps below to check the print head nozzles using the printer's control panel. Note: You can also check the print head nozzles using your computer. See your Printer Basics manual or on-screen User's Guide for instructions. 1. Make sure the printer is turned on but not printing, and no warnings or errors are displayed on the LCD screen. 2. Make sure letter-size plain paper is loaded in the printer. 3. Press Setup. 4. Press l or r to select Maintenance, then press OK. 5. Press u or d to select Nozzle Check, then press OK. 6. Press Start. The nozzle check pattern prints: Print head does not need to be cleaned: Print head needs to be cleaned: 7. If there are no gaps or lines, the print head does not need to be cleaned. Press OK to return to the Maintenance menu. If there are gaps or lines, or the test patterns are faint, run the Head Cleaning utility as described below. Running the Head Cleaning Utility Follow the steps below to run the Head Cleaning utility using the printer's control panel. Note: You can also run the Head Cleaning utility using your computer. See your Printer Basics manual or on-screen User's Guide for instructions. 1. Make sure the printer is turned on but not printing, and no warnings or errors are displayed on the LCD screen. (If ink is low, you need to replace an ink cartridge before cleaning the print head). 2. Load a few sheets of letter-size plain paper in the printer. 3. Press Setup to enter the Setup menu. 4. Press l or r to select Maintenance, then press OK. 5. Press u or d to select Head Cleaning, then press OK. 10/06 Epson Stylus Photo R380 - 9
-
 1
1 -
2
-
3
-
 4
4 -
 5
5 -
 6
6 -
 7
7 -
 8
8 -
 9
9 -
 10
10 -
 11
11 -
 12
12
 |
 |