Epson Stylus Pro 7800 Professional Edition Printer Guide - Page 37
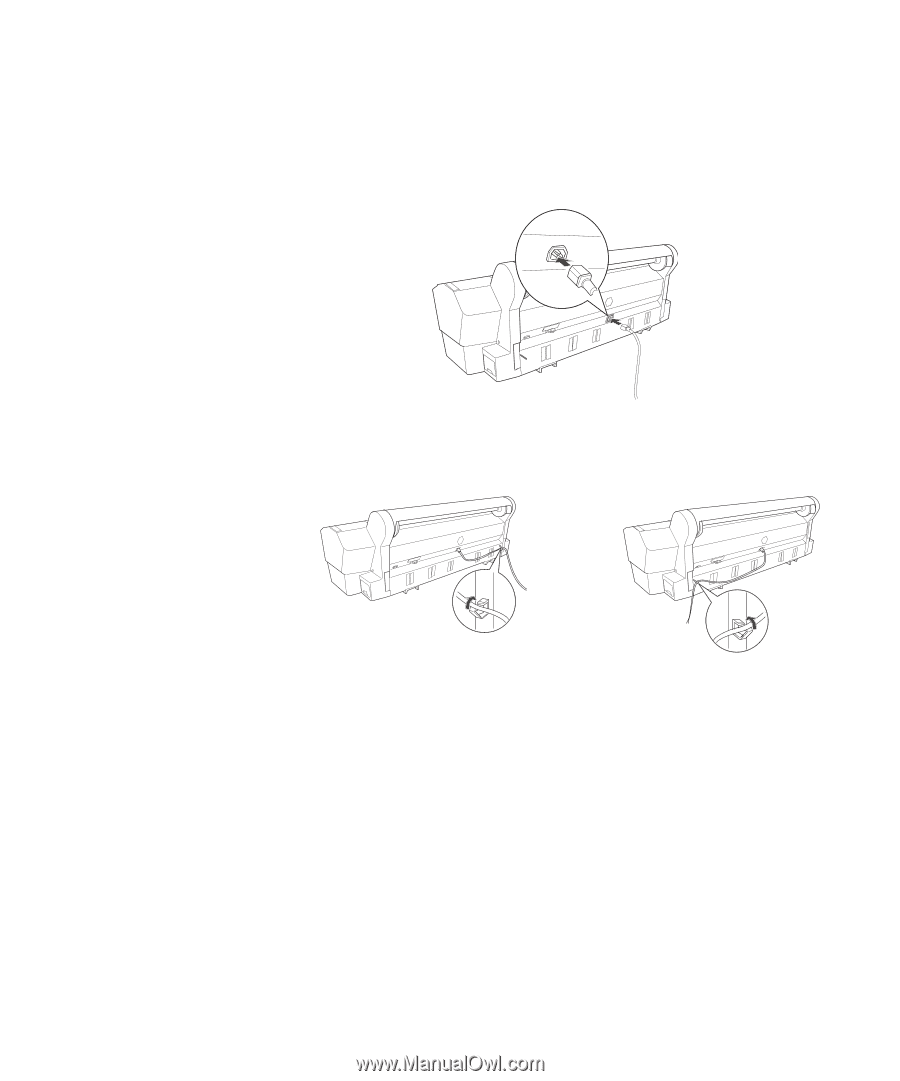
Connecting the Power Cord, Route the power cord through one of the hooks on the left or right side
 |
View all Epson Stylus Pro 7800 Professional Edition manuals
Add to My Manuals
Save this manual to your list of manuals |
Page 37 highlights
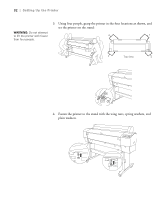
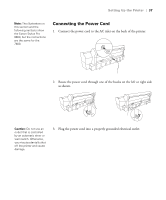
Setting Up the Printer | 37 Note: The illustrations in this section and the following sections show the Epson Stylus Pro 9800, but the instructions are the same for the 7800. Connecting the Power Cord 1. Connect the power cord to the AC inlet on the back of the printer. 2. Route the power cord through one of the hooks on the left or right side as shown. Caution: Do not use an outlet that is controlled by an automatic timer or wall switch. Otherwise, you may accidentally shut off the printer and cause damage. 3. Plug the power cord into a properly grounded electrical outlet. 1-37
-
 1
1 -
2
-
3
-
4
-
5
-
6
-
7
-
8
-
9
-
10
-
11
-
12
-
13
-
14
-
15
-
16
-
17
-
18
-
19
-
20
-
21
-
22
-
23
-
24
-
25
-
26
-
27
-
28
-
29
-
30
-
31
-
 32
32 -
 33
33 -
 34
34 -
 35
35 -
 36
36 -
 37
37 -
 38
38 -
 39
39 -
 40
40 -
 41
41 -
 42
42 -
43
-
44
-
45
-
46
-
47
-
48
-
49
-
50
-
51
-
52
-
53
-
54
-
55
-
56
-
57
-
58
-
59
-
60
-
61
-
62
-
63
-
64
-
65
-
66
-
67
-
68
-
69
-
70
-
71
-
72
-
73
-
74
-
75
-
76
-
77
-
78
-
79
-
80
-
81
-
82
-
83
-
84
-
85
-
86
-
87
-
88
-
89
-
90
-
91
-
92
-
93
-
94
-
95
-
96
-
97
-
98
-
99
-
100
-
101
-
102
-
103
-
104
-
105
-
106
-
107
-
108
-
109
-
110
-
111
-
112
-
113
-
114
-
115
-
116
-
117
-
118
-
119
-
120
-
121
-
122
-
123
-
124
-
125
-
126
-
127
-
128
-
129
-
130
-
131
-
132
-
133
-
134
-
135
-
136
-
137
-
138
-
139
-
140
-
141
-
142
-
143
-
144
-
145
-
146
-
147
-
148
-
149
-
150
-
151
-
152
-
153
-
154
-
155
-
156
-
157
-
158
-
159
-
160
-
161
-
162
-
163
-
164
-
165
-
166
-
167
-
168
-
169
-
170
-
171
-
172
-
173
-
174
-
175
-
176
 |
 |
1-37
Setting Up the Printer
|
37
Connecting the Power Cord
1.
Connect the power cord to the AC inlet on the back of the printer.
2.
Route the power cord through one of the hooks on the left or right side
as shown.
3.
Plug the power cord into a properly grounded electrical outlet.
Note:
The illustrations in
this section and the
following sections show
the Epson Stylus Pro
9800, but the instructions
are the same for the
7800.
Caution:
Do not use an
outlet that is controlled
by an automatic timer or
wall switch. Otherwise,
you may accidentally shut
off the printer and cause
damage.