Epson Stylus Scan 2000 Product Support Bulletin(s) - Page 3
Epson Stylus Scan 2000 or, Epson Stylus Scan 2500, Ready, Set as, Default
 |
View all Epson Stylus Scan 2000 manuals
Add to My Manuals
Save this manual to your list of manuals |
Page 3 highlights
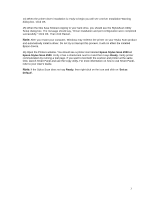
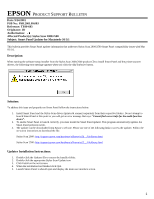
14) When the printer driver installation is ready to begin you will see a Driver Installation Warning dialog box. Click OK. 15) When the files have finished copying to your hard drive, you should see the StylusScan Utility Setup dialog box. The message should say, "Driver installation and port configuration were completed successfully." Click OK. Then click Restart. Note: After you restart your computer, Windows may redetect the printer on your Stylus Scan product and automatically install a driver. Do not try to interrupt this process. It will not affect the installed Epson drivers. 16) Open the Printers window. You should see a printer icon labeled Epson Stylus Scan 2000 or Epson Stylus Scan 2500. Verify it has a checkmark next to it and that it says Ready. Verify printer communication by running a test page. If you want to test both the scanner and printer at the same time, launch Smart Panel and use the Copy utility. For more information on how to use Smart Panel, refer to your User's Guide. Note: If the Stylus Scan does not say Ready, then right-click on the icon and click on "Set as Default". 3
-
 1
1 -
 2
2 -
 3
3 -
 4
4 -
 5
5 -
 6
6 -
 7
7 -
 8
8 -
 9
9 -
10
 |
 |
