Garmin eTrex Touch 35t Owners Manual - Page 3
Introduction, Using the Power Key Menu, Tracks - gps
 |
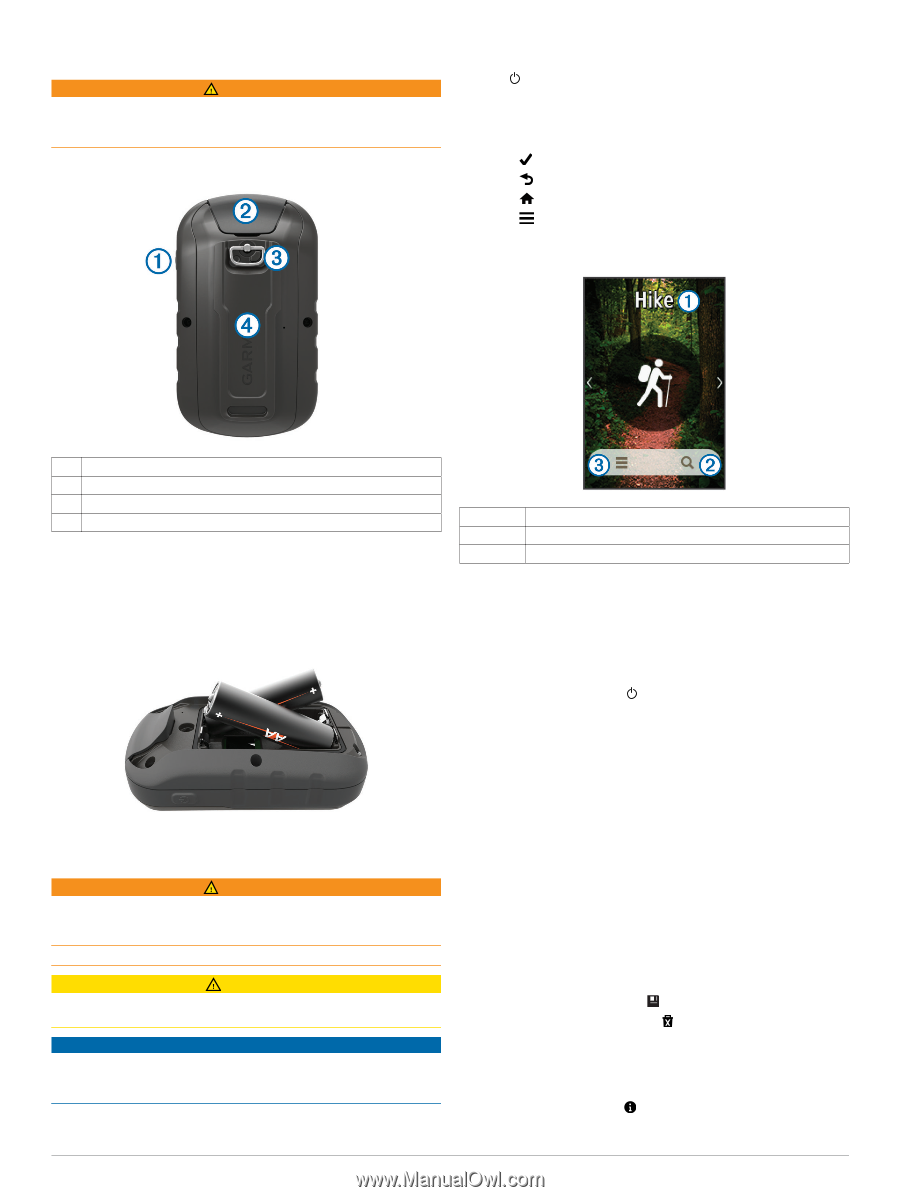
View all Garmin eTrex Touch 35t manuals
Add to My Manuals
Save this manual to your list of manuals |
Page 3 highlights
Introduction WARNING See the Important Safety and Product Information guide in the product box for product warnings and other important information. Device Overview Turning On the Device Hold . Using the Touchscreen • Tap the screen to select an item. • Make each touchscreen selection a separate action. • Select to save your changes and close the page. • Select to return to the previous page. • Select to return to the main menu. • Select to view specific menu items for the page you are viewing. Home Screen Power key À Mini-USB port (under weather cap) Á Battery cover D-ring  microSD™ card slot (under battery door) à Installing AA Batteries The handheld device operates on two AA batteries (not included). Use NiMH or lithium batteries for best results. 1 Turn the D-ring counter-clockwise, and pull up to remove the cover. 2 Insert two AA batteries, observing polarity. Activity À Where To? Á Activity settings  Using the Power Key Menu Before you can use certain features, you may need to select the power key. You can access many features, such as Track Manager, Waypoint Manager, and geocaching, from the power key menu. From any screen, select , and select a feature. 3 Replace the battery cover, and turn the D-ring clockwise. Battery Information WARNING The temperature rating for the device may exceed the usable range of some batteries. Alkaline batteries can rupture at high temperatures. Do not use a sharp object to remove batteries. CAUTION Contact your local waste disposal department to properly recycle the batteries. NOTICE Alkaline batteries lose a significant amount of their capacity as the temperature decreases. Use lithium batteries when operating the device in below freezing conditions. Tracks A track is a recording of your path. The track log contains information about points along the recorded path, including time, location, and elevation for each point. Recording a Track Log 1 Select an activity. 2 After the GPS indicator bars turn green, select Start. 3 After your activity, swipe up from the bottom of the screen. 4 Select Stop. The data summary page appears. 5 Scroll vertically to see all the data (optional). TIP: You can select the name of the track to change it. 6 Select an option: • To save the track, select . • To discard the track, select . Customizing Your Track Log You can customize how your device displays and records tracks. 1 Select Current Track > . Introduction 1
-
 1
1 -
 2
2 -
 3
3 -
 4
4 -
 5
5 -
 6
6 -
 7
7 -
 8
8 -
 9
9 -
10
-
11
-
12
-
13
-
14
-
15
-
16
-
17
-
18
 |
 |