GE PSB48YSXSS Use and Care Manual - Page 39
Water Supply, Master Power, Check to make sure that Master Power switch, is in the O OFF position.
 |
UPC - 084691175933
View all GE PSB48YSXSS manuals
Add to My Manuals
Save this manual to your list of manuals |
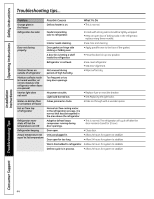
Page 39 highlights
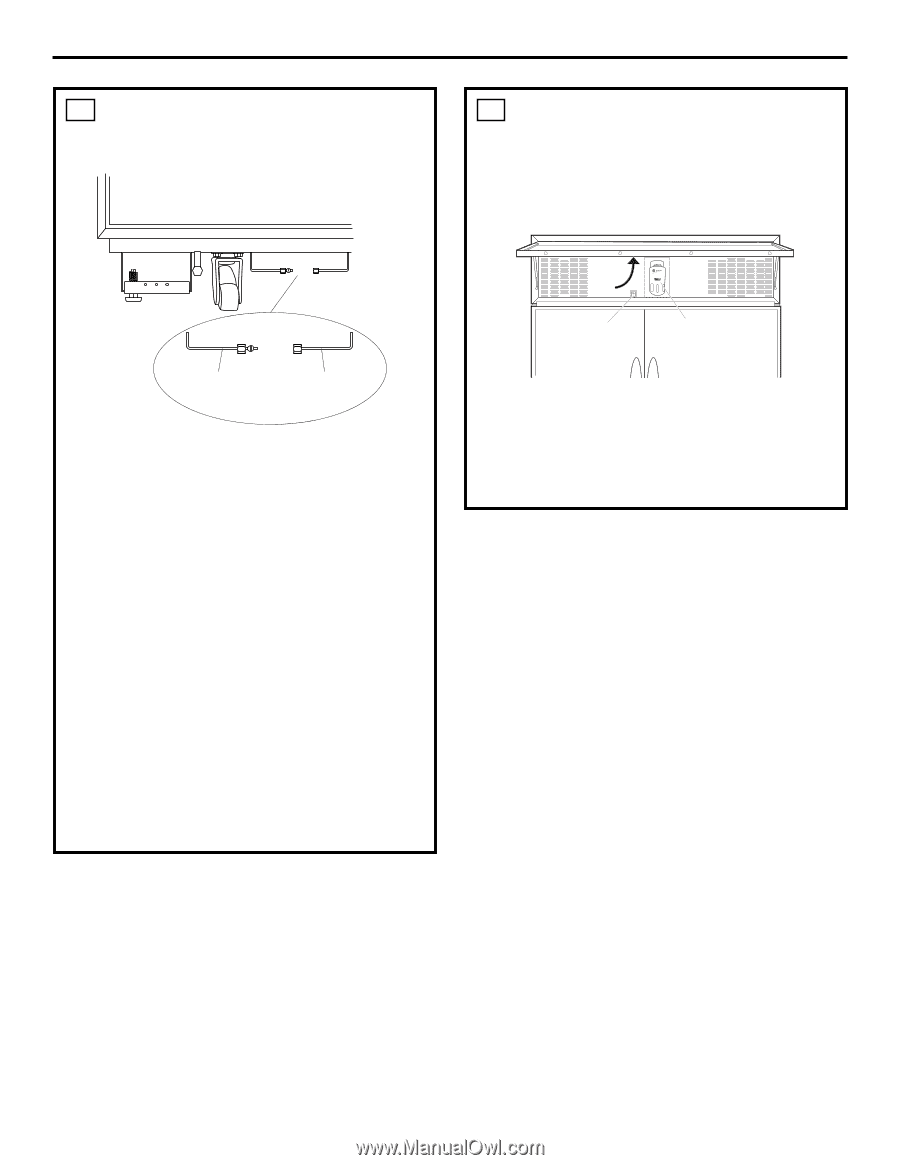
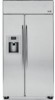
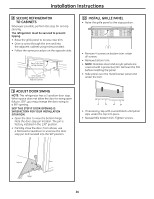
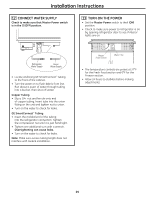
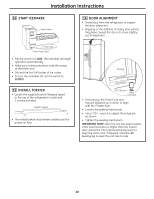
Installation Instructions 12 CONNECT WATER SUPPLY Check to make sure that Master Power switch is in the O (OFF) position. Refrigerator Water Supply House Water Supply • Locate and bring GE SmartConnect™ tubing to the front of the cabinet. • Turn the water on to flush debris from line. Run about a quart of water through tubing into a bucket, then shut off water. Copper Tubing • Slip a 1/4″ nut and ferrule onto end of copper tubing. Insert tube into the union fitting on the unit and tighten nut to union. • Turn on the water to check for leaks. GE SmartConnect™ Tubing • Insert the molded end of the tubing into the refrigerator connection. Tighten the compression nut until it is just hand tight. • Tighten one additional turn with a wrench. Overtightening can cause leaks. • Turn on the water to check for leaks. Note: Make sure excess tubing length does not interfere with toekick installation. 13 TURN ON THE POWER • Set the Master Power switch to the I (ON) position. • Check to make sure power to refrigerator is on by opening refrigerator door to see if interior lights are on. Raise Grille Panel Master Power Switch Water Filter • The temperature controls are preset at 37°F for the Fresh Food section and 0°F for the Freezer section. • Allow 24 hours to stabilize before making adjustments. 39
-
 1
1 -
2
-
3
-
4
-
5
-
6
-
7
-
8
-
9
-
10
-
11
-
12
-
13
-
14
-
15
-
16
-
17
-
18
-
19
-
20
-
21
-
22
-
23
-
24
-
25
-
26
-
27
-
28
-
29
-
30
-
31
-
32
-
33
-
 34
34 -
 35
35 -
 36
36 -
 37
37 -
 38
38 -
 39
39 -
 40
40 -
 41
41 -
 42
42 -
 43
43 -
 44
44 -
45
-
46
-
47
-
48
-
49
-
50
-
51
-
52
-
53
-
54
-
55
-
56
-
57
-
58
-
59
-
60
-
61
-
62
-
63
-
64
-
65
-
66
-
67
-
68
-
69
-
70
-
71
-
72
-
73
-
74
-
75
-
76
-
77
-
78
-
79
-
80
-
81
-
82
-
83
-
84
-
85
-
86
-
87
-
88
-
89
-
90
-
91
-
92
-
93
-
94
-
95
-
96
-
97
-
98
-
99
-
100
 |
 |