HP 1018 Service Manual - Page 106
Printer, Preferences, Printer Properties, Printing Preferences, Type Is, Printing
 |
UPC - 882780435094
View all HP 1018 manuals
Add to My Manuals
Save this manual to your list of manuals |
Page 106 highlights
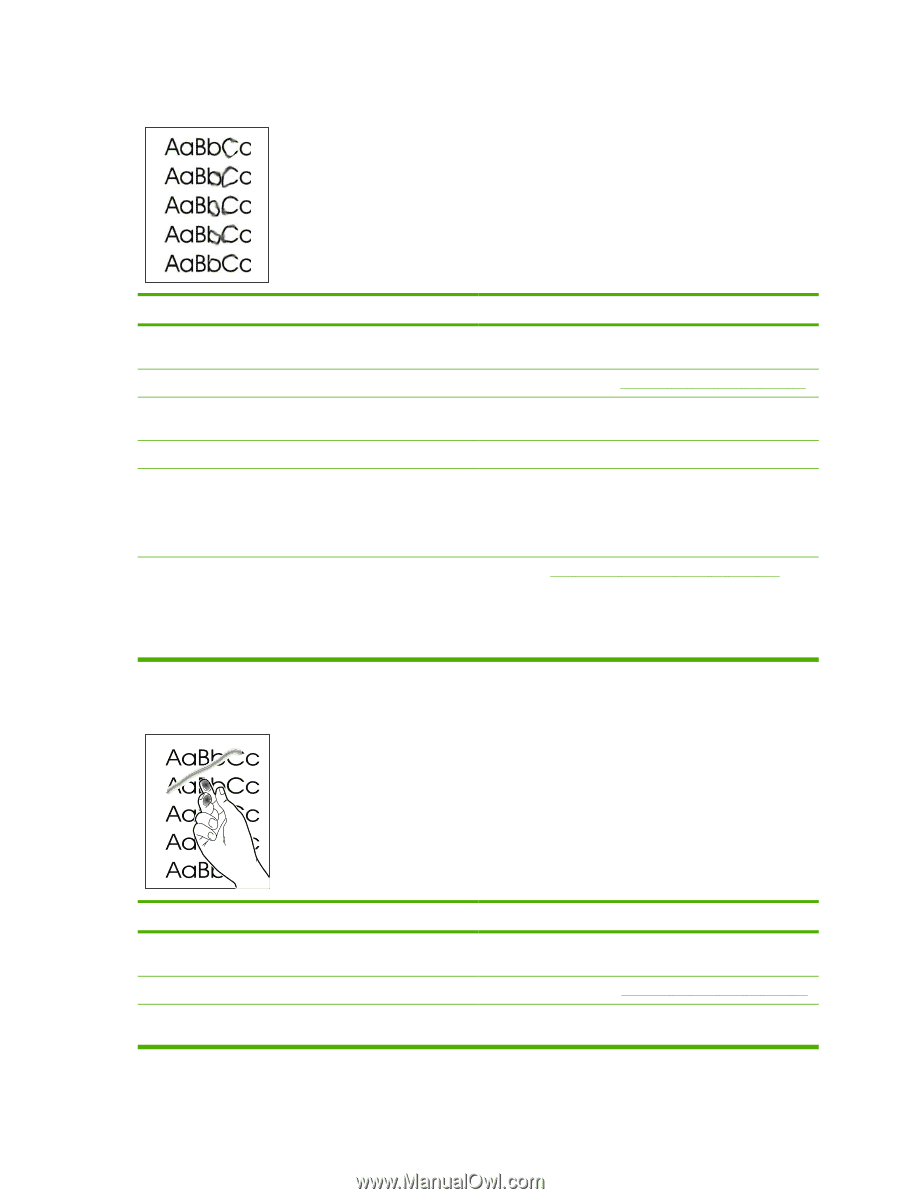
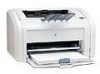
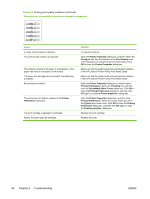
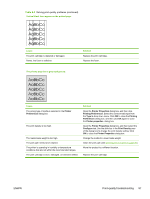
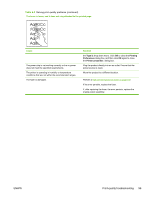
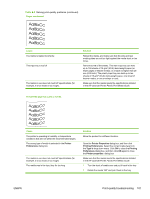
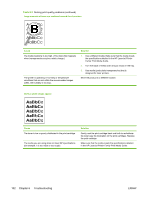
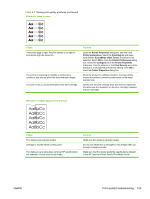
Table 6-3 Solving print-quality problems (continued) Toner smears appear on the printed page. Cause Solution If toner smears appear on the leading edge of the media, the Wipe the media guides with a dry, lint free cloth. media guides might be dirty. The print path needs to be cleaned. Clean the print path (see Cleaning the print path on page 26). The media in use does not meet HP specifications (for example, it is too moist or too rough). Make sure that the media meets the specifications detailed in the HP LaserJet Printer Family Print Media Guide. The print cartridge is worn or damaged. Replace the print cartridge. The wrong type of media is selected in the Printer Preferences dialog box. Open the Printer Properties dialog box, and then click Printing Preferences. Select the correct media type from the Type Is drop down menu. Click OK to close the Printing Preferences dialog box, and then click OK again to close the Printer properties dialog box. The fuser is damaged. Perform the Half self-test functional check on page 107. If the error persists, replace the fuser. If, after replacing the fuser, the error persists, replace the ECU. The toner is loose, and it does not stay attached to the printed page. Cause The media in use does not meet HP specifications (for example, it is too moist or too rough). The print path needs to be cleaned. The wrong type of media is selected in the Printer Preferences dialog box. Solution Make sure that the media meets the specifications detailed in the HP LaserJet Printer Family Print Media Guide. Clean the print path. See Cleaning the print path on page 26. Open the Printer Properties dialog box, and then click Printing Preferences. Select the correct media type from 98 Chapter 6 Troubleshooting ENWW
-
 1
1 -
2
-
3
-
4
-
5
-
6
-
7
-
8
-
9
-
10
-
11
-
12
-
13
-
14
-
15
-
16
-
17
-
18
-
19
-
20
-
21
-
22
-
23
-
24
-
25
-
26
-
27
-
28
-
29
-
30
-
31
-
32
-
33
-
34
-
35
-
36
-
37
-
38
-
39
-
40
-
41
-
42
-
43
-
44
-
45
-
46
-
47
-
48
-
49
-
50
-
51
-
52
-
53
-
54
-
55
-
56
-
57
-
58
-
59
-
60
-
61
-
62
-
63
-
64
-
65
-
66
-
67
-
68
-
69
-
70
-
71
-
72
-
73
-
74
-
75
-
76
-
77
-
78
-
79
-
80
-
81
-
82
-
83
-
84
-
85
-
86
-
87
-
88
-
89
-
90
-
91
-
92
-
93
-
94
-
95
-
96
-
97
-
98
-
99
-
100
-
 101
101 -
 102
102 -
 103
103 -
 104
104 -
 105
105 -
 106
106 -
 107
107 -
 108
108 -
 109
109 -
 110
110 -
 111
111 -
112
-
113
-
114
-
115
-
116
-
117
-
118
-
119
-
120
-
121
-
122
-
123
-
124
-
125
-
126
-
127
-
128
-
129
-
130
-
131
-
132
-
133
-
134
-
135
-
136
-
137
-
138
-
139
-
140
-
141
-
142
-
143
-
144
 |
 |