HP 6127 HP Deskjet 6120 series printers - (English) Reference Guide - Page 12
connect the printer, install the printer software - troubleshooting
 |
View all HP 6127 manuals
Add to My Manuals
Save this manual to your list of manuals |
Page 12 highlights
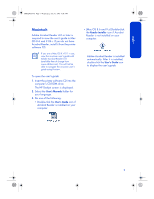
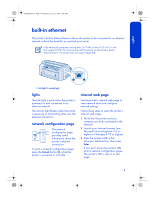
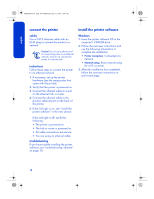
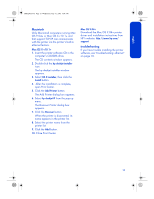
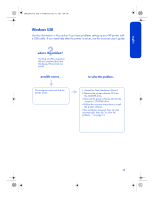
english FDR_RG.book Page 10 Wednesday, July 31, 2002 9:38 AM connect the printer cables Use a CAT-5 ethernet cable with an RJ-45 plug to connect the printer to a network. Caution! Do not use a phone cord to connect the printer to an ethernet network, and do not connect the printer to a phone jack. instructions Follow these steps to connect the printer to an ethernet network: 1. If necessary, set up the printer hardware (see the setup poster that came with the printer). 2. Verify that the printer is powered on. 3. Connect the ethernet cable to a port on the ethernet hub or router. 4. Connect the ethernet cable to the printer's ethernet port on the back of the printer. 5. If the Link light is on, see "install the printer software" in the next section. If the Link light is off, verify the following: • The printer is powered on. • The hub or router is powered on. • All cable connections are secure. • You are using an ethernet cable. troubleshooting If you have trouble installing the printer software, see "troubleshooting: ethernet" on page 18. install the printer software Windows 1. Insert the printer software CD in the computer's CD-ROM drive. 2. Follow the onscreen instructions and use the following information to complete the installation. • Printer connection: Connected via network • Network setup: Basic network setup for a PC or server 3. After the installation has completed, follow the onscreen instructions to print a test page. 10
-
 1
1 -
2
-
3
-
4
-
5
-
6
-
 7
7 -
 8
8 -
 9
9 -
 10
10 -
 11
11 -
 12
12 -
 13
13 -
 14
14 -
 15
15 -
 16
16 -
 17
17 -
18
-
19
-
20
-
21
-
22
-
23
-
24
-
25
-
26
-
27
-
28
 |
 |