HP B8550 Creative Guide - Page 11
Easy Photo Editing - manual
 |
UPC - 884420048510
View all HP B8550 manuals
Add to My Manuals
Save this manual to your list of manuals |
Page 11 highlights
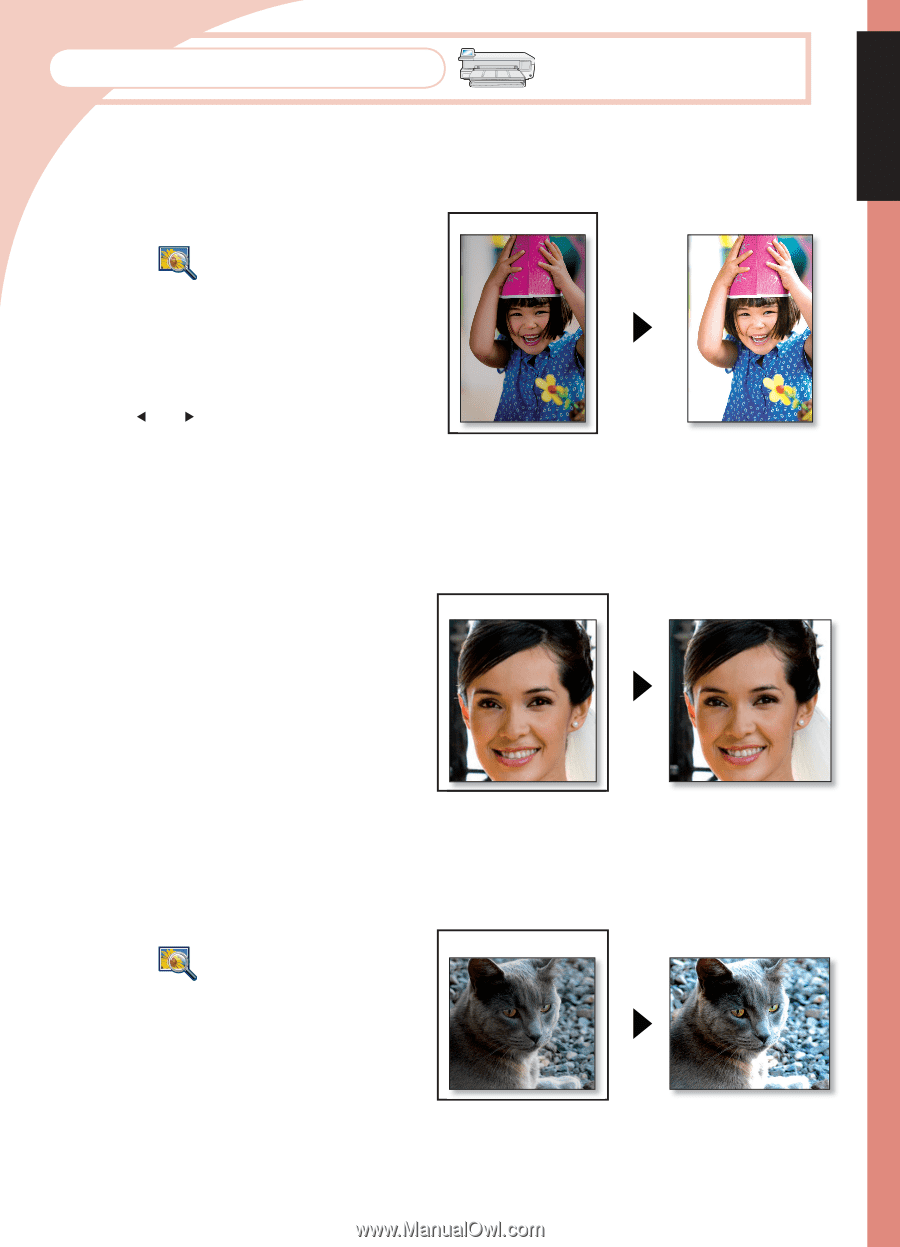
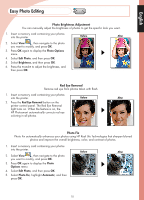
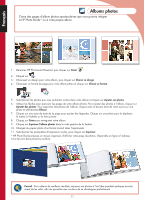
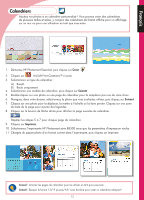
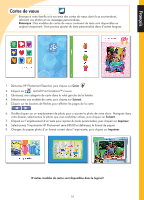
English Easy Photo Editing Photo Brightness Adjustment You can manually adjust the brightness of photos to get the specific look you want. 1. Insert a memory card containing your photos into the printer. Before After 2. Select View , then navigate to the photo you want to modify, and press OK. 3. Press OK again to display the Photo Options menu. 4. Select Edit Photo, and then press OK. 5. Select Brightness, and then press OK. 6. Press the and to adjust the brightness, and then press OK. Red Eye Removal Remove red eye from photos taken with flash. 1. Insert a memory card containing your photos into the printer. Before After 2. Press the Red Eye Removal button on the printer control panel. The Red Eye Removal light turns on. When the feature is on, the HP Photosmart automatically corrects red eye coloring in all photos. Photo Fix Photo Fix automatically enhances your photos using HP Real Life Technologies that sharpen blurred photos and improve the overall brightness, color, and contrast of photos. 1. Insert a memory card containing your photos into the printer. Before After 2. Select View , then navigate to the photo you want to modify, and press OK. 3. Press OK again to display the Photo Options menu. 4. Select Edit Photo, and then press OK. 5. Select Photo Fix, highlight Automatic, and then press OK. 10
-
 1
1 -
2
-
3
-
4
-
5
-
 6
6 -
 7
7 -
 8
8 -
 9
9 -
 10
10 -
 11
11 -
 12
12 -
 13
13 -
 14
14 -
 15
15 -
 16
16 -
17
-
18
-
19
-
20
-
21
-
22
-
23
-
24
-
25
-
26
-
27
-
28
 |
 |