HP B8550 Creative Guide - Page 6
English - printer
 |
UPC - 884420048510
View all HP B8550 manuals
Add to My Manuals
Save this manual to your list of manuals |
Page 6 highlights
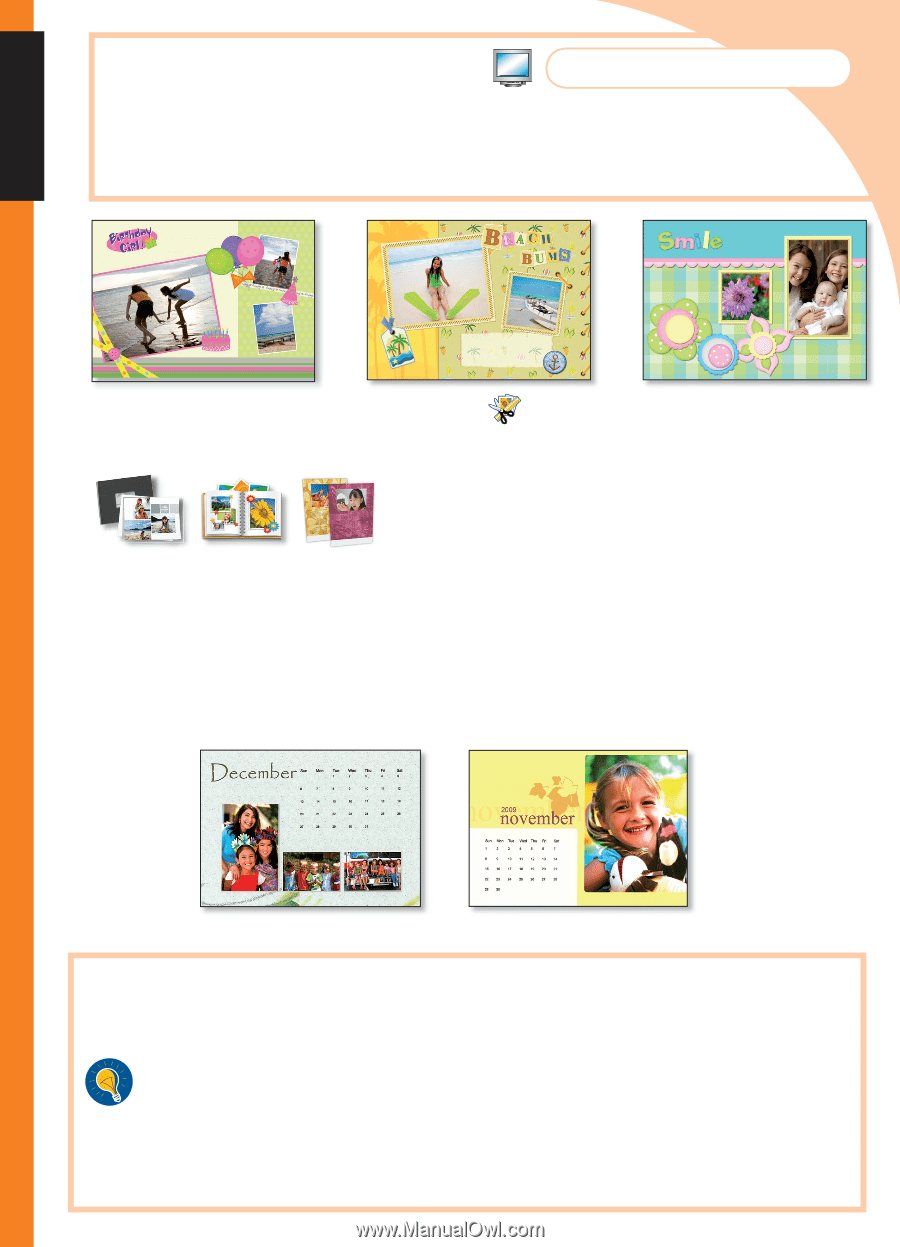
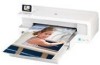
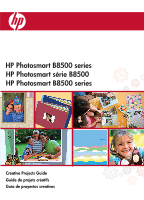
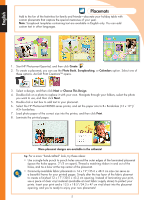
English Placemats Add to the fun of the festivities for family and friends-decorate your holiday table with custom placemats that capture the special memories of your year. Note: Scrapbook templates containing text are available in English only. You can add custom text in other languages. 1. Start HP Photosmart Essential, and then click Create . 2. To create a placemat, you can use the Photo Book, Scrapbooking, or Calendars option. Select one of these options. ArcSoft Print Creations™ opens. 3. Select a design, and then click Next or Choose This Design. 4. Double-click on a photo to replace it with your own. Navigate through your folders, select the photo you want to use, and then click Next. 5. Double-click a text box to add text to your placemat. 6. Select the HP Photosmart B8500 series printer, and set the paper size to B+ Borderless (13 x 19")/ A3+ borderless. 7. Load photo paper of the correct size into the printer, and then click Print. 8. Laminate the printed pages. More placemat designs are available in the software! Tip: For a more "hand-crafted" look, try these ideas: • Use a single-hole punch to punch holes around the outer edges of the laminated placemat (space the holes approx. 2"/5 cm apart). Thread a matching ribbon in and out of the holes, and tie a bow at the top center of the placemat. • Commonly-available fabric placemats in 14 x 19"/35.6 x 48.3 cm size can serve as a beautiful frame for your printed pages. Simply alter the top layer of the fabric plaemat to create a finished 12 x 17"/30.5 x 43.2 cm opening. Instead of laminating your print, use a piece of clear vinyl material (available at most fabric supply stores) to protect your prints. Insert your print and a 13.5 x 18.5"/34.3 x 47 cm vinyl sheet into the placemat opening, and you're ready to enjoy your new placemats! 5
-
 1
1 -
 2
2 -
 3
3 -
 4
4 -
 5
5 -
 6
6 -
 7
7 -
 8
8 -
 9
9 -
 10
10 -
 11
11 -
 12
12 -
13
-
14
-
15
-
16
-
17
-
18
-
19
-
20
-
21
-
22
-
23
-
24
-
25
-
26
-
27
-
28
 |
 |