HP C5180 Basics Guide - Page 11
Install the software for a network connection, Connect the HP All-in-One to the network - photosmart all in one software
 |
UPC - 882780529755
View all HP C5180 manuals
Add to My Manuals
Save this manual to your list of manuals |
Page 11 highlights
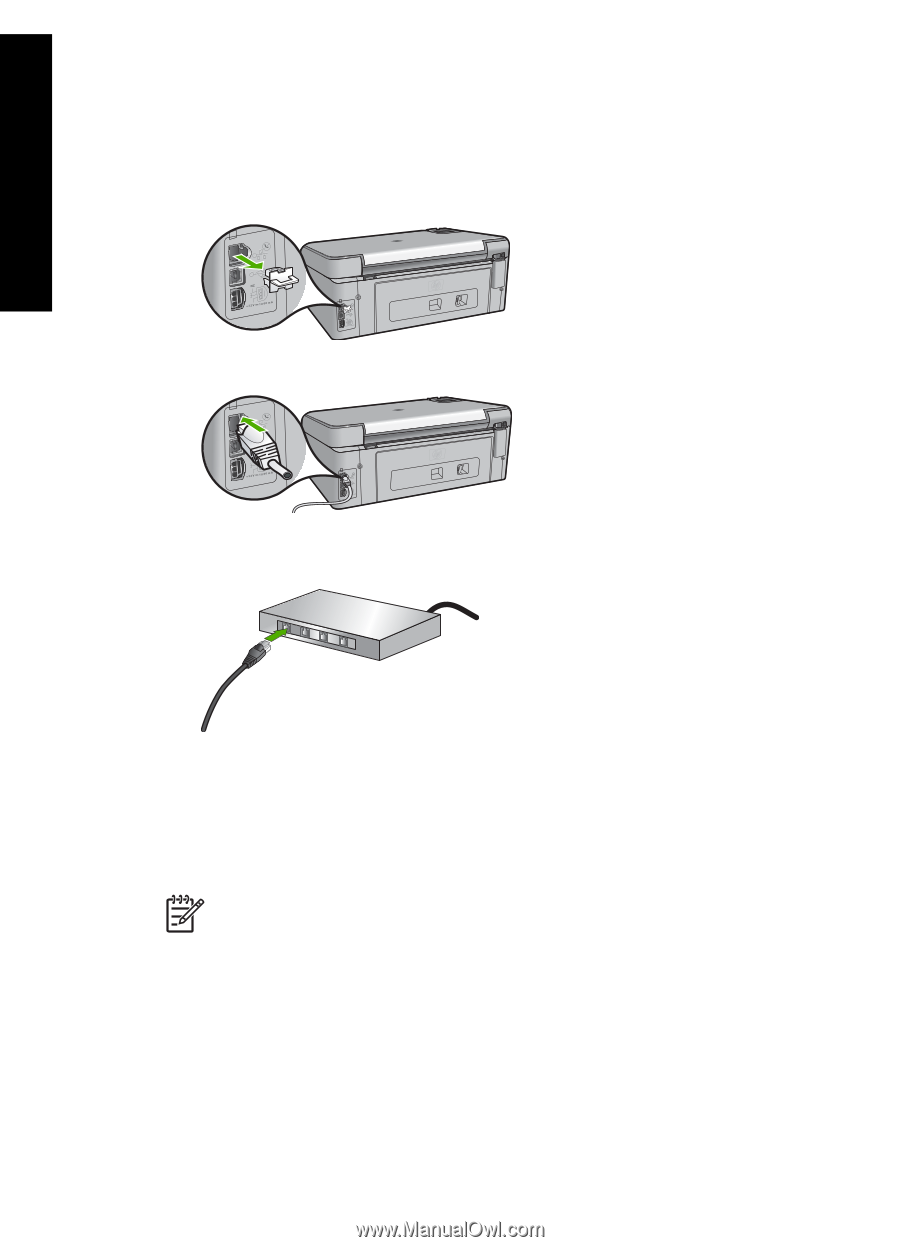
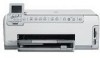
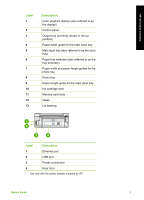
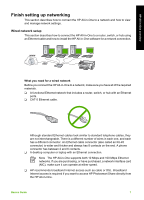
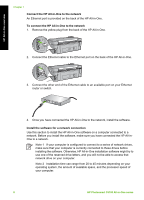
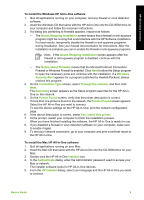
HP All-in-One overview Chapter 1 Connect the HP All-in-One to the network An Ethernet port is provided on the back of the HP All-in-One. To connect the HP All-in-One to the network 1. Remove the yellow plug from the back of the HP All-in-One. 2. Connect the Ethernet cable to the Ethernet port on the back of the HP All-in-One. 3. Connect the other end of the Ethernet cable to an available port on your Ethernet router or switch. 4. Once you have connected the HP All-in-One to the network, install the software. Install the software for a network connection Use this section to install the HP All-in-One software on a computer connected to a network. Before you install the software, make sure you have connected the HP All-inOne to a network. Note 1 If your computer is configured to connect to a series of network drives, make sure that your computer is currently connected to these drives before installing the software. Otherwise, HP All-in-One installation software might try to use one of the reserved drive letters, and you will not be able to access that network drive on your computer. Note 2 Installation time can range from 20 to 45 minutes depending on your operating system, the amount of available space, and the processor speed of your computer. 8 HP Photosmart C5100 All-in-One series
-
 1
1 -
2
-
3
-
4
-
5
-
 6
6 -
 7
7 -
 8
8 -
 9
9 -
 10
10 -
 11
11 -
 12
12 -
 13
13 -
 14
14 -
 15
15 -
 16
16 -
17
-
18
-
19
-
20
-
21
-
22
-
23
-
24
-
25
-
26
-
27
-
28
-
29
-
30
-
31
-
32
-
33
-
34
-
35
-
36
-
37
-
38
-
39
-
40
-
41
-
42
-
43
-
44
-
45
 |
 |