HP CC330 User Manual - Page 24
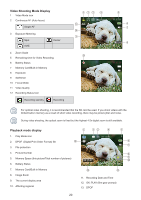
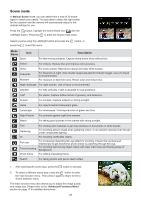
Left/Right - camera review
 |
View all HP CC330 manuals
Add to My Manuals
Save this manual to your list of manuals |
Page 24 highlights
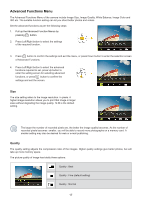
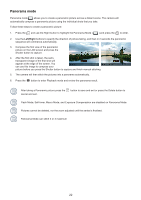
Panorama mode Panorama mode allows you to create a panoramic picture across a distant scene. The camera will automatically compose a panoramic picture using the individual shots that you take. Follow these steps to create a panoramic picture: 1. Press the and use the Right button to highlight the Panorama Mode ( ) and press the to enter. 2. Use the Left/Right buttons to specify the direction of picture taking, and then in 2 seconds the panoramic sequence will commence automatically. 3. Compose the first view of the panoramic picture on the LCD screen and press the Shutter button to capture. 4. After the first shot is taken, the semitransparent image of the first shot will appear at the edge of the screen. You can use this image to compose your picture before you press the Shutter button to capture and finish manual stitching. 5. The camera will then stitch the pictures into a panorama automatically. 6. Press the button to enter Playback mode and review the panorama result. After taking a Panoramic picture press the cancel and exit. button to save and exit or press the Delete button to Flash Mode, Self-timer, Macro Mode, and Exposure Compensation are disabled on Panorama Mode. Pictures cannot be deleted, nor the zoom adjusted until the series is finalized. Panorama Mode can stitch 2 or 3 maximum 22
-
 1
1 -
2
-
3
-
4
-
5
-
6
-
7
-
8
-
9
-
10
-
11
-
12
-
13
-
14
-
15
-
16
-
17
-
18
-
 19
19 -
 20
20 -
 21
21 -
 22
22 -
 23
23 -
 24
24 -
 25
25 -
 26
26 -
 27
27 -
 28
28 -
 29
29 -
30
-
31
-
32
-
33
-
34
-
35
-
36
-
37
-
38
-
39
-
40
-
41
-
42
-
43
-
44
-
45
-
46
-
47
 |
 |
