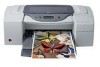
HP Cp1700ps HP CP 1700 Series - (English) User's Guide - Page 11
Step 2: Unpack the printer, Step 3: Install Tray 2 (optional accessory)
 |
View all HP Cp1700ps manuals
Add to My Manuals
Save this manual to your list of manuals |
Page 11 highlights
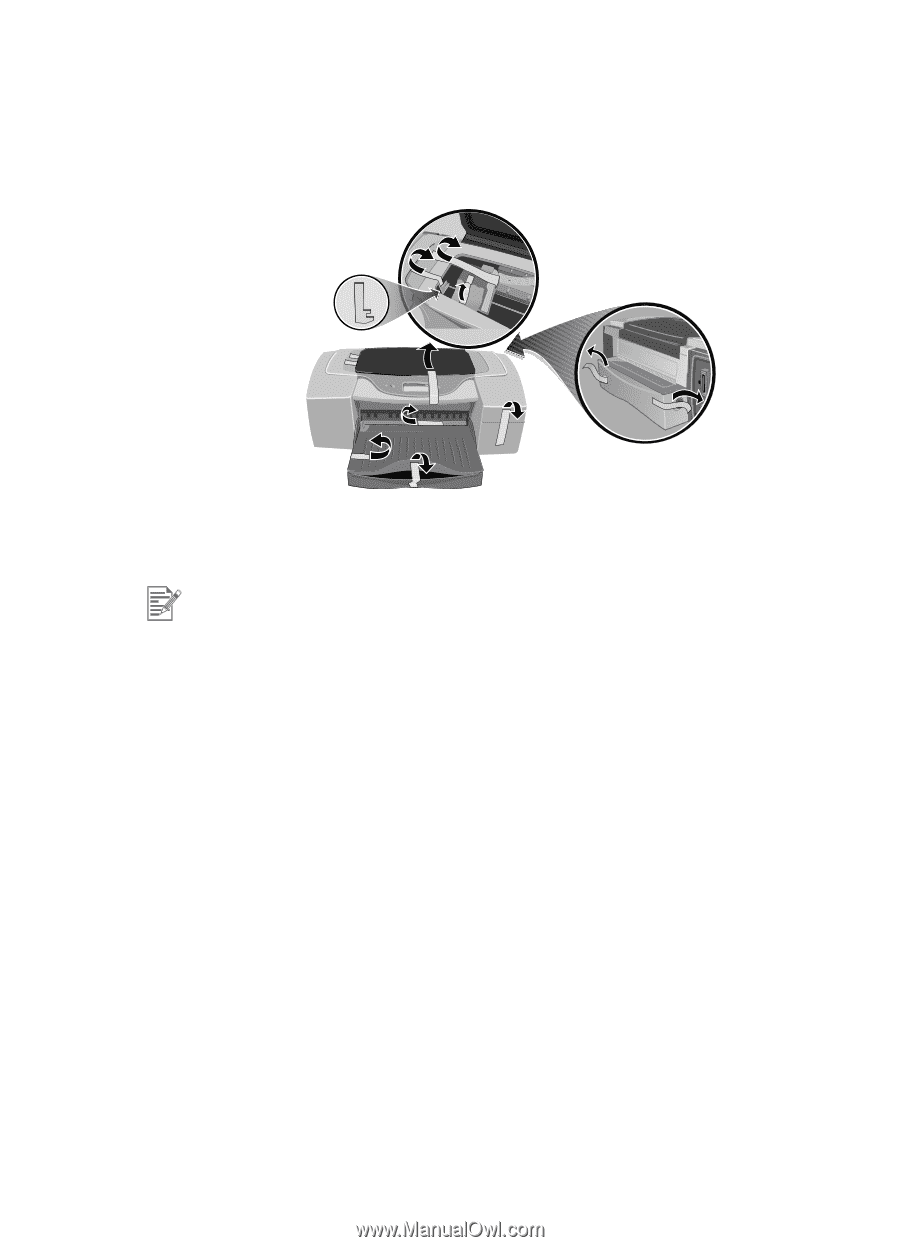
Step 2: Unpack the printer Unpack the printer and remove the packing tape and any shipping materials from inside the printer and inside the trays. Step 3: Install Tray 2 (optional accessory) Tray 2 is an optional accessory. You only need to complete this step if you purchased Tray 2. For a complete list of available supplies and accessories, see "HP Supplies and Accessories." 1 Position Tray 2 at the location where you want to place the printer. The printer is designed to rest directly on top of the tray. 2 Lift the printer and align the sides of Tray 1 with the sides of Tray 2. ENWW 2-5
-
 1
1 -
2
-
3
-
4
-
5
-
 6
6 -
 7
7 -
 8
8 -
 9
9 -
 10
10 -
 11
11 -
 12
12 -
 13
13 -
 14
14 -
 15
15 -
 16
16 -
17
-
18
-
19
-
20
-
21
-
22
-
23
-
24
-
25
-
26
-
27
-
28
-
29
-
30
-
31
-
32
-
33
-
34
-
35
-
36
-
37
-
38
-
39
-
40
-
41
-
42
-
43
-
44
-
45
-
46
-
47
-
48
-
49
-
50
-
51
-
52
-
53
-
54
-
55
-
56
-
57
-
58
-
59
-
60
-
61
-
62
-
63
-
64
-
65
-
66
-
67
-
68
-
69
-
70
-
71
-
72
-
73
-
74
-
75
-
76
-
77
-
78
-
79
-
80
-
81
-
82
-
83
-
84
-
85
-
86
-
87
-
88
 |
 |
ENWW
2-5
Step 2: Unpack the printer
Unpack the printer and remove the packing tape and any shipping
materials from inside the printer and inside the trays.
Step 3: Install Tray 2 (optional accessory)
1
Position Tray 2 at the location where you want to place the printer.
The printer is designed to rest directly on top of the tray.
2
Lift the printer and align the sides of Tray 1 with the sides of
Tray 2.
Tray 2 is an optional accessory. You only need to complete this step if
you purchased Tray 2. For a complete list of available supplies and
accessories, see “HP Supplies and Accessories.”