HP Deskjet 870 HP DeskJet 870C Printer - Support Information - Page 108
HP DeskJet 870C Control Panel for DOS, Installation
 |
View all HP Deskjet 870 manuals
Add to My Manuals
Save this manual to your list of manuals |
Page 108 highlights
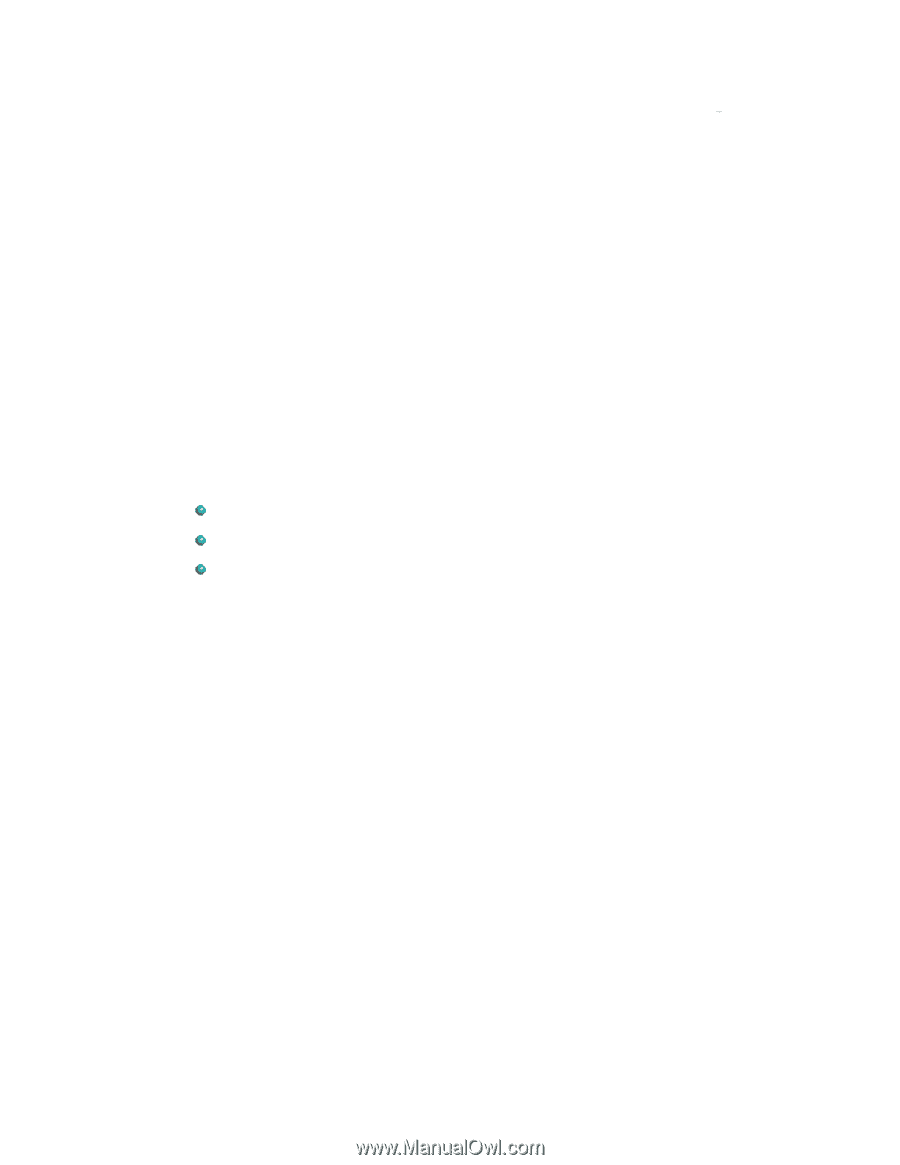
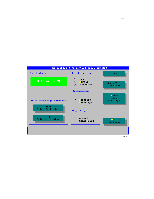
HP DeskJet 870C Control Panel for DOS The HP DeskJet 870C Control Panel for DOS is software that replaces the front panel switches found on older printers. The Control Panel for DOS does not replace printer drivers; it must be used along with DOS software printer drivers. When there is no specific HP DeskJet 870C printer driver available for an application, the HP Control Panel for DOS gives the user access to print settings and features not available through the DOS application. If settings are available in the DOS application printer driver and the DOS Control Panel, the settings made in the DOS application usually override those made in the HP Control Panel for DOS. The HP Control Panel for DOS lets the user monitor the printer's status, and clean and align the print cartridges. Minimum System Requirements DOS version 3.3 (or newer) An 80286 (or better) processor 2 MB of RAM to print in black or 4 MB of RAM to print in color Installation Before you install the HP Control Panel for DOS: 1. Unpack the printer and set it up. 2. Make sure the computer and the printer are both turned on and connected with the proper cable. To install the Control Panel for DOS: 1. Insert the disk containing the control panel software into the disk drive. 2. At the DOS prompt, type A:\Install (or B:\Install depending on the floppy drive configuration) and press Enter. 3. Follow the on-screen instructions. After installing the software, the print cartridges need to be aligned before beginning any print jobs.
-
 1
1 -
2
-
3
-
4
-
5
-
6
-
7
-
8
-
9
-
10
-
11
-
12
-
13
-
14
-
15
-
16
-
17
-
18
-
19
-
20
-
21
-
22
-
23
-
24
-
25
-
26
-
27
-
28
-
29
-
30
-
31
-
32
-
33
-
34
-
35
-
36
-
37
-
38
-
39
-
40
-
41
-
42
-
43
-
44
-
45
-
46
-
47
-
48
-
49
-
50
-
51
-
52
-
53
-
54
-
55
-
56
-
57
-
58
-
59
-
60
-
61
-
62
-
63
-
64
-
65
-
66
-
67
-
68
-
69
-
70
-
71
-
72
-
73
-
74
-
75
-
76
-
77
-
78
-
79
-
80
-
81
-
82
-
83
-
84
-
85
-
86
-
87
-
88
-
89
-
90
-
91
-
92
-
93
-
94
-
95
-
96
-
97
-
98
-
99
-
100
-
101
-
102
-
 103
103 -
 104
104 -
 105
105 -
 106
106 -
 107
107 -
 108
108 -
 109
109 -
 110
110 -
 111
111 -
 112
112 -
 113
113 -
114
-
115
-
116
-
117
-
118
-
119
-
120
-
121
-
122
-
123
-
124
-
125
-
126
-
127
-
128
-
129
-
130
-
131
-
132
-
133
-
134
-
135
-
136
-
137
-
138
-
139
-
140
-
141
-
142
-
143
-
144
-
145
-
146
-
147
-
148
-
149
-
150
-
151
-
152
 |
 |