HP E427 User Guide - Page 18
Transferring and printing images, Transferring images with HP Photosmart Software, Transferring - photosmart cable
 |
UPC - 882780503250
View all HP E427 manuals
Add to My Manuals
Save this manual to your list of manuals |
Page 18 highlights
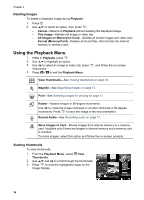
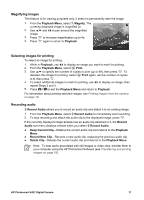
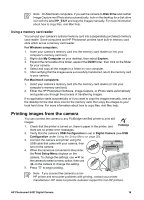
4 Transferring and printing images You can transfer images and video clips with or without the HP Photosmart Software that came with your camera. However, the HP Photosmart Software has several features for transferring and managing your images and also guides you through the transfer process. Transferring images with HP Photosmart Software If you have installed the HP Photosmart Software (see Install the software on page 8), use this method to transfer images and video clips to your computer. 1. If you have selected images for printing (see Selecting images for printing on page 17), verify that the computer is connected to a printer. 2. Connect the camera and computer using the USB cable that came with your camera. 3. Turn on the camera and follow the instructions on the computer screen to transfer the images. For more information, see the Help feature in the HP Photosmart Software. Transferring images without HP Photosmart Software If you do not install the HP Photosmart Software, images marked for printing (see Selecting images for printing on page 17) do not automatically print when you connect the camera to the computer. However, you can still transfer images and video clips to your computer by: ● Connecting your camera directly to the computer (see Connecting to the computer on page 18) ● Using a memory card reader (see Using a memory card reader on page 19) Connecting to the computer 1. Turn off the camera, connect the camera and computer using the USB cable that came with your camera, then turn on the camera. - On Windows computers, the camera appears as a device in Explorer, allowing you to copy images from the camera to the computer. - On Macintosh computers, either Image Capture or iPhoto starts automatically, allowing you to transfer images to the computer. 2. When you have finished transferring images, disconnect the camera from the computer. If your computer is running Windows 2000 or XP and you get an Unsafe Removal warning, disregard the warning. If you encounter problems, set the camera's USB Configuration to Disk Drive (see USB Configuration under Using the Setup Menu on page 20) and reconnect to your computer. 18
-
 1
1 -
2
-
3
-
4
-
5
-
6
-
7
-
8
-
9
-
10
-
11
-
12
-
 13
13 -
 14
14 -
 15
15 -
 16
16 -
 17
17 -
 18
18 -
 19
19 -
 20
20 -
 21
21 -
 22
22 -
 23
23 -
24
-
25
-
26
-
27
-
28
-
29
-
30
-
31
-
32
 |
 |
