HP IQ804 Getting Started Guide - Page 47
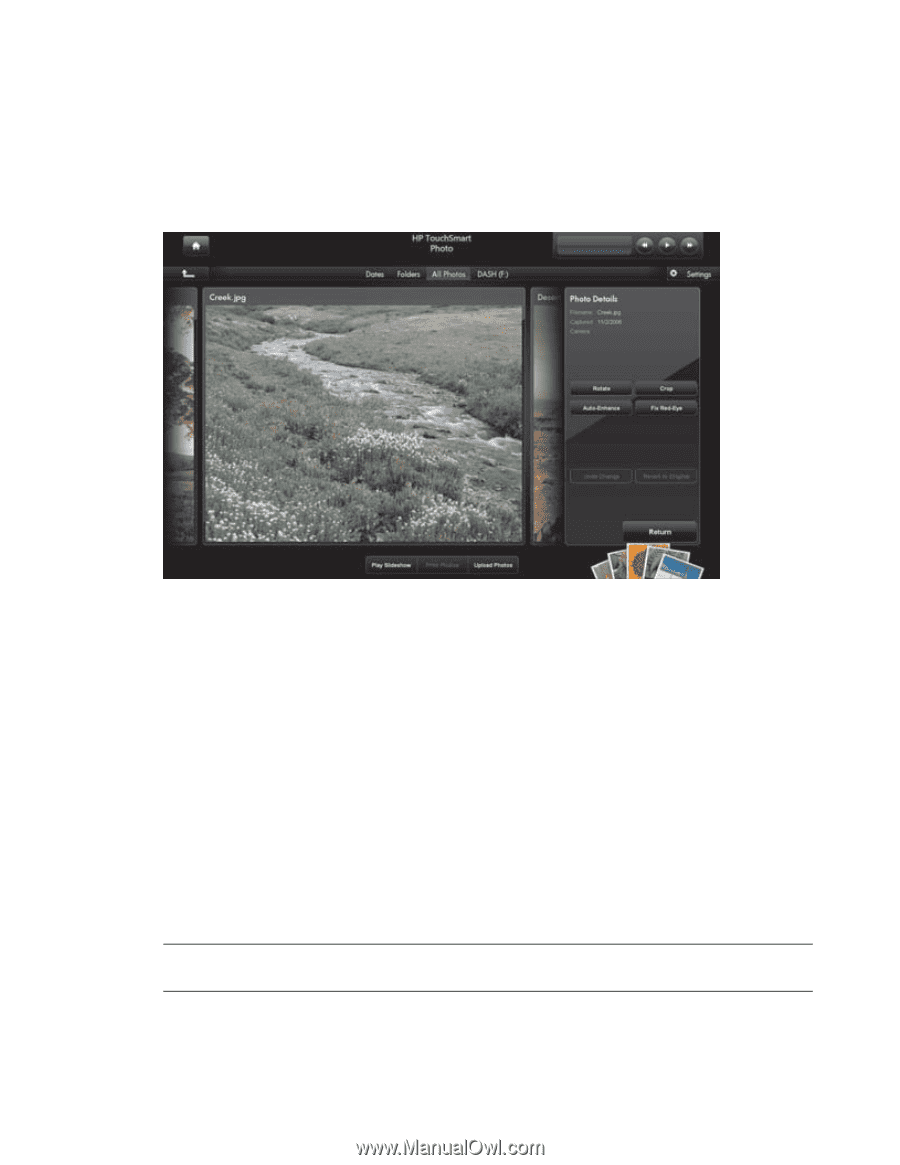
Editing your photos, Photo, Landscape, Portrait, Custom, Return, Revert to Original, Auto-Enhance
 |
UPC - 884420018438
View all HP IQ804 manuals
Add to My Manuals
Save this manual to your list of manuals |
Page 47 highlights
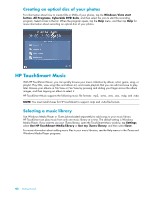
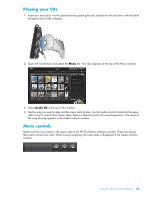
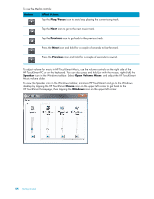
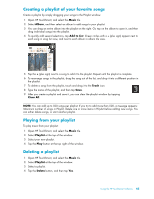
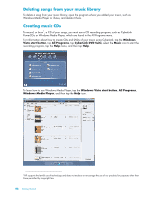
Editing your photos You can make changes to your photos in HP TouchSmart Photo. Editing features include removing red-eye, cropping, auto-correcting, and rotating images. After you edit a photo, you always have the option to revert to the original image. To crop a photo: 1 Open HP TouchSmart, and select the Photo tile. 2 Tap anywhere on a photo to open it. When you open a photo, the photo editing window opens. 3 Select Crop. 4 Select a cropping option of Landscape, Portrait, or Custom. Press and drag the blue circles on the corners until you have the cropped image you want. 5 Tap the Crop button to apply your change. 6 Tap Return to exit the editing window. 7 Select the Revert to Original button if you want to return to your original photo. To adjust a photo: 1 Open HP TouchSmart, and select the Photo tile. 2 Tap anywhere on a photo to select it. When you select a photo, the photo editing window opens. 3 Select an editing option: Auto-Enhance: Auto-corrects for contrast and brightness. Fix Red-Eye: Fixes certain types of red-eye. Rotate: Rotates a photo 90 degrees to the right. Tap it again to rotate the photo another 90 degrees. NOTE: When you select the Auto-Enhance or Fix Red-Eye setting, neither option is available for the same photo again, unless you revert to the original image. 4 Tap Return to exit the editing window. 5 Select the Revert to Original button if you want to return to your original photo. Using the HP TouchSmart Software 41
-
 1
1 -
2
-
3
-
4
-
5
-
6
-
7
-
8
-
9
-
10
-
11
-
12
-
13
-
14
-
15
-
16
-
17
-
18
-
19
-
20
-
21
-
22
-
23
-
24
-
25
-
26
-
27
-
28
-
29
-
30
-
31
-
32
-
33
-
34
-
35
-
36
-
37
-
38
-
39
-
40
-
41
-
 42
42 -
 43
43 -
 44
44 -
 45
45 -
 46
46 -
 47
47 -
 48
48 -
 49
49 -
 50
50 -
 51
51 -
 52
52 -
53
-
54
-
55
-
56
-
57
-
58
-
59
-
60
-
61
-
62
-
63
-
64
-
65
-
66
-
67
-
68
-
69
-
70
-
71
-
72
 |
 |