HP Integrity rx1600 Operation and Maintenance - HP Integrity rx1600 - Page 131
Removing and Replacing the Front Bezel, Removing the Front Bezel
 |
View all HP Integrity rx1600 manuals
Add to My Manuals
Save this manual to your list of manuals |
Page 131 highlights
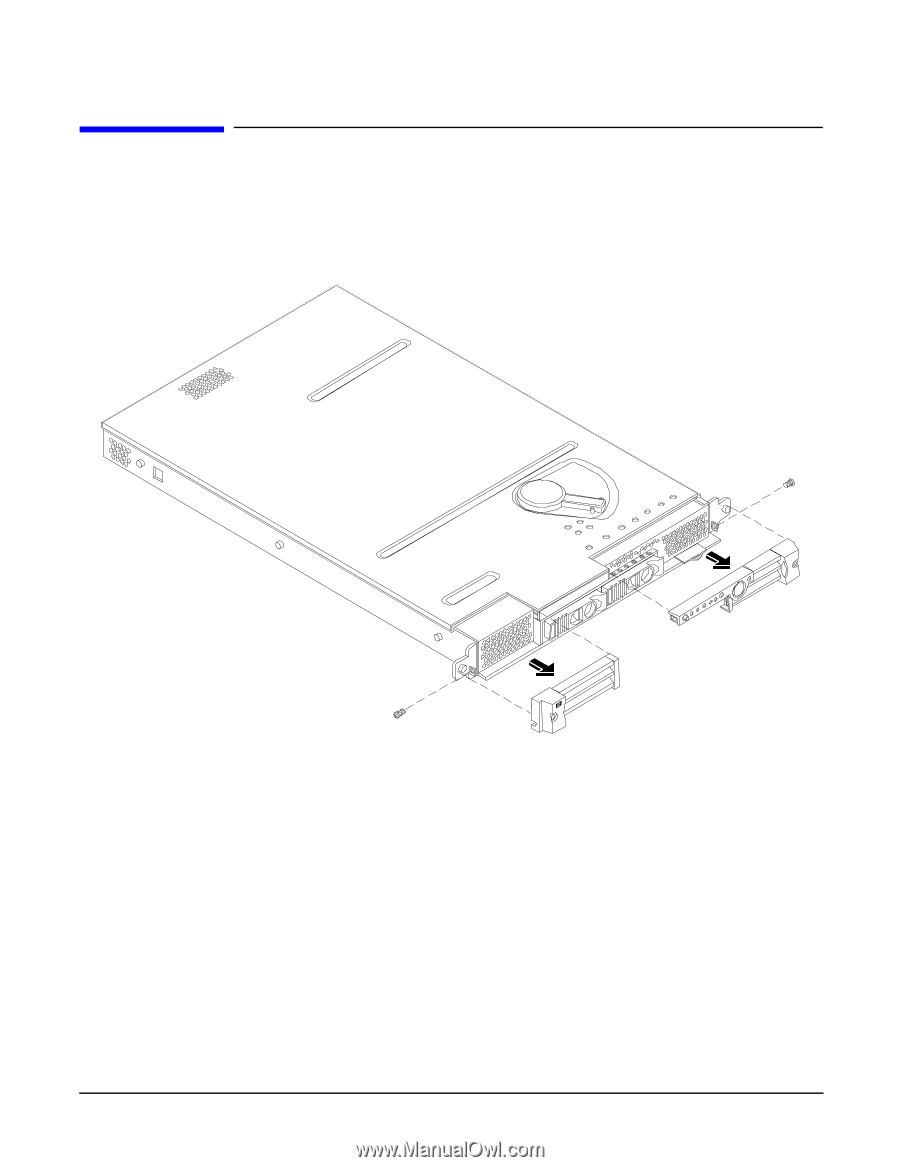
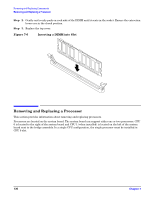
Removing and Replacing Components Removing and Replacing the Front Bezel Removing and Replacing the Front Bezel The server does not have to be turned off to remove the front bezel. The front bezel of the hp Integrity rx1600 Server consists of a left and right bezel part. The right bezel part provides the server controls and LED access ports. Figure 7-1 Front Bezel Removing the Front Bezel To remove the front bezel parts, perform the following steps: Step 1. Remove the screw securing the right front bezel to the chassis. Step 2. Grasp the right front bezel at the outer edge and pull straight out. Step 3. Remove the screw securing the left front bezel to the chassis. Step 4. Grasp the left front bezel at the outer edge and pull straight out. Replacing the Front Bezel To replace the front bezel parts, perform the following steps: Step 1. Slide the right front bezel onto the tab on the chassis until it snaps into place. Chapter 7 131
-
 1
1 -
2
-
3
-
4
-
5
-
6
-
7
-
8
-
9
-
10
-
11
-
12
-
13
-
14
-
15
-
16
-
17
-
18
-
19
-
20
-
21
-
22
-
23
-
24
-
25
-
26
-
27
-
28
-
29
-
30
-
31
-
32
-
33
-
34
-
35
-
36
-
37
-
38
-
39
-
40
-
41
-
42
-
43
-
44
-
45
-
46
-
47
-
48
-
49
-
50
-
51
-
52
-
53
-
54
-
55
-
56
-
57
-
58
-
59
-
60
-
61
-
62
-
63
-
64
-
65
-
66
-
67
-
68
-
69
-
70
-
71
-
72
-
73
-
74
-
75
-
76
-
77
-
78
-
79
-
80
-
81
-
82
-
83
-
84
-
85
-
86
-
87
-
88
-
89
-
90
-
91
-
92
-
93
-
94
-
95
-
96
-
97
-
98
-
99
-
100
-
101
-
102
-
103
-
104
-
105
-
106
-
107
-
108
-
109
-
110
-
111
-
112
-
113
-
114
-
115
-
116
-
117
-
118
-
119
-
120
-
121
-
122
-
123
-
124
-
125
-
 126
126 -
 127
127 -
 128
128 -
 129
129 -
 130
130 -
 131
131 -
 132
132 -
 133
133 -
 134
134 -
 135
135 -
 136
136 -
137
-
138
-
139
-
140
-
141
-
142
-
143
-
144
-
145
-
146
-
147
-
148
-
149
-
150
-
151
-
152
-
153
-
154
-
155
-
156
-
157
-
158
-
159
-
160
-
161
-
162
-
163
-
164
-
165
-
166
-
167
-
168
-
169
-
170
-
171
-
172
-
173
-
174
-
175
-
176
-
177
-
178
-
179
-
180
-
181
-
182
-
183
-
184
-
185
-
186
-
187
-
188
-
189
-
190
-
191
-
192
-
193
-
194
-
195
-
196
-
197
-
198
-
199
-
200
-
201
-
202
-
203
-
204
 |
 |