HP LH4r HP Netserver LP 1000r User Guide, Chapter 13 Update
HP LH4r - NetServer - 256 MB RAM Manual
 |
View all HP LH4r manuals
Add to My Manuals
Save this manual to your list of manuals |
HP LH4r manual content summary:
- HP LH4r | HP Netserver LP 1000r User Guide, Chapter 13 Update - Page 1
Rack Mounting (4-Post) Version 2, April 2001 Introduction This chapter provides the instructions for mounting the HP Netserver in a four-post (column) HP Systems rack. Figure 13-1 shows the Systems rack. If you have the newer 4-post HP System/E or System/U racks, go to Chapter 8. If you are mounting - HP LH4r | HP Netserver LP 1000r User Guide, Chapter 13 Update - Page 2
(LP 1000r and LP 2000r). You can read about the tools or download copies for installation. These tools can be used to plan a rack configuration for the components in your system. The white papers, specifically HP Netserver High Density Rack Solutions Overview (LP 1000r and LP 2000r), provide rack - HP LH4r | HP Netserver LP 1000r User Guide, Chapter 13 Update - Page 3
systems not listed in this manual. You will need this information to complete a rack system installation. Safety Precautions Always keep the following safety and environmental issues in mind, especially if you install the HP Netserver in a non-HP rack environment: • Optimum Operating Environment - HP LH4r | HP Netserver LP 1000r User Guide, Chapter 13 Update - Page 4
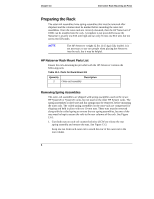
must be marked before mounting the outer-rail assemblies. Once the outer-rails are correctly mounted, then the HP Netserver LP 1000r can be installed into the rack. A template is not provided because the Netserver is exactly one EIA unit high and can only fit into one EIA unit, but not across two - HP LH4r | HP Netserver LP 1000r User Guide, Chapter 13 Update - Page 5
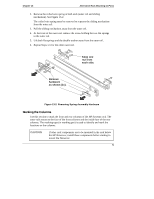
Spring Assembly Hardware Marking the Columns Use this section to mark the front and rear columns of the HP Systems rack. The outer-rails mount to the face of the front columns and the inside face to be mounted in the rack below the HP Netserver, install those components before starting to mount the - HP LH4r | HP Netserver LP 1000r User Guide, Chapter 13 Update - Page 6
Masking Tape Marker Left Side Mark this face and edge of the columns Right with masking tape Side or marking pen, as shown. Bottom of HP NetServer Front of Rack Figure 13-3. Location Marks on the Rack's Columns 3. Mark the forward face and edge of the left-rear and right-rear rack - HP LH4r | HP Netserver LP 1000r User Guide, Chapter 13 Update - Page 7
Chapter 13 Alternative Rack Mounting (4-Post) 2. Lower the leveler screws on the rack's lower four corners to make firm contact with the floor. See Figure 13-4. 3. Align the left outer-rail assembly to the left front and rear columns as shown in Figure 13-4. 4. Insert the front outer-rail pins - HP LH4r | HP Netserver LP 1000r User Guide, Chapter 13 Update - Page 8
bottom of the rack. Failure to do so could result in injury and equipment damage. To prevent the rack from rolling while you mount the HP Netserver, ensure the leveler screws on the rack's lower four corners are in firm contact with the floor. See Figure 13-4. 1. Lower the leveler screws on - HP LH4r | HP Netserver LP 1000r User Guide, Chapter 13 Update - Page 9
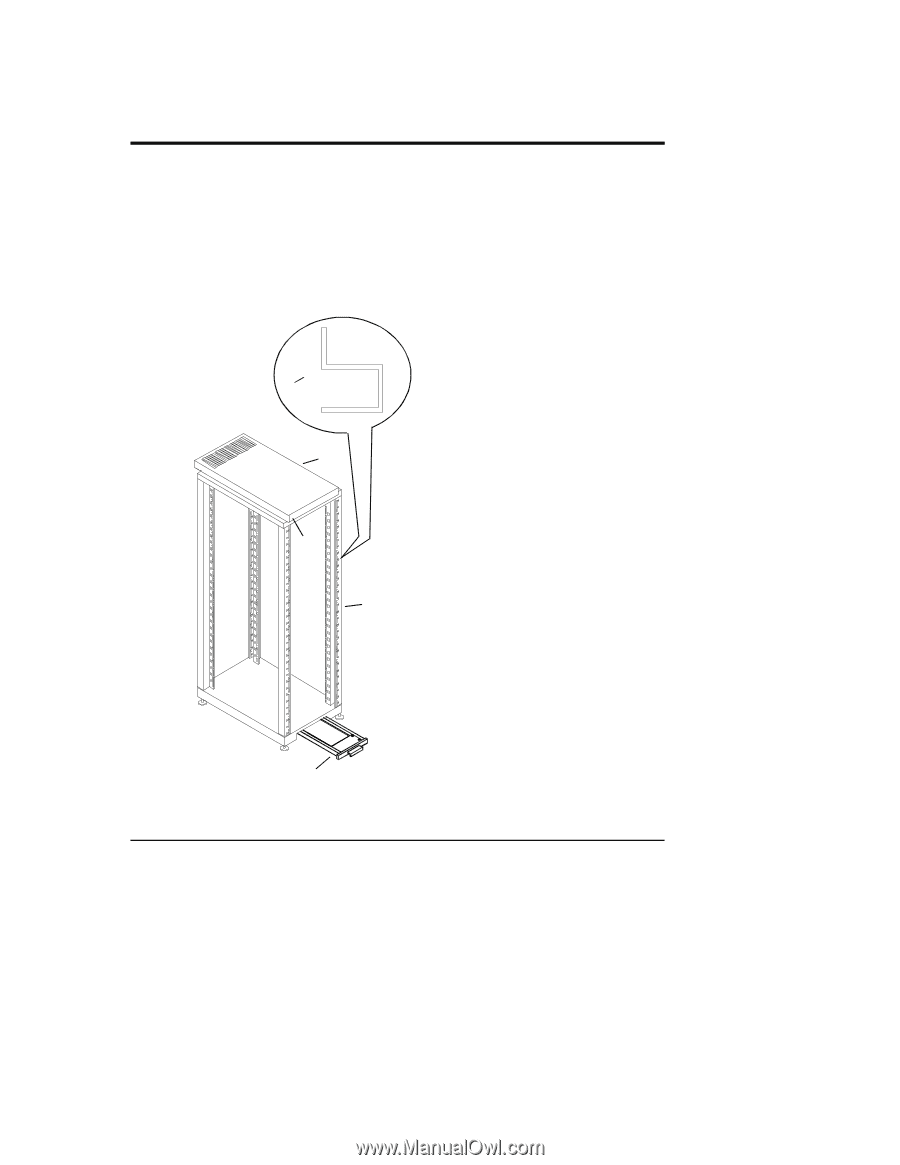
Attaching the Front Bezel The front bezel attaches to the HP Netserver by pivoting on two pins at the bottom and grasping the pivot in or out, ensuring a rotating action. 1. Position the Bezel in front of the HP Netserver LP 1000r as shown in Figure 13-6. 2. Push in on the bottom to engage the pins - HP LH4r | HP Netserver LP 1000r User Guide, Chapter 13 Update - Page 10
(4-Post) Pins Spring Latches (2) Figure 13-6. Attaching the Bezel to the Netserver Continuing with the Rack Installation Process After you install the HP Netserver in the rack, refer to the white paper, located on the HP web site for high-density rack configurations, to continue the process of - HP LH4r | HP Netserver LP 1000r User Guide, Chapter 13 Update - Page 11
11 - HP LH4r | HP Netserver LP 1000r User Guide, Chapter 13 Update - Page 12
- HP LH4r | HP Netserver LP 1000r User Guide, Chapter 13 Update - Page 13
13
-
 1
1 -
 2
2 -
 3
3 -
 4
4 -
 5
5 -
 6
6 -
 7
7 -
8
-
9
-
10
-
11
-
12
-
13
 |
 |
1
13 Alternative Rack Mounting (4-Post)
Version 2, April 2001
Introduction
This chapter provides the instructions for mounting the HP Netserver in a
four-post (column) HP Systems rack.
Figure 13-1 shows the Systems rack. If you
have the newer 4-post HP System/E or System/U racks, go to Chapter 8.
If you
are mounting the Netserver in a 2-post non-HP rack, refer to Chapter 7, or see the
documentation in the appropriate rack accessory kit.
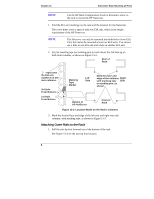
a
b
d
e
Characteristics of
HP System Rack:
a.
3-Cornered Columns
b.
Fan-Only Vent
c.
"HP Systems" Name Plate
d.
EIA Units Marked by Triangles
e.
Anti-Tip Foot Extends
Out Front Only
c
Figure 13-1.
HP System Rack