HP Pavilion xl900 HP Pavilion Desktop PCs - (English) Upgrading and Servicing - Page 17
door and replace the screws.
 |
View all HP Pavilion xl900 manuals
Add to My Manuals
Save this manual to your list of manuals |
Page 17 highlights
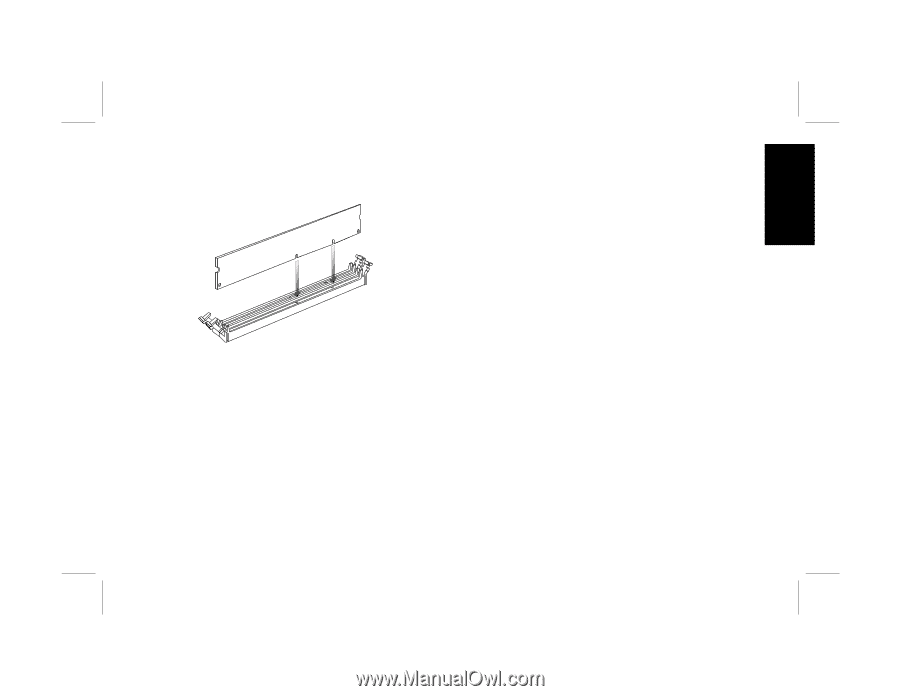
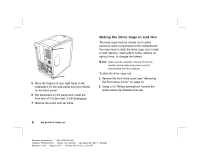
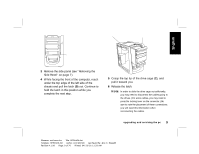
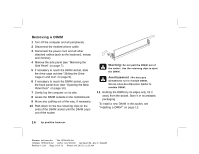
English 12 Hold the DIMM in alignment with the socket, aligning the notches with the bumps. 13 Push straight down on top of the DIMM until it is fully seated in the socket. The retaining clips on the ends of the socket automatically lock into position when the DIMM is fully seated. To reassemble the computer: 1 If you moved any cabling, restore the cable connections and routing. 2 If you opened the back panel door, close the door and replace the screws. 3 If you moved the drive cage, slide the drive cage back in (see "Sliding the Drive Cage In and Out" on page 8). 4 Replace the side panel (see "Replacing the Side Panel" on page 27). 5 Reconnect the power cord and all other cables. 6 Reconnect the modem/phone cable. 7 Turn on the computer and all peripherals. upgrading and servicing the pc 13 Filename: ma1rwsc.doc Title: HP-Print2k.dot Template: HP-Print2K.dot Author: Ann Schmidt Last Saved By: Jerry C. Stogsdill Revision #: 198 Page: 13 of 70 Printed: 04/26/01 11:33 AM
-
 1
1 -
2
-
3
-
4
-
5
-
6
-
7
-
8
-
9
-
10
-
11
-
 12
12 -
 13
13 -
 14
14 -
 15
15 -
 16
16 -
 17
17 -
 18
18 -
 19
19 -
 20
20 -
 21
21 -
 22
22 -
23
-
24
-
25
-
26
-
27
-
28
-
29
-
30
-
31
-
32
-
33
-
34
-
35
-
36
-
37
-
38
-
39
-
40
-
41
-
42
-
43
-
44
-
45
-
46
-
47
-
48
-
49
-
50
-
51
-
52
-
53
-
54
-
55
-
56
-
57
-
58
-
59
-
60
-
61
-
62
-
63
-
64
-
65
-
66
-
67
-
68
-
69
-
70
-
71
-
72
-
73
-
74
-
75
-
76
-
77
-
78
-
79
-
80
-
81
-
82
-
83
-
84
-
85
-
86
-
87
-
88
-
89
-
90
-
91
-
92
-
93
-
94
-
95
-
96
-
97
-
98
-
99
-
100
-
101
-
102
-
103
-
104
-
105
-
106
-
107
-
108
-
109
-
110
-
111
-
112
-
113
-
114
-
115
-
116
-
117
-
118
-
119
-
120
-
121
-
122
-
123
-
124
-
125
-
126
-
127
-
128
-
129
-
130
-
131
-
132
-
133
-
134
-
135
-
136
-
137
-
138
-
139
-
140
 |
 |