HP Photosmart 8400 HP Photosmart Networking Guide - Page 4
Connect a locally shared printer, 1. Set up the printer - install
 |
View all HP Photosmart 8400 manuals
Add to My Manuals
Save this manual to your list of manuals |
Page 4 highlights
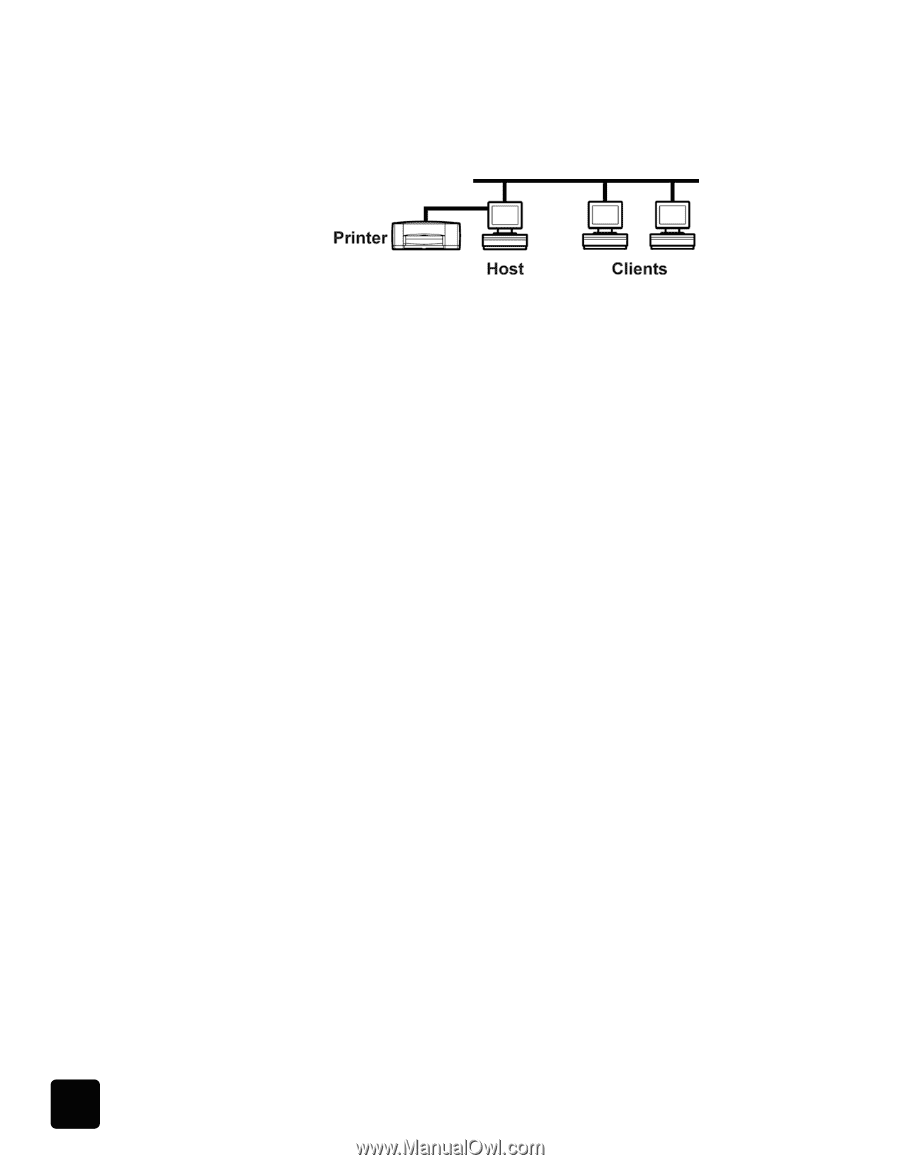
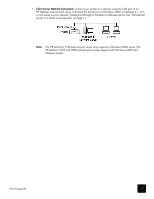
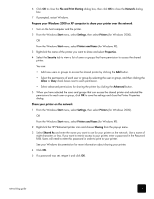
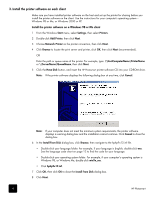
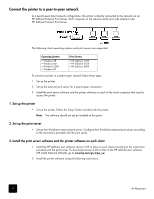
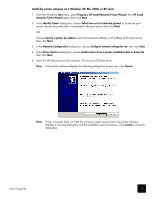
Connect a locally shared printer In the locally shared configuration, the printer is connected directly to the USB port of a selected computer that functions as a host to other computers on the network. To locally share your printer, the printer software that came with the printer must be installed on the host computer and on each client computer that accesses the printer. In the locally shared configuration, the printer software supports Windows 98, Me, 2000, and XP operating systems. To connect a locally shared printer follow these steps: 1 Set up the printer. 2 Install the printer software on the host computer, and then share your printer on the network. 3 Install the printer software on each of the client computers that need to access the printer. 1. Set up the printer • Set up the printer on the host. Follow the Setup Guide included with the printer. Note: The software should not yet be installed at this point. 2. Install the printer software on the host computer Install the printer software on a Windows 98, Me, 2000, or XP host Note: You must have administrator privileges to install the printer software on a Windows 2000 or XP system. 1 Turn on the host computer and the printer. 2 Close or disable any virus protection programs or other software programs that are open and running on the computer, except the HP Photosmart Software Installer and Windows Explorer. 3 Using the Setup Guide included with the printer, install the software following the instructions for your operating system. Prepare your Windows 98 or Me computer to share your printer over the network 1 Turn on the host computer and the printer. 2 From the Windows Start menu, select Settings, then select Control Panel. 3 Double-click the Network control panel. 4 Click the File and Print Sharing button. 5 If it is not already checked, check I want to be able to allow others to print to my printer(s). 4 HP Photosmart
-
 1
1 -
 2
2 -
 3
3 -
 4
4 -
 5
5 -
 6
6 -
 7
7 -
 8
8 -
 9
9 -
 10
10 -
11
-
12
-
13
-
14
-
15
 |
 |