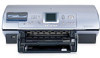
HP Photosmart 8400 HP Photosmart Networking Guide - Page 5
File and Print Sharing, Network, Start, Settings, Printers, Printers and Faxes, Properties, Security
 |
View all HP Photosmart 8400 manuals
Add to My Manuals
Save this manual to your list of manuals |
Page 5 highlights
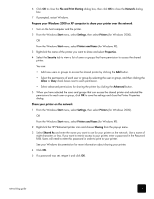
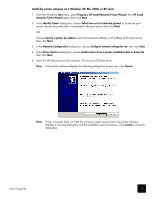
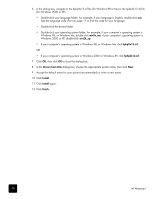
6 Click OK to close the File and Print Sharing dialog box, then click OK to close the Network dialog box. 7 If prompted, restart Windows. Prepare your Windows 2000 or XP computer to share your printer over the network 1 Turn on the host computer and the printer. 2 From the Windows Start menu, select Settings, then select Printers (for Windows 2000). OR From the Windows Start menu, select Printers and Faxes (for Windows XP). 3 Right-click the name of the printer you want to share and select Properties. 4 Select the Security tab to view a list of users or groups that have permission to access the shared printer. You can: • Add new users or groups to access the shared printer by clicking the Add button. • Select the permissions of each user or group by selecting the user or group, and then clicking the Allow or Deny check boxes next to each permission. • Select advanced permissions for sharing the printer by clicking the Advanced button. 5 When you have selected the users and groups that can access the shared printer and selected the permissions for each user or group, click OK to save the settings and close the Printer Properties dialog. Share your printer on the network 1 From the Windows Start menu, select Settings, then select Printers (for Windows 2000). OR From the Windows Start menu, select Printers and Faxes (for Windows XP). 2 Right-click the HP Photosmart printer icon and choose Sharing from the pop-up menu. 3 Select Shared As and enter the name you want to use for your printer on the network. Use a name of eight characters or less. If you want to restrict access to your printer, enter a password in the Password field. Users will need to enter this password in order to print to your printer. See your Windows documentation for more information about sharing your printer. 4 Click OK. 5 If a password was set, retype it and click OK. networking guide 5
-
 1
1 -
 2
2 -
 3
3 -
 4
4 -
 5
5 -
 6
6 -
 7
7 -
 8
8 -
 9
9 -
 10
10 -
 11
11 -
12
-
13
-
14
-
15
 |
 |