HP Photosmart e-All-in-One Printer - D110 Reference Guide - Page 4
Features and tips - photosmart e all in one printer series ink
 |
View all HP Photosmart e-All-in-One Printer - D110 manuals
Add to My Manuals
Save this manual to your list of manuals |
Page 4 highlights
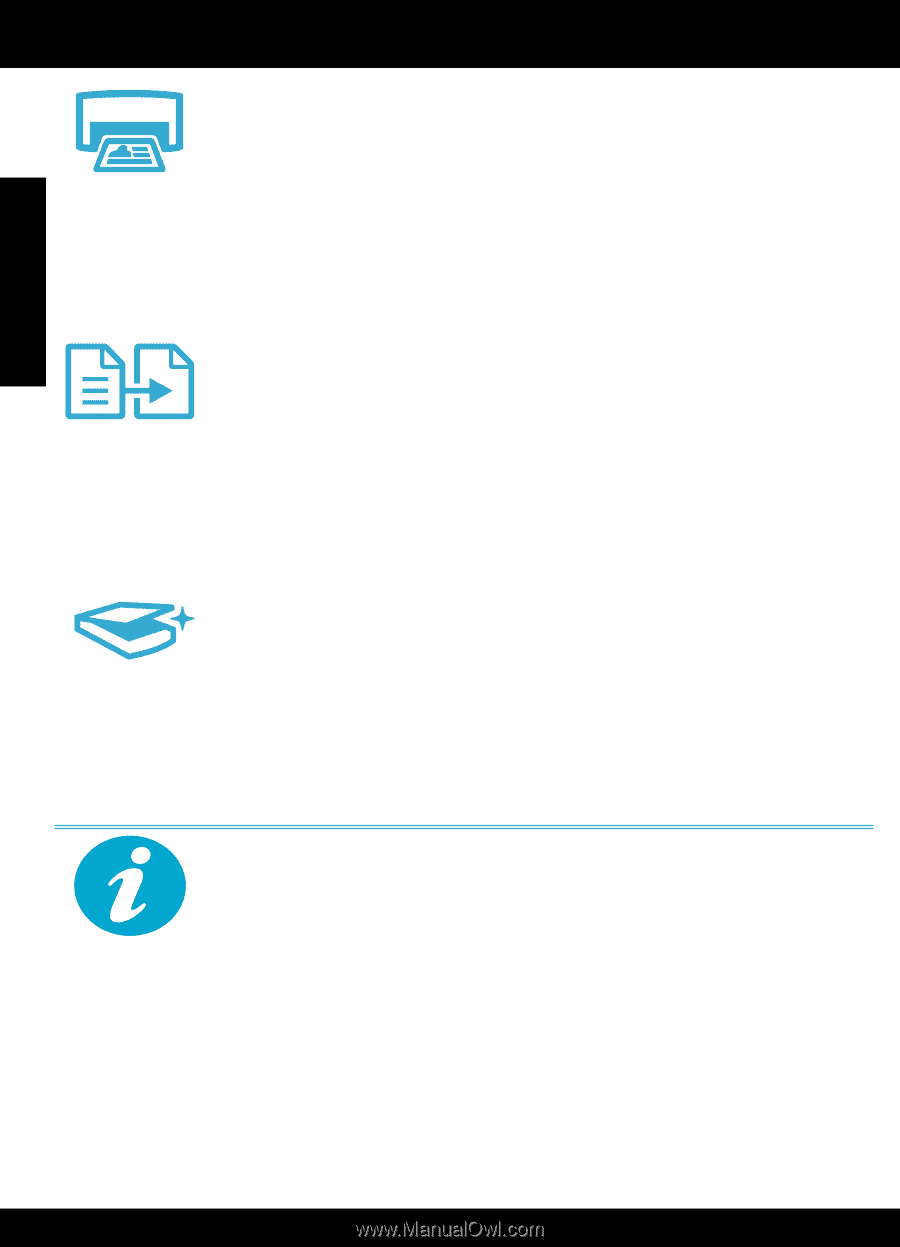
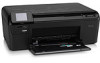
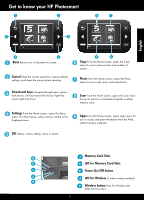
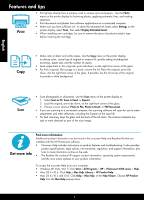
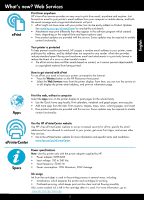
English Features and tips Print • Print photos directly from a memory card in various sizes and papers. Use the Photo menu on the printer display for browsing photos, applying automatic fixes, and making selections. • Print documents and photos from software applications on a connected computer. • Make sure you have sufficient ink. To check the estimated ink levels, select Settings on the printer display, select Tools, then select Display Estimated Levels. • When installing new cartridges, be sure to remove the piece of protective plastic tape before inserting the cartridge. Copy • Make color or black and white copies. Use the Copy menu on the printer display to choose color, actual size of original or resize to fit, quality setting (including fast economy), paper size, and the number of copies. • Load single-sheet or thin originals, print side down, on the right front corner of the glass. • For thick originals, like a page in a book, remove the lid. Place the original, print side down, into the right front corner of the glass. If possible, lay the lid on top of the original to provide a white background. Scan • Scan photographs or documents. Use the Scan menu on the printer display to: 1. Select Scan to PC, Scan to Card, or Reprint. 2. Load the original, print side down, on the right front corner of the glass. 3. Choose a scan shortcut: Photo to File, Photo to Email, or PDF Document. • If you are scanning to a connected computer, the scanning software will open for you to make adjustments and other selections, including the location of the scan file. • For best scanning, keep the glass and the back of the lid clean. The scanner interprets any spot or mark detected as part of the scan image. Get more info Find more information Additional product information can be found in the onscreen Help and Readme file that are installed with the HP Photosmart software. • Onscreen Help includes instructions on product features and troubleshooting. It also provides product specifications, legal notices, environmental, regulatory, and support information, plus links to more information online on the web. • The Readme file contains HP support contact information, operating system requirements, and the most recent updates to your product information. To access the onscreen Help from your computer: • Windows XP, Vista, Win 7: Click Start > All Programs > HP > Photosmart D110 series > Help. • Mac OS X v10.4: Click Help > Mac Help, Library > HP Product Help. • Mac OS X v10.5 and 10.6: Click Help > Mac Help. In the Help Viewer. Choose HP Product Help from the Mac Help pop-up menu. 4
-
 1
1 -
 2
2 -
 3
3 -
 4
4 -
 5
5 -
 6
6 -
 7
7 -
 8
8
 |
 |